Configuring User Roles for ScreenMeet in Microsoft Entra ID
This guide outlines the steps to add users and assign roles for accessing and managing ScreenMeet in Microsoft Entra ID.
Prerequisites
Access to your organizations Microsoft Entra ID.
Administrator permissions to configure Microsoft Entra ID.
Steps to Configure User Roles
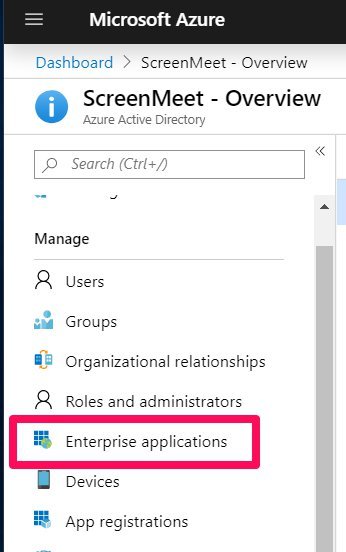
1. Sign In and Navigate to Microsoft Entra ID
Log in to the Microsoft Entra ID.
Click the hamburger menu icon and select
Microsoft Entra ID.
.png)
2. Go to Enterprise Applications
In Microsoft Entra ID, select Enterprise Applications.
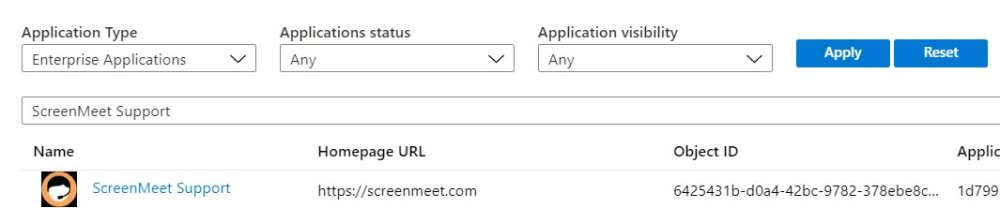
3. Search for ScreenMeet Support
Within Enterprise Applications, search for ScreenMeet Support.
Within this section, you can add users who will access ScreenMeet to create support sessions.
Important - Group Level Assignment
When assigning a group to an application, only users within that group will have access. The assignment does not cascade to nested groups. For more information, refer to the Microsoft Documentation.
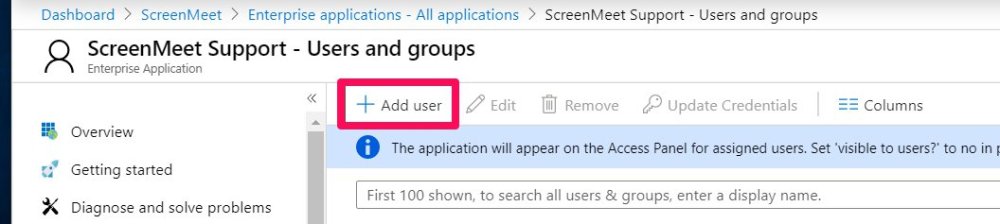
4. Manage Users and Groups
Under the
Managesection, selectUsers and Groups.

5. Add a User
Select
Add User.
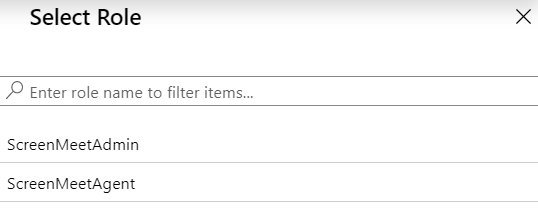
6. Assign a Role
Select the appropriate members.

Assign the user a role:
Agent – Can create support sessions.
Admin – Can modify ScreenMeet permission settings for the entire organization.
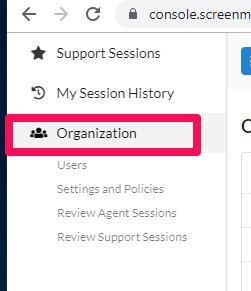
7. Verify Admin Permissions in ScreenMeet Console
Go to the ScreenMeet Console.
If you see the
Organizationtab, you have Admin permissions.