Purpose - How to store files via AWS S3 bucket
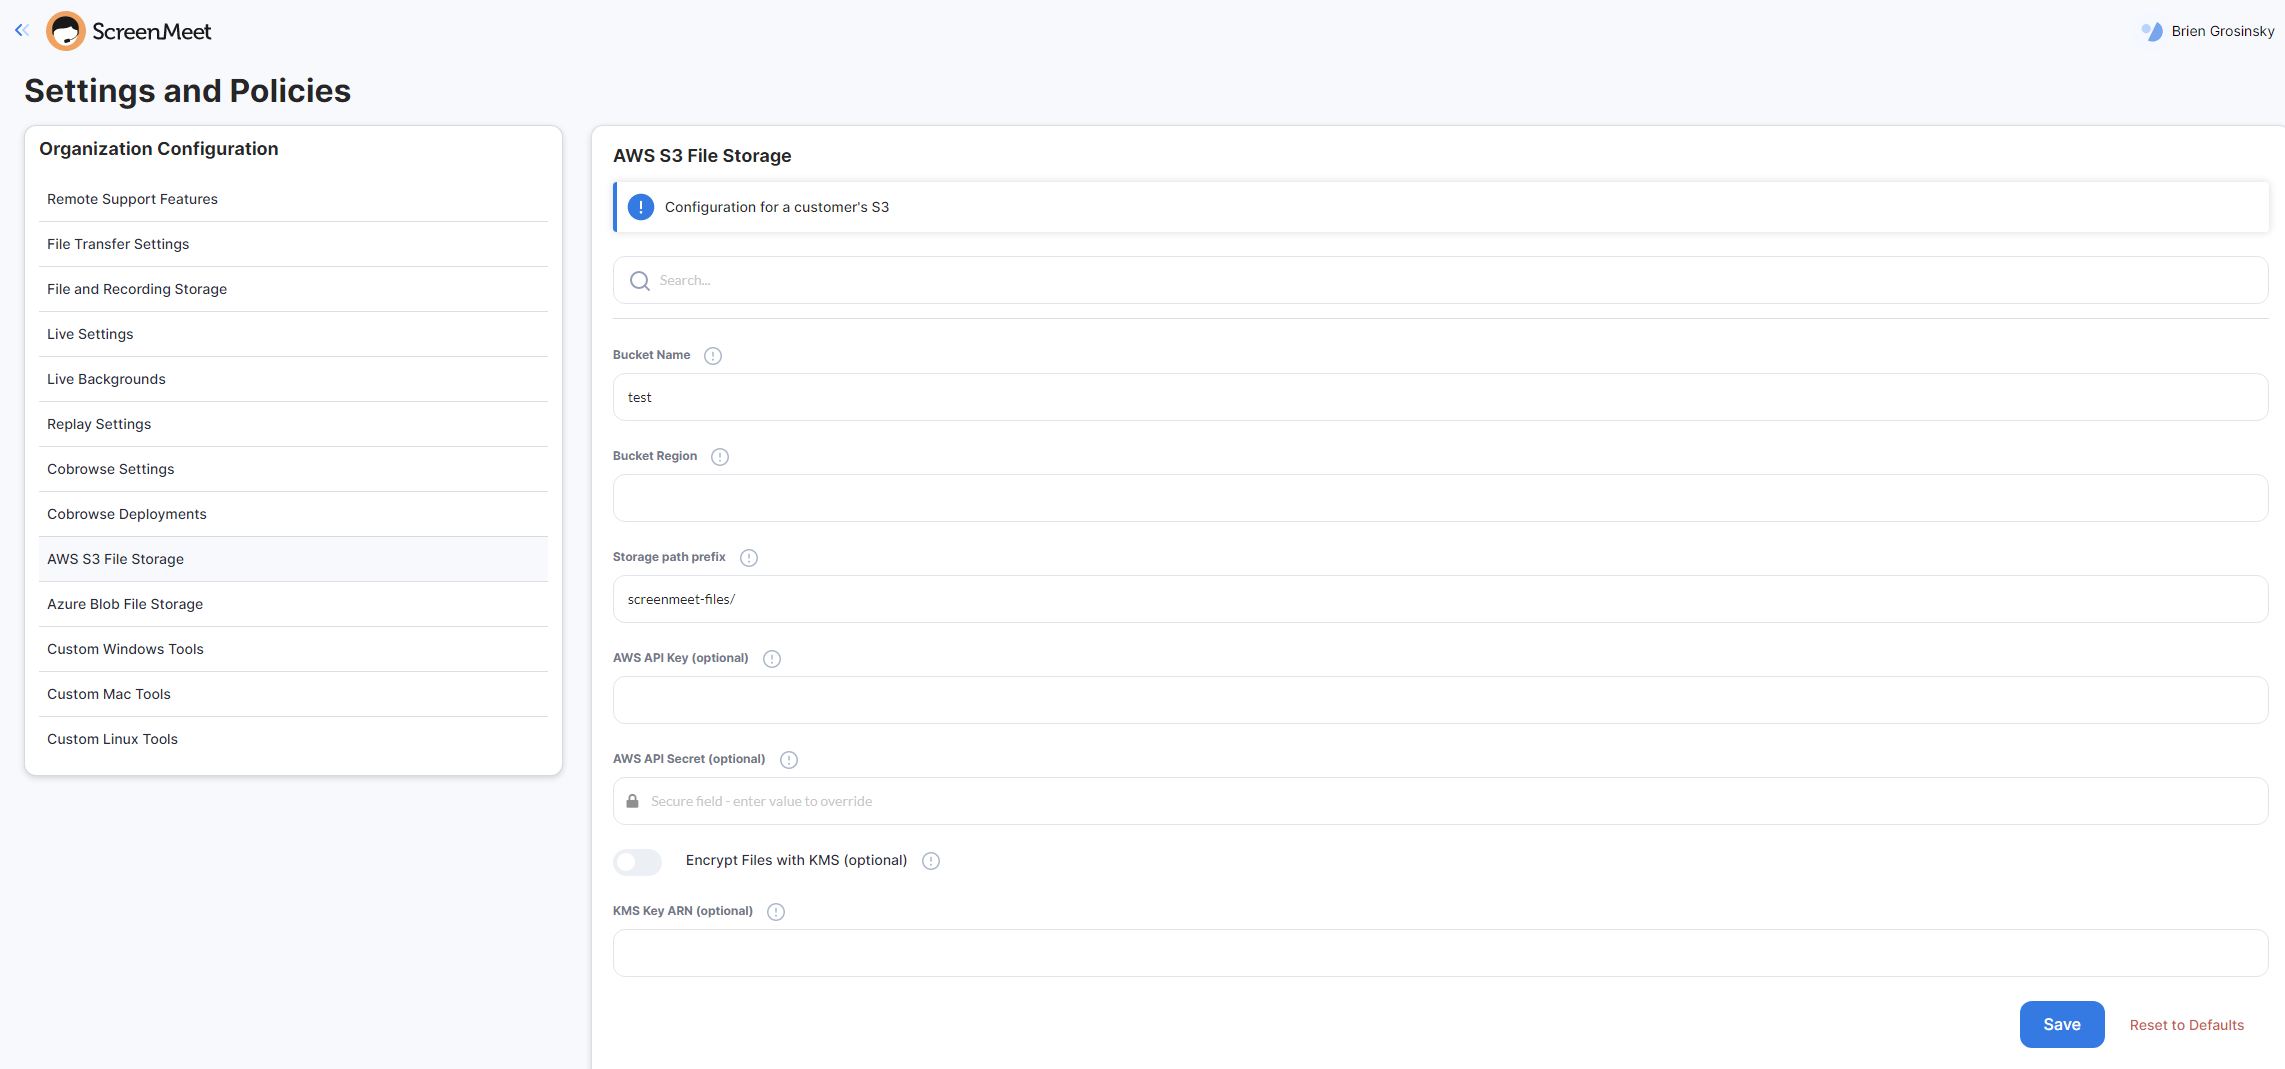
Navigate to the ScreenMeet console: https://console.screenmeet.com/. The configuration screen will appear as follows:
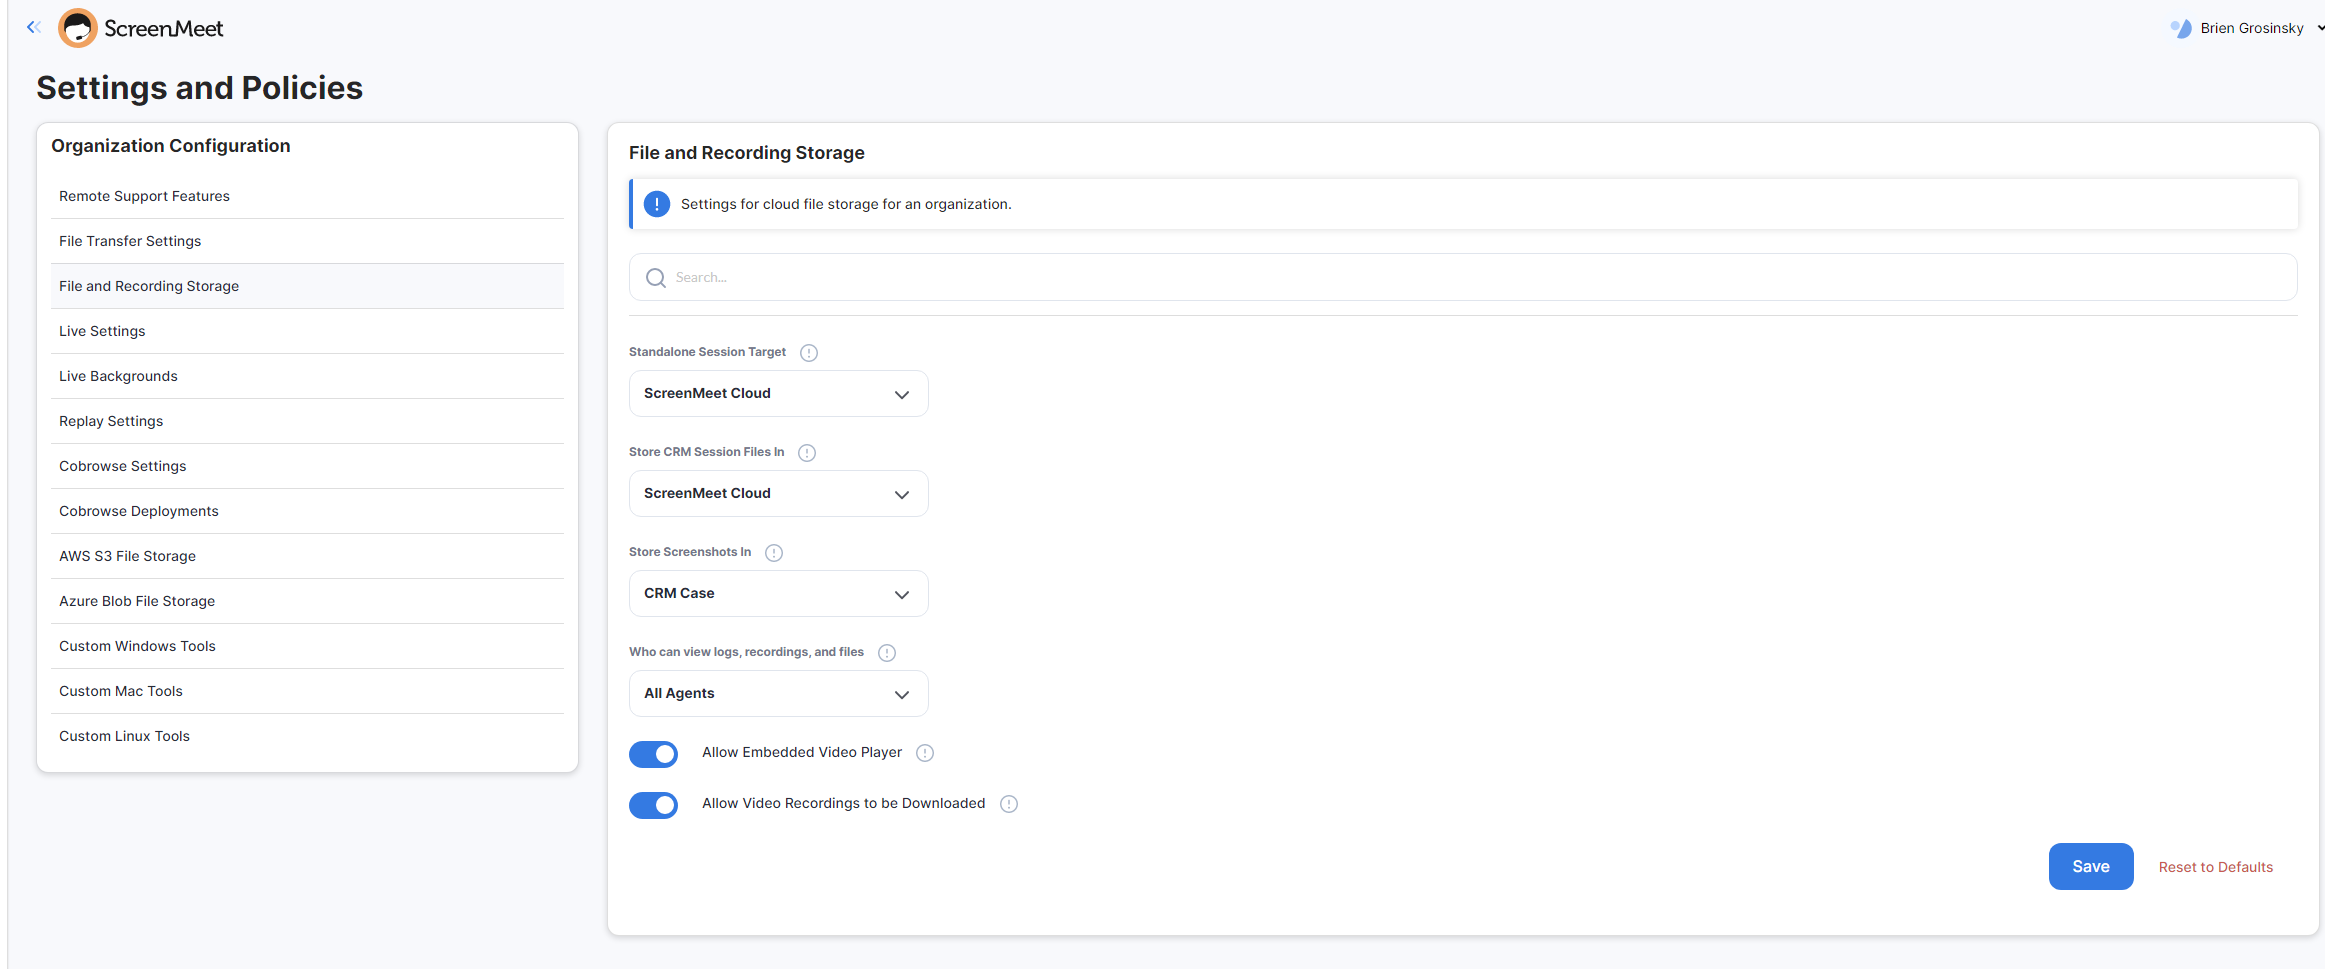
You will then be able to set the file storage settings to target the S3 bucket:
Creating an IAM policy
- Navigate to IAM dashboard
- Click “Policies” to the left of the page.
- Create a policy using the blue button to the right of the page.
- Click the “JSON” tab and copy/paste the access policy
{ "Version": "2012-10-17", "Statement": [ { "Sid": "screenmeetbucketaccess", "Effect": "Allow", "Action": ["s3:PutObject", "s3:GetObject"], "Resource": "arn:aws:s3:::my-bucket-name/*" } ] }
- Replace “my-bucket-name” with the bucket where recordings will be stored.
- Press next until asked for a name. Name this “S3 Bucket Access for ScreenMeet” or something similar.
Creating an IAM user
- Navigate to IAM dashboard
- Click “Users” to the left and add a user at the top right of the page.
- Name the user IntegrationUser(or something similar based on preference).
- Select “access key” as the form of credential type.
- In the permissions page, click “attach existing policies directly” and choose the S3 Bucket Access for ScreenMeet policy created in the first step by clicking on the checkbox to the left of it.
- Click “Create user”.
- Make special note of the Access key ID and the Secret Access Key it provides you after user creation. Download the CSV or store this data if it may ever be needed in the future.
Integrating Bucket + IAM user access
- Navigate to Organization -> Settings and Policies -> AWS S3 File Storage in console.screenmeet.com
- Add the bucket name of your S3 bucket, followed by the region(example format: us-east-1)
- For the API key, add the Access key ID received after creating your IAM user above.
- For the API secret, add the secret access key received after creating your IAM user above.
- Press “save configuration” and press “test bucket access”.
- Once a successful test has been completed, subsequent recordings will be placed in the bucket.
Files will be uploaded to the S3 bucket under the path:
<prefix>/<year>/<month>/<day>/<session_id>