The article below serves as an informational guide on how to review sessions after they have been completed within ScreenMeet Live using ScreenMeet Console.
Gathering the session ID
In order to review a session, the session ID is required. You can obtain the session ID in the following ways.
- Gather the session ID inside of the URL of the meeting. The session ID is the set of alphabetical characters after the live2.screenmeet.com URL.

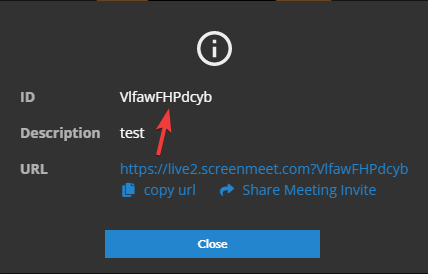
- Gather the session ID inside of the session itself by using the meeting info button and copying the ID
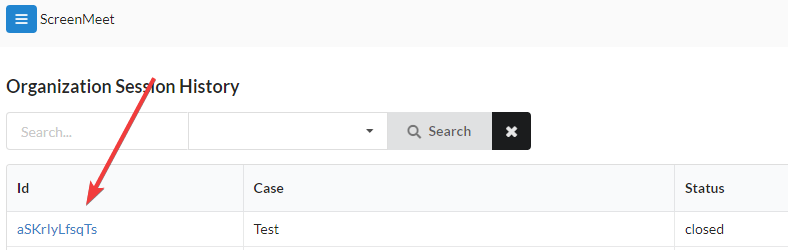
- Isolate the session in question by navigating to the ScreenMeet Consoleand by clicking into "My Session History" or "Global Session History".
- Use identifiers like the case description, time created, duration, or agent name to isolate a given session.
Reviewing the session
Once the session ID has been identified, search for the session using My Session History/Global Session History. Once the session has been found, click on the hyperlinked session ID text.
Session information page
The session information page includes various pieces of metadata about the session referenced below.
- Status of the session, when the session was created, duration of the session, when the session ended, termination reason, recording status
Session Log page
The session log page includes events that transpired throughout the session including time stamps. Some examples of events include:
- When the agent joined the room, when any users joined the room, when microphones/cameras were enabled, when users leave the room, when users enable certain functions of the application, etc.
Files page
The files page includes the recording(if applicable) of the session as well as any files that were uploaded in the ScreenMeet Live chat.
Metrics page
The metrics page includes any/all relevant metrics relating to the session such as the duration of seconds that users were connected to the session.
Reviewing Sessions within your CRM
Salesforce: Reviewing a Session
ServiceNow: Reviewing a Session
Zendesk: Reviewing a Session
Dynamics: Reviewing a Session