- 18 Apr 2022
- 2 Minutes à lire
- Impression
- SombreLumière
- PDF
Adding the ScreenMeet Component to Object Records
- Mis à jour le 18 Apr 2022
- 2 Minutes à lire
- Impression
- SombreLumière
- PDF
This article covers the steps required to integrate the ScreenMeet component to an Object Record in SalesForce.
In this example, we integrate ScreenMeet with a Salesforce Case Object.
Adding ScreenMeet to the UI of an Object Record
- Sign in as a System Administrator.
- Navigate to the desired object page (open a Case).
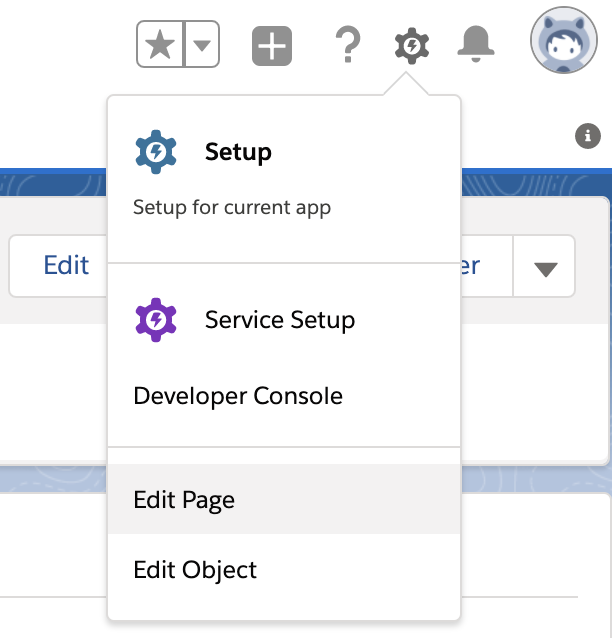
- While viewing the case Object, click on the Gear icon on the top, then choose EditPage. This will open the Lightning App Builder.

- Design the area where you wish to place the ScreenMeet Session Widget. You will need an area where you can render a component with a minimum of 400 horizontal and 480 vertical pixels.
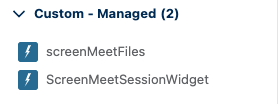
- Type "ScreenMeet" in the Search Components box on the left component picker. This should filter the list to where the only visible components are the ScreenMeet ones

- Drag and drop theScreenMeetSessionWidget to the desired area on your page design.

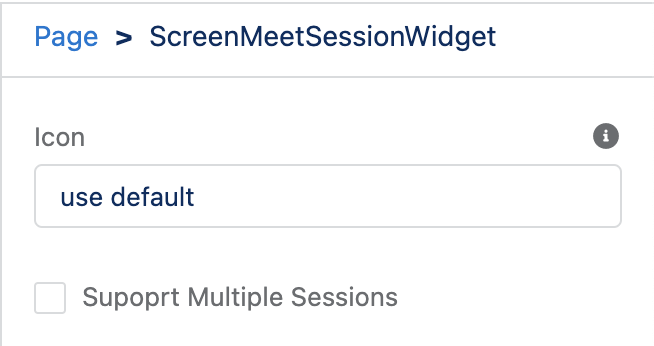
- The new widget offers two options in its configuration:
- Icon: Enables you to change the icon shown in the component in the form of a URL or Data URL. (NOTE: If the icon lives in a different domain, make sure that you set up CSP permissions to make it visible.)
- Support Multiple Sessions: Enables the agent to have multiple sessions attached with the parent object (the Case in this example).

- (optional) Add the ScreenMeet related files component into the page into your desired location.
.png)
- (Note) If the files are stored somewhere else that its not salesforce you should add the domain to the CSP configuration to be able to view and download the files
- Click Save on the top right. If necessary, click Activation to activate the view for the desired users or the Organization. When done, click on Back.
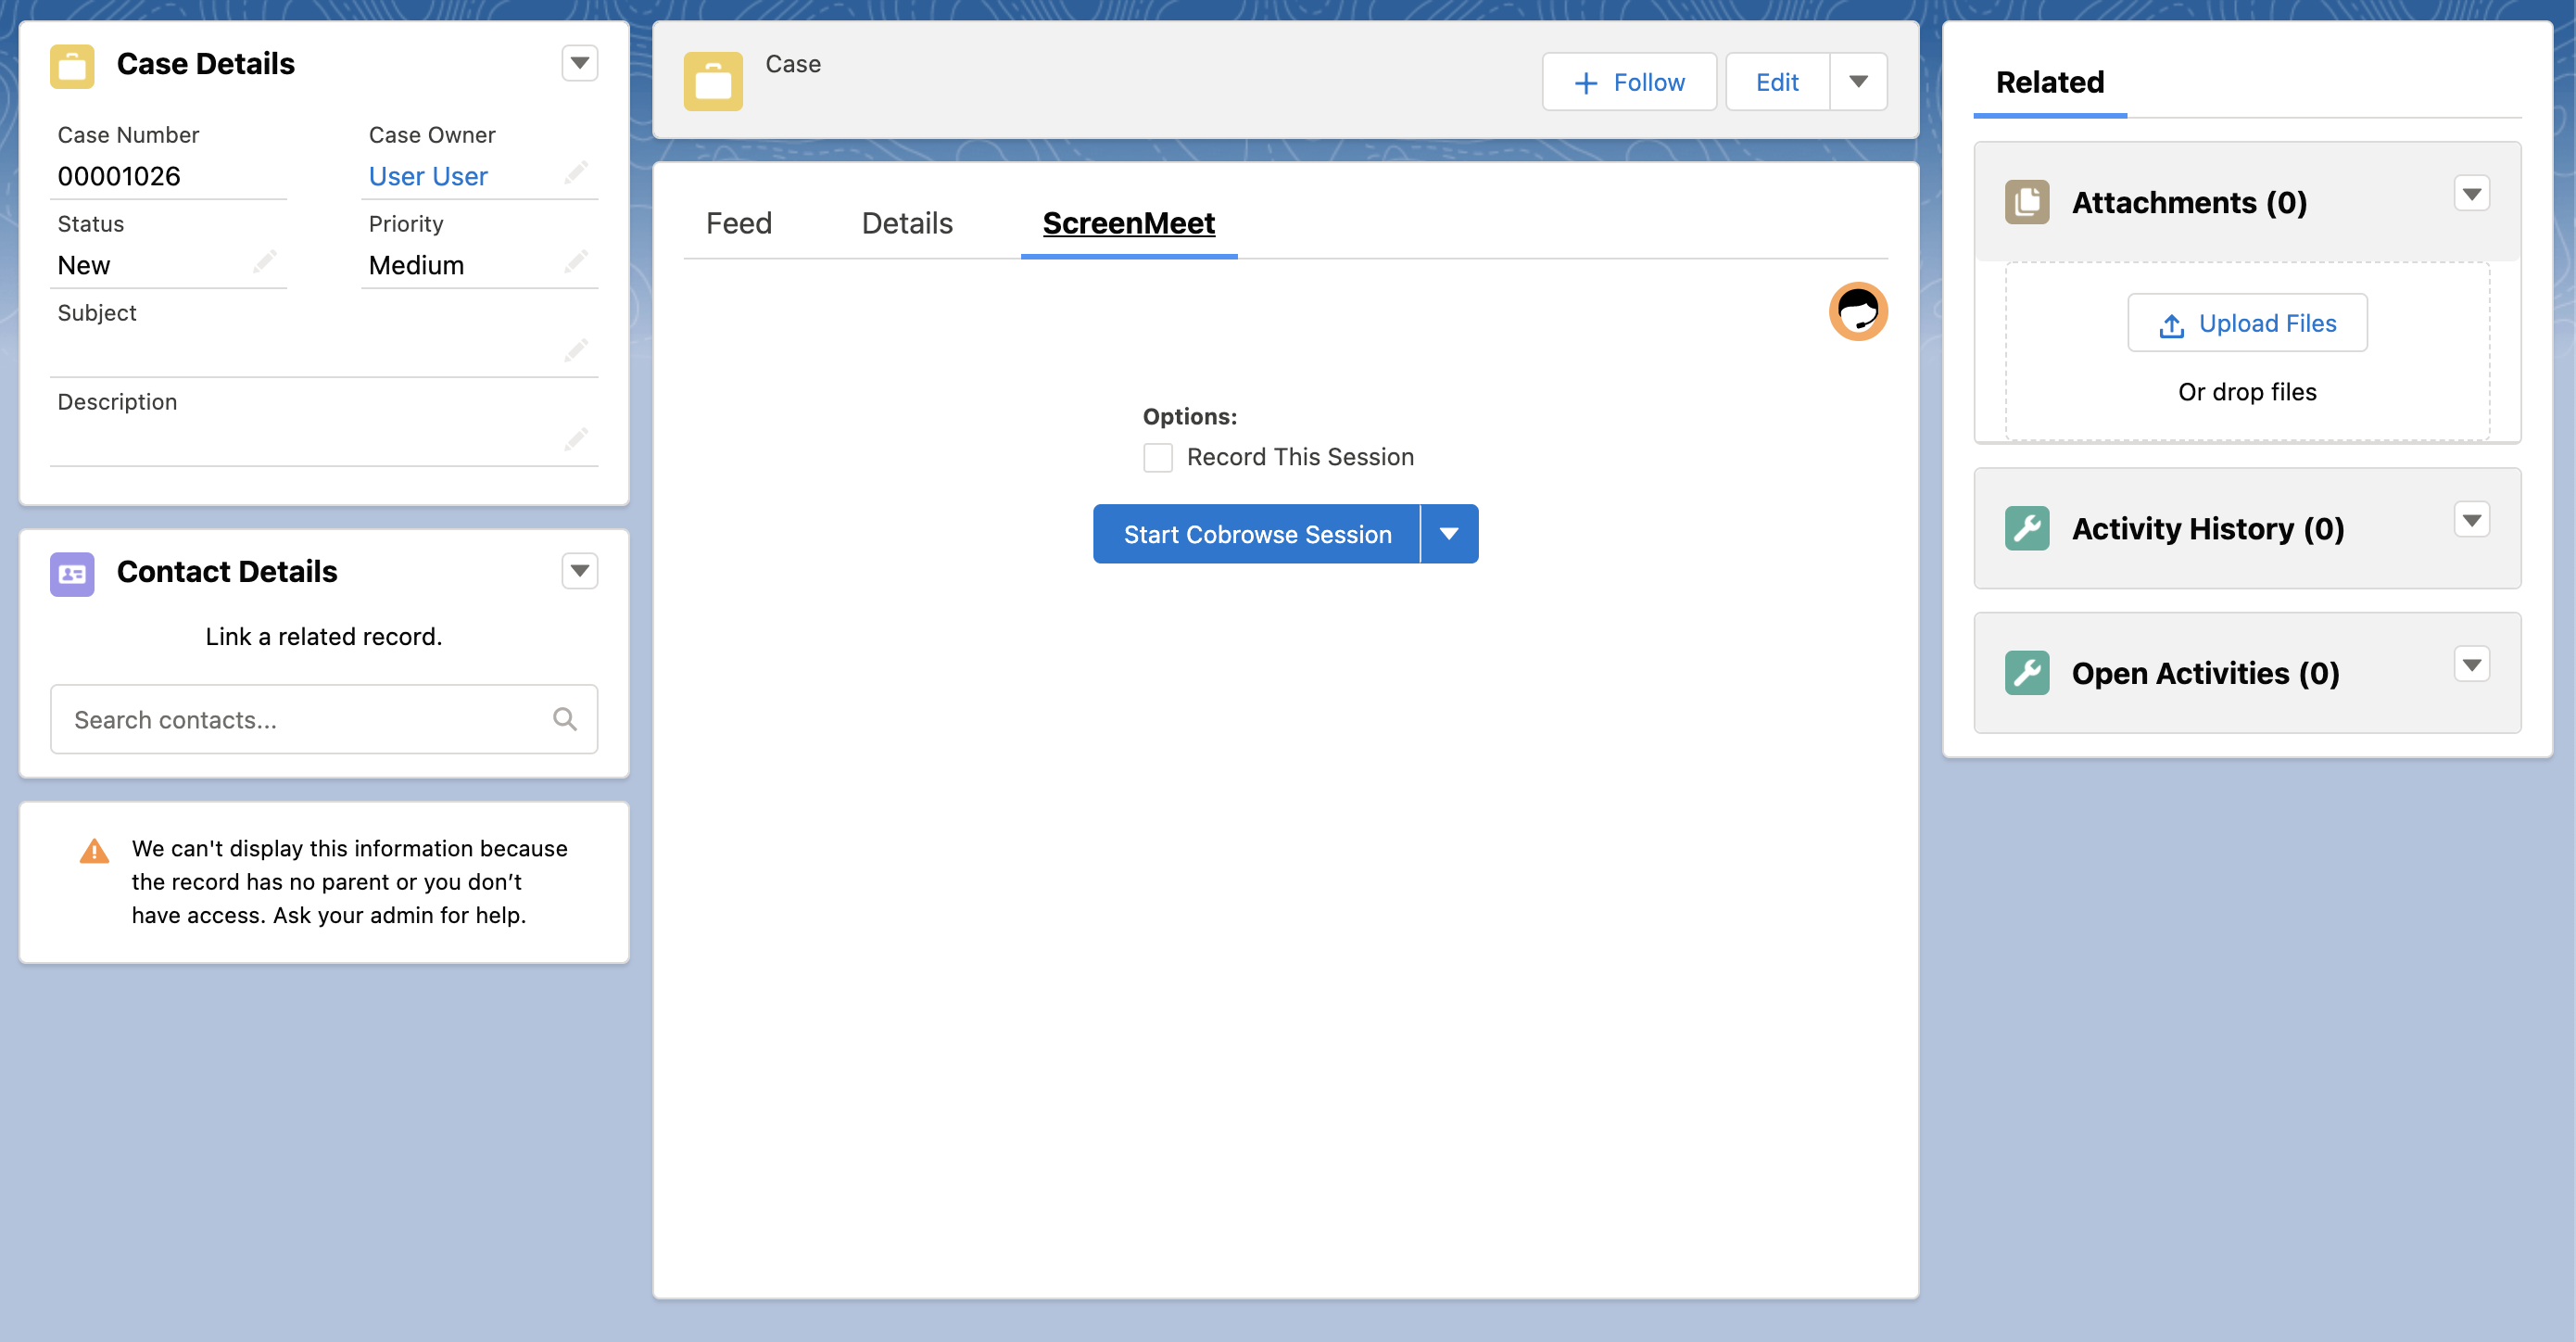
- The ScreenMeet Widget should now be available via your Case Page

Adjusting component visibility to only those with ScreenMeet permissions
For your organization, it is likely that only a given subset of your business users needs to see the ScreenMeet widget upon loading the case/object that is embedded into.
As a best practice, it is suggested to adjust the component visibility to only show to users who have the ScreenMeet agent/supervisor/admin role.
This will improve page performance and keep the page layout consistent for the users that do not utilize/need ScreenMeet access.
- Open the record that the ScreenMeet widget is embedded on
- Click on the settings gear at the top right of the page and click on "edit page".
- Click on the ScreenMeet widget.
- Click on Filters under Set Component Visiblity
- Click Advanced, set the type to permissions -> custom permissions -> screenmeet.ScreenMeet_Agent / administrator / supervisor.
- Save the changes.
Once the above has been done, users without the ScreenMeet agent custom permission(which is assigned as part of the ScreenMeet agent permission set) will not have to load the widget upon loading the record/object in question.
Next: Add Data Relationship Between Case and ScreenMeet Session
.png)
