- 09 Aug 2023
- 1 読む分
- 印刷する
- 闇光
- PDF
Regional Geo-Fencing
- 更新日 09 Aug 2023
- 1 読む分
- 印刷する
- 闇光
- PDF
How to Use Geo-Fencing
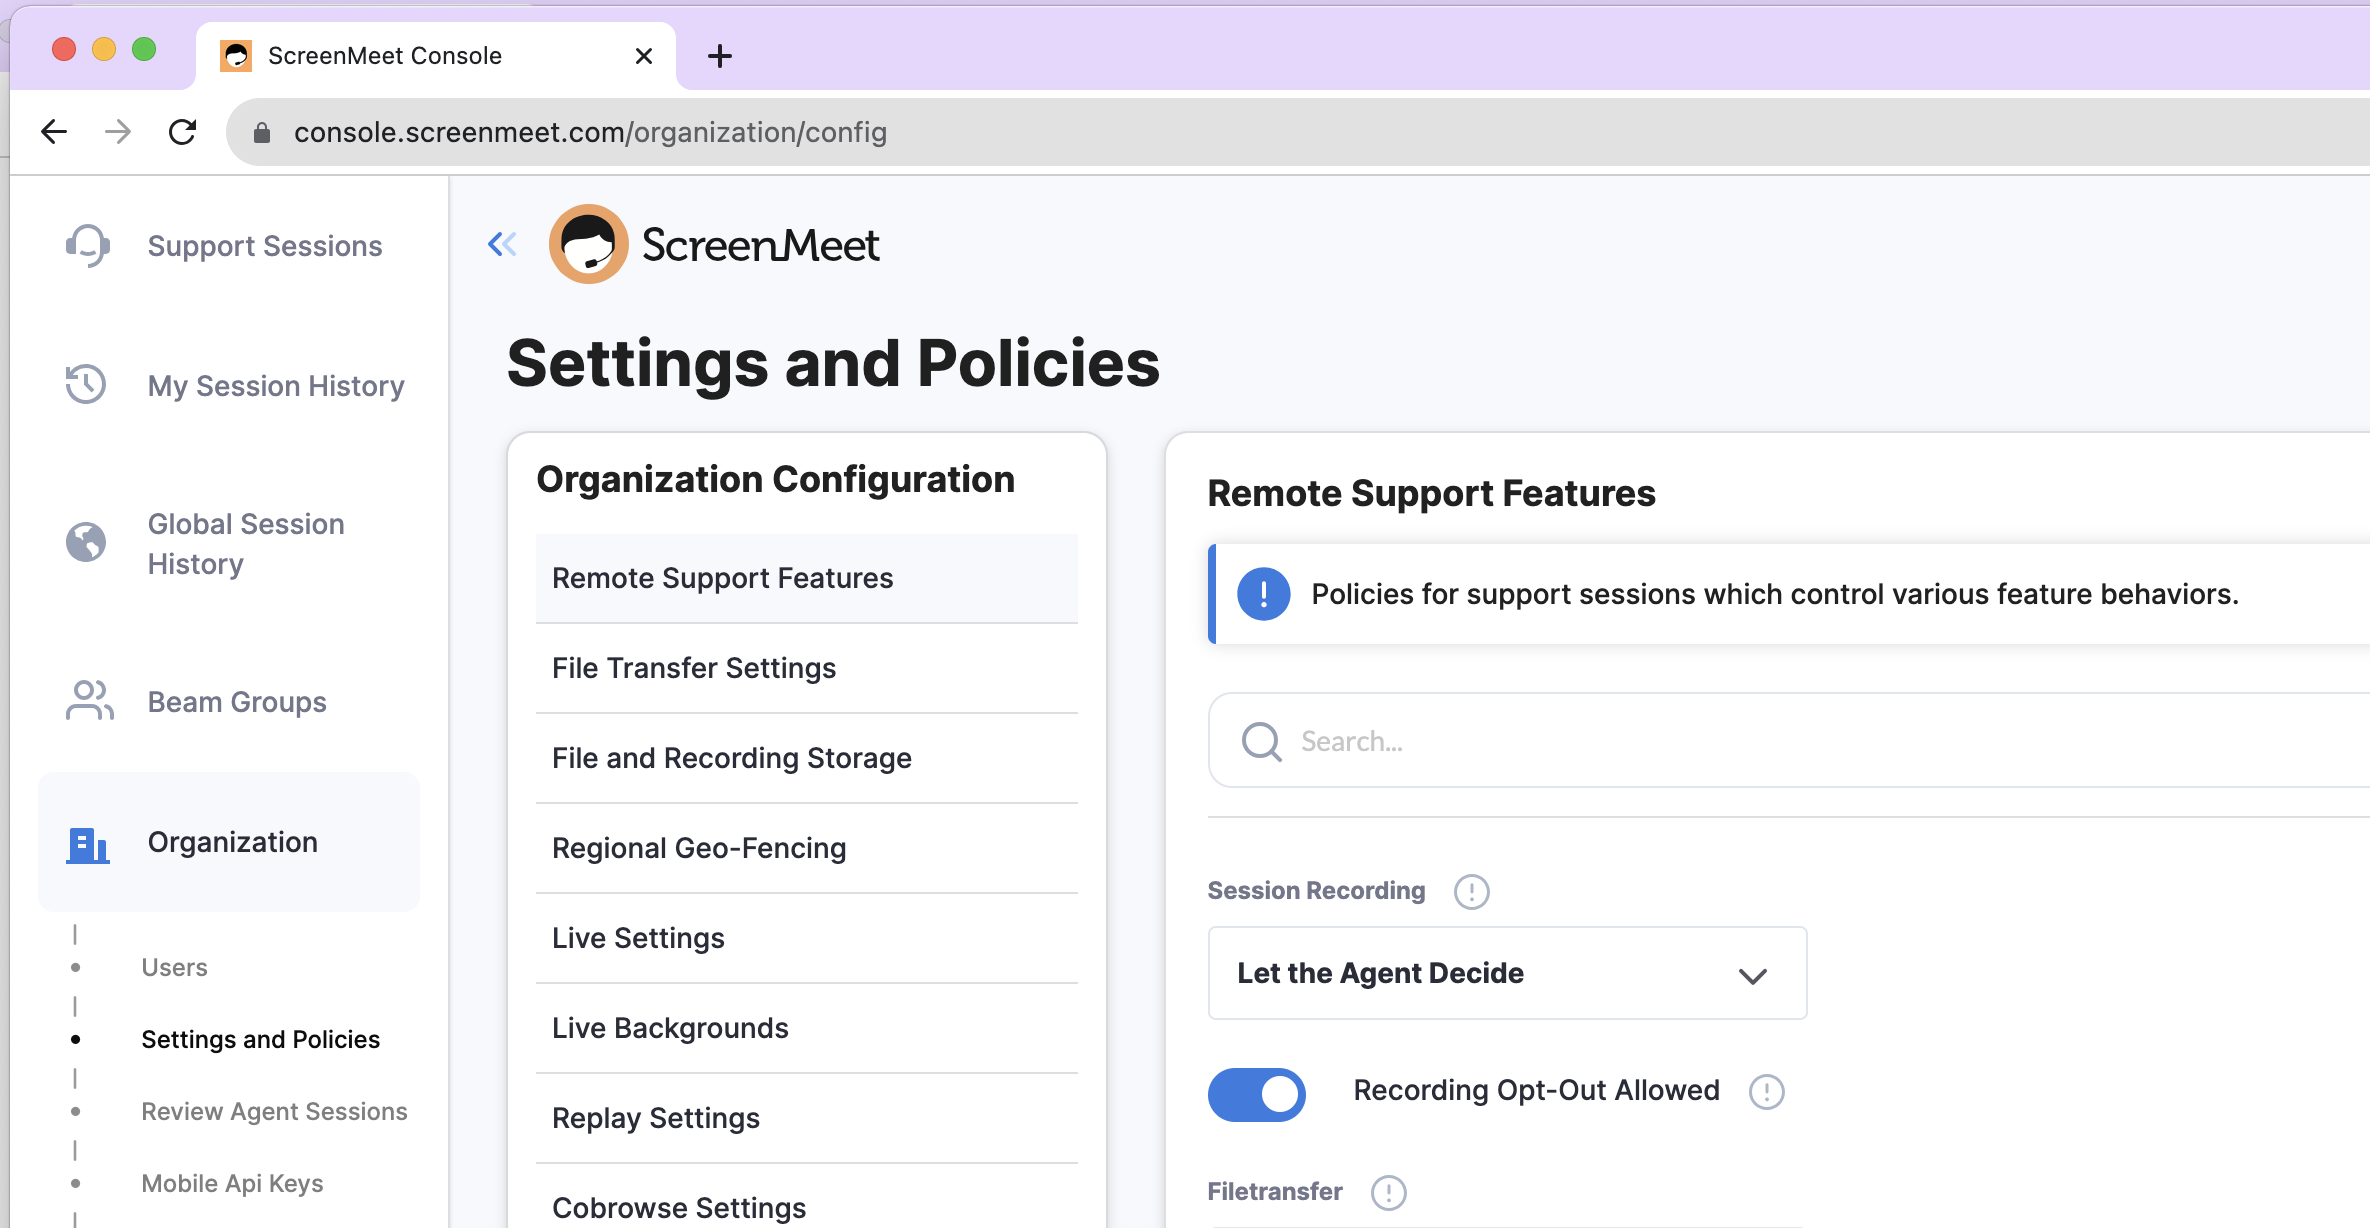
Log in to console.screenmeet.com as org admin, and click Organization → Settings and Policies from the sidebar on the left:

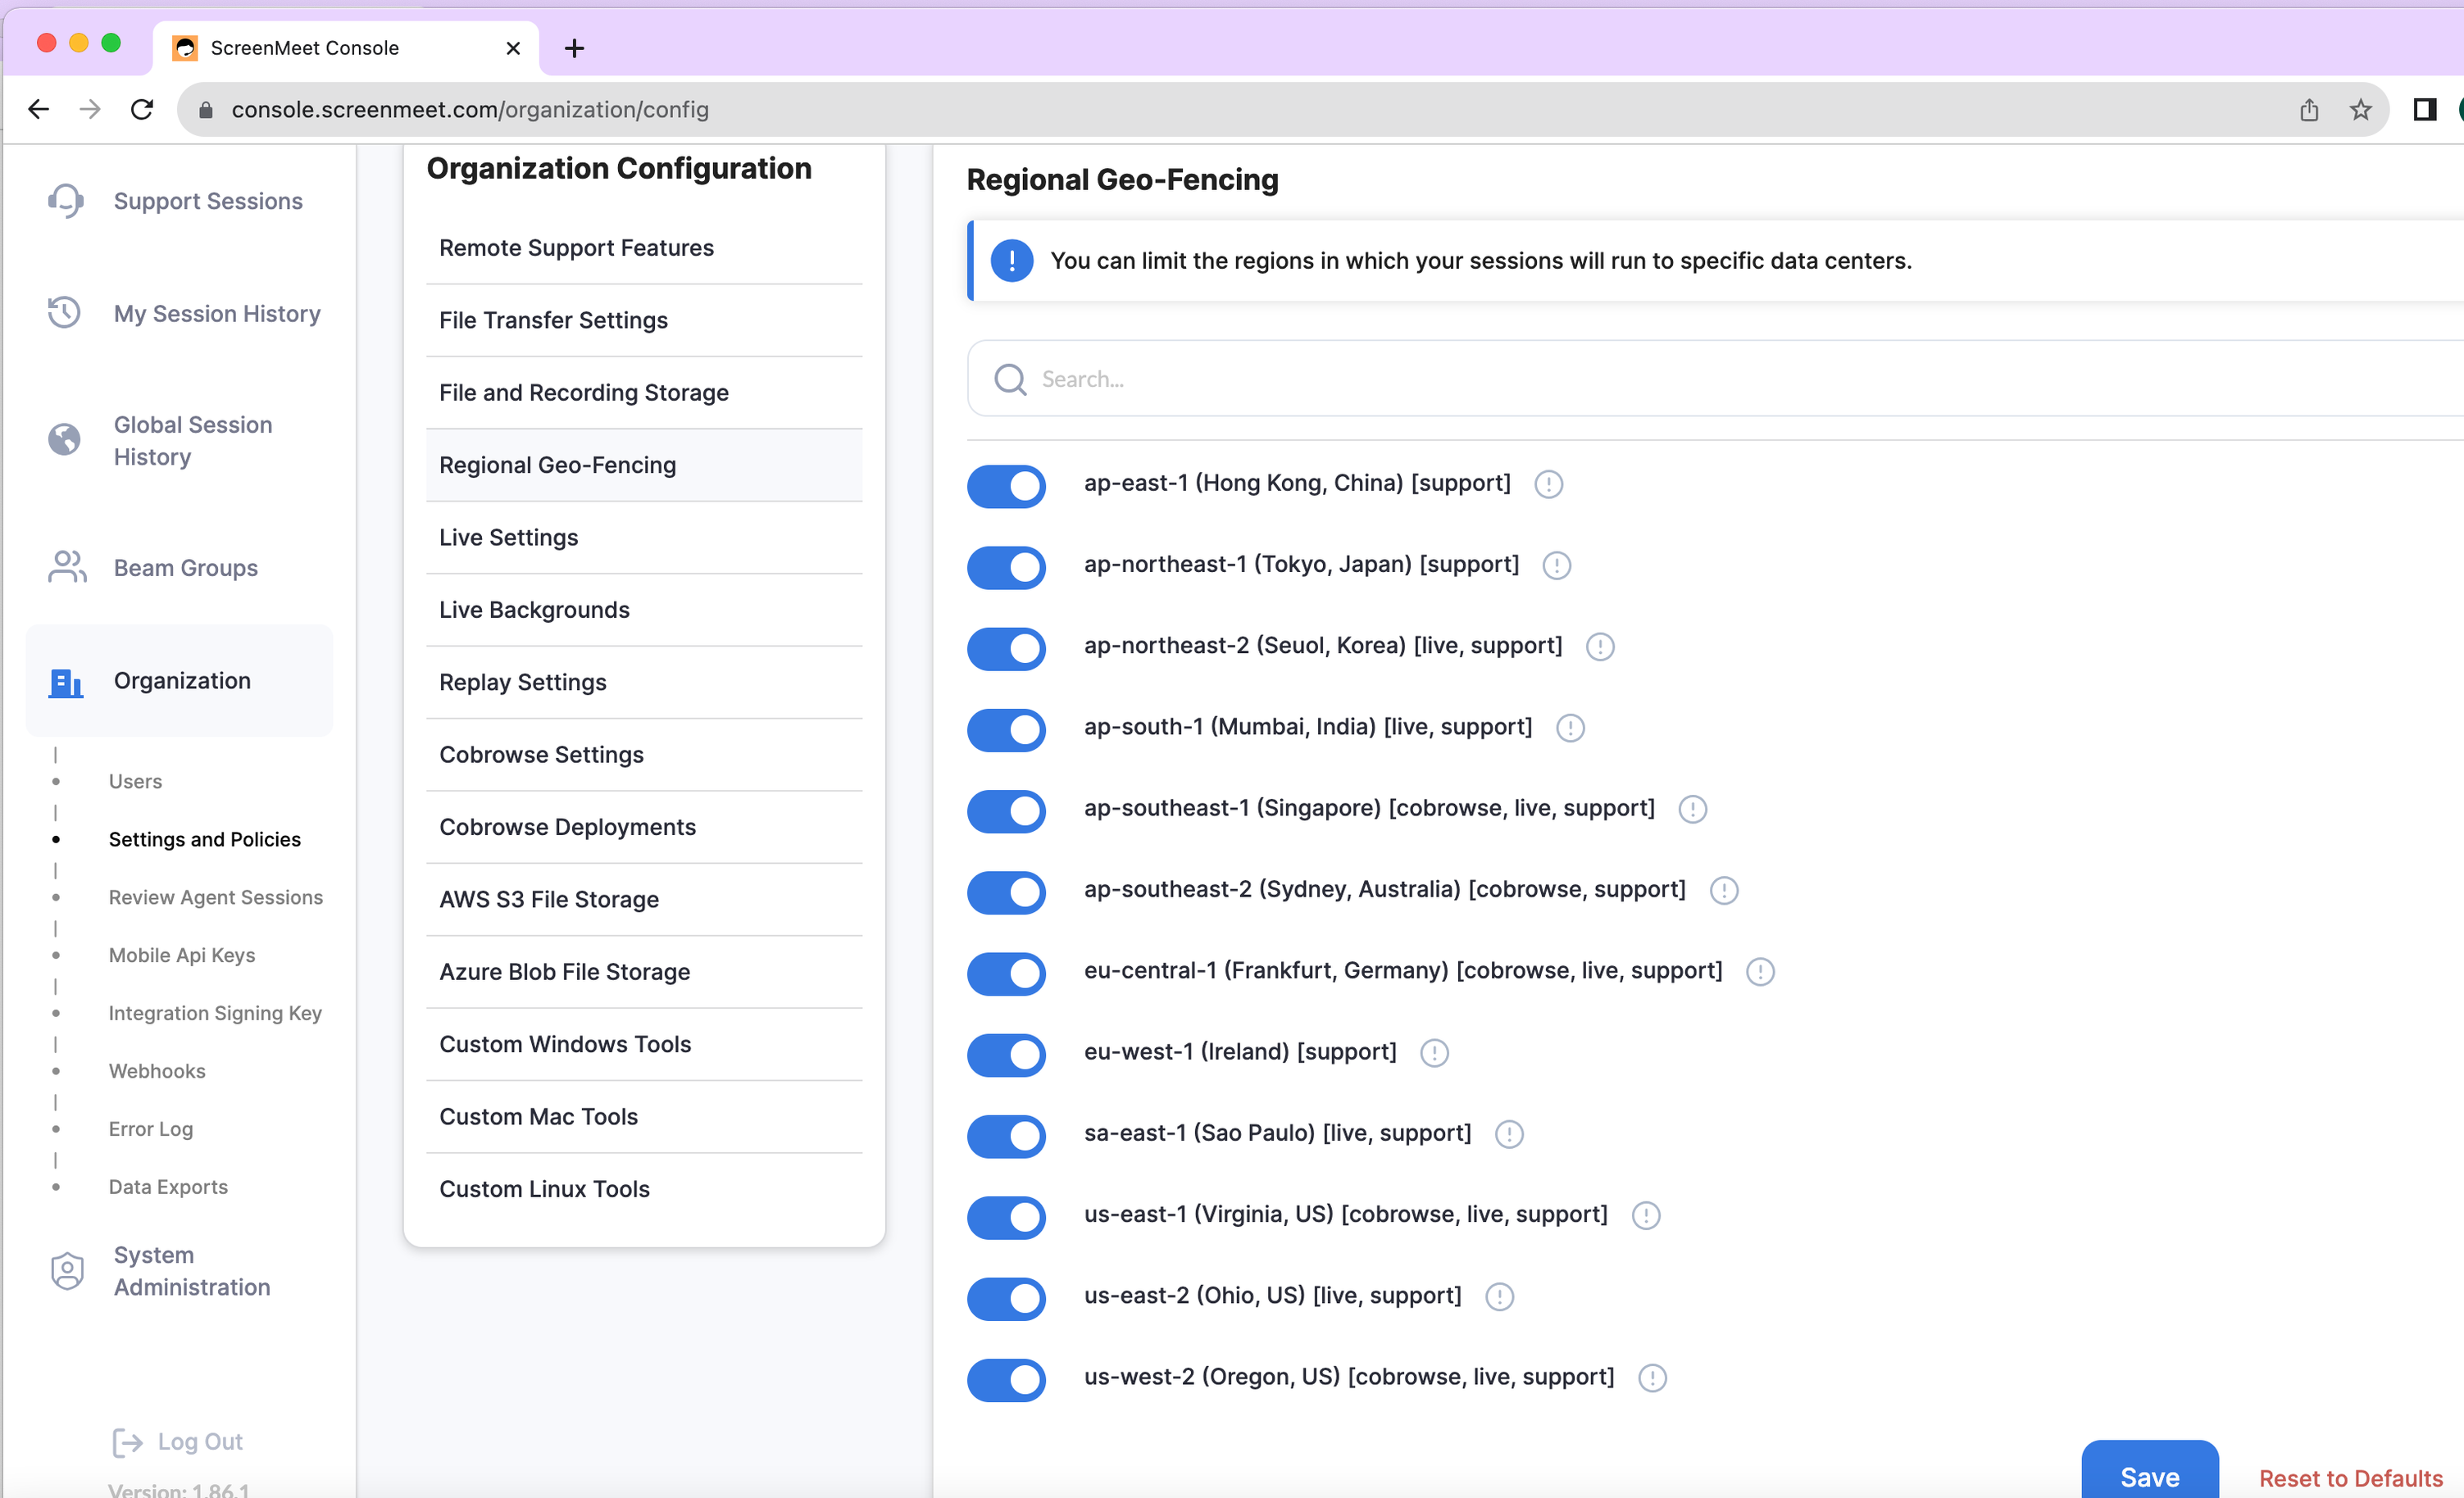
Click “Regional Geo-Fencing” to change the geo-fencing configuration for your organization. Each region has a list of session types listed to the right of it, representing what types of sessions are possible to run in that region. By default, all regions are toggled “on”, which means that ScreenMeet sessions of a given type could possibly run in ANY of those regions which support that type, depending on the end-user’s IP address and/or current load.

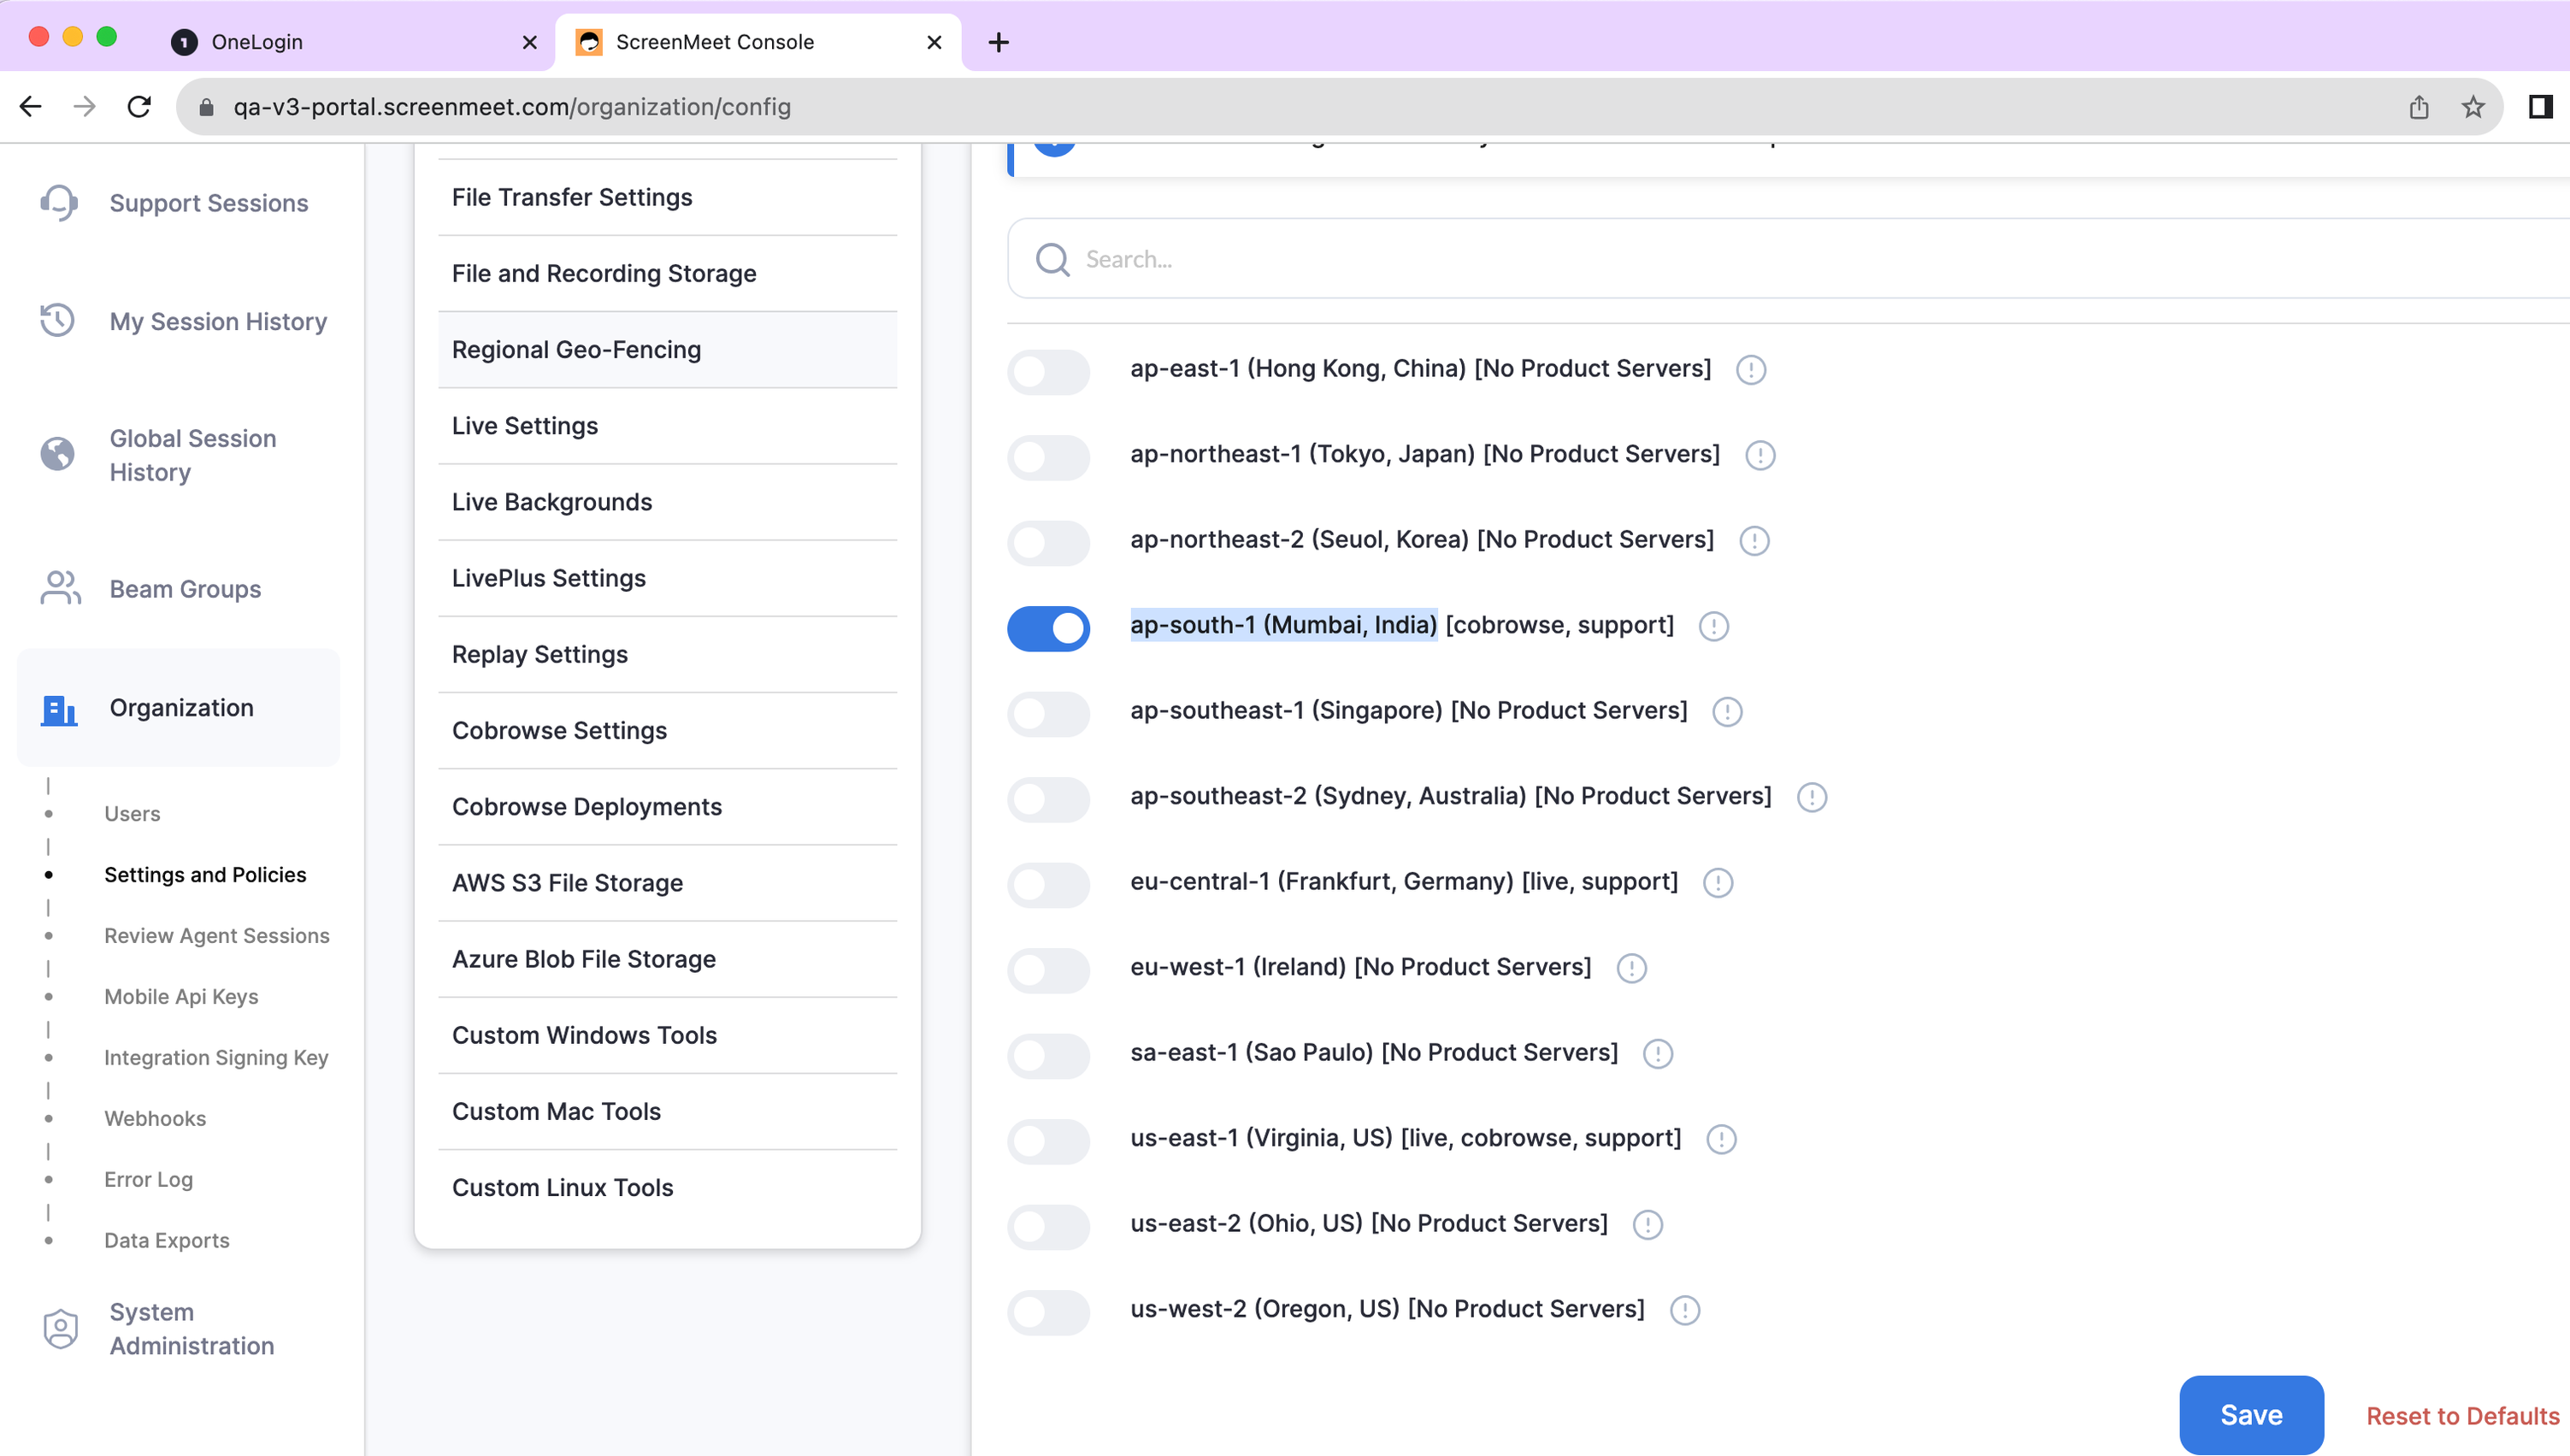
If you wish to restrict the regions in which your sessions can run, toggle “off” those regions which you don’t want, and click “Save.” The following screenshot represents a setting where sessions are ONLY allowed to run in ap-south-1 (Mumbai, India)

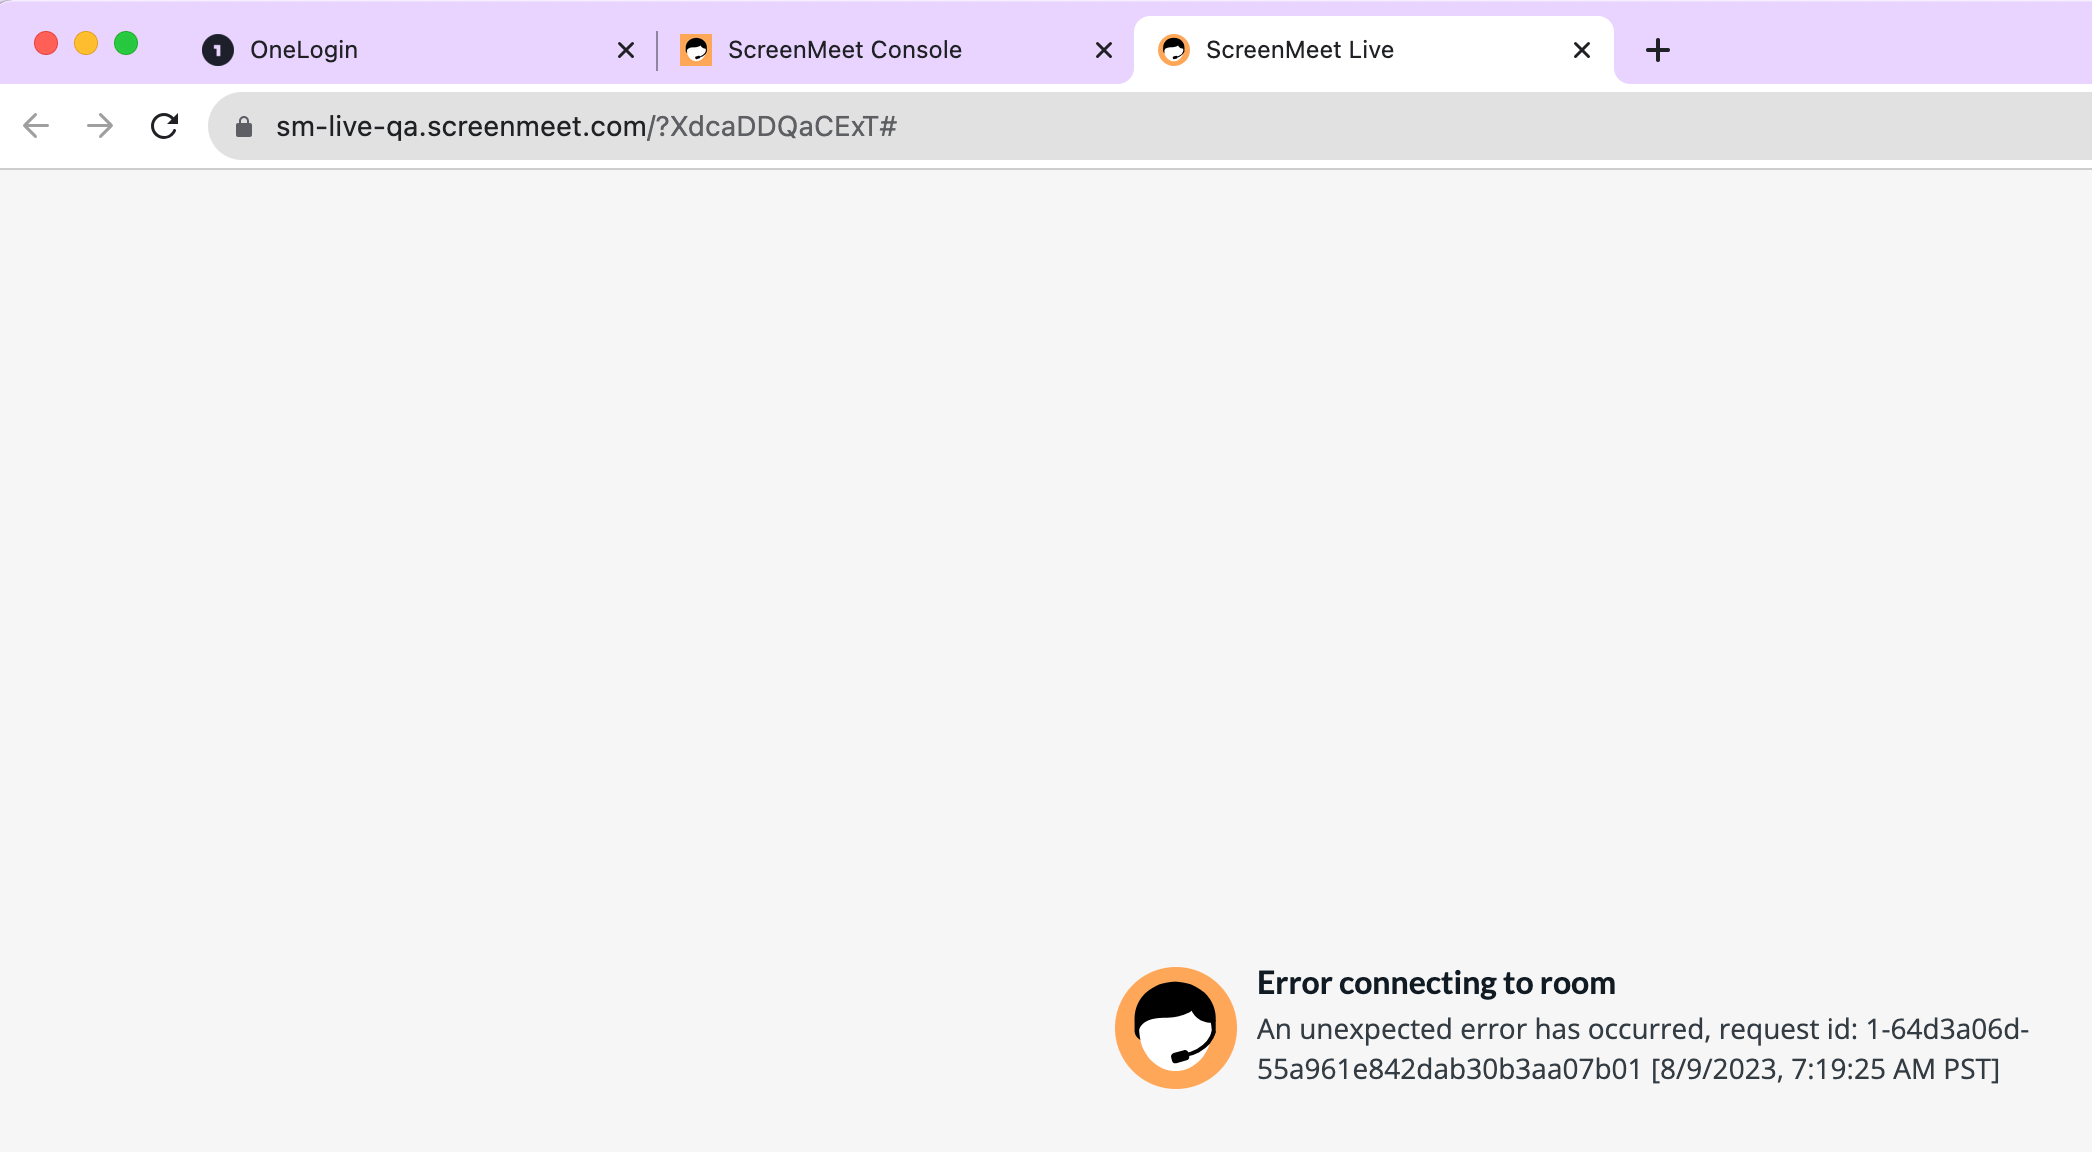
If you limit the regions in a way which cannot support the type of session that you require, an error will be generated when trying to connect to the session, similar to the following:

.png)
