- 28 Jun 2023
- 1 読む分
- 印刷する
- 闇光
- PDF
How To Install ScreenMeet in Your Genesys Instance
- 更新日 28 Jun 2023
- 1 読む分
- 印刷する
- 闇光
- PDF
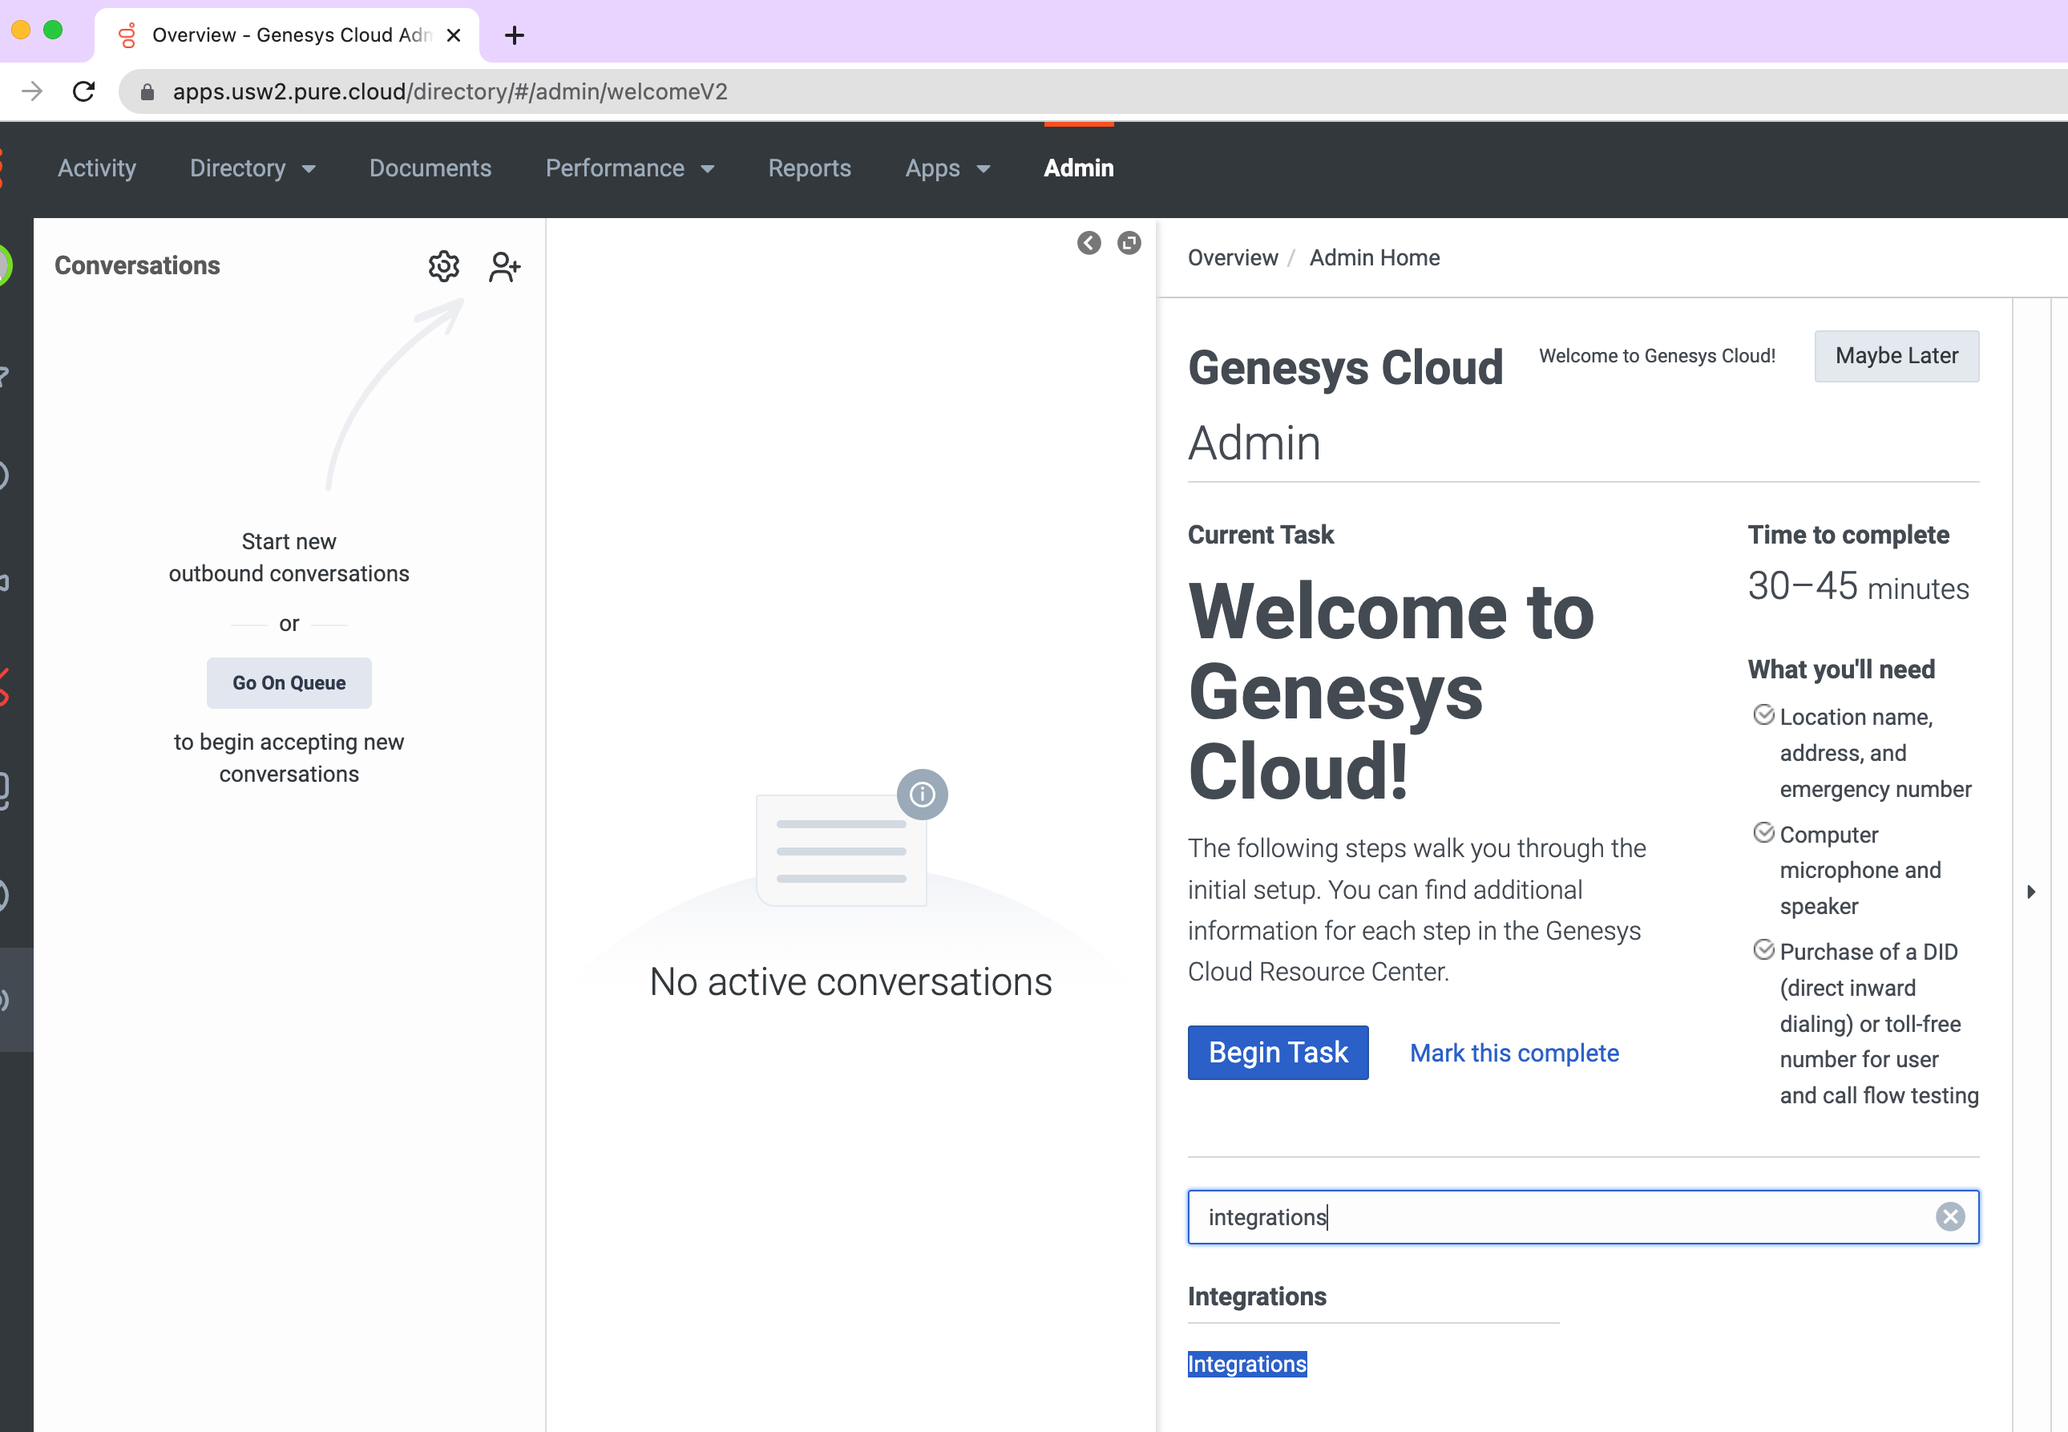
Log in to your genesys instance as admin. Use the “Admin” tab, and search for “integrations” - click on the result.
In the upper right-hand corner of the integrations, page, click on the “+” button to add a new integration.

Use the search box to search for “ScreenMeet.”
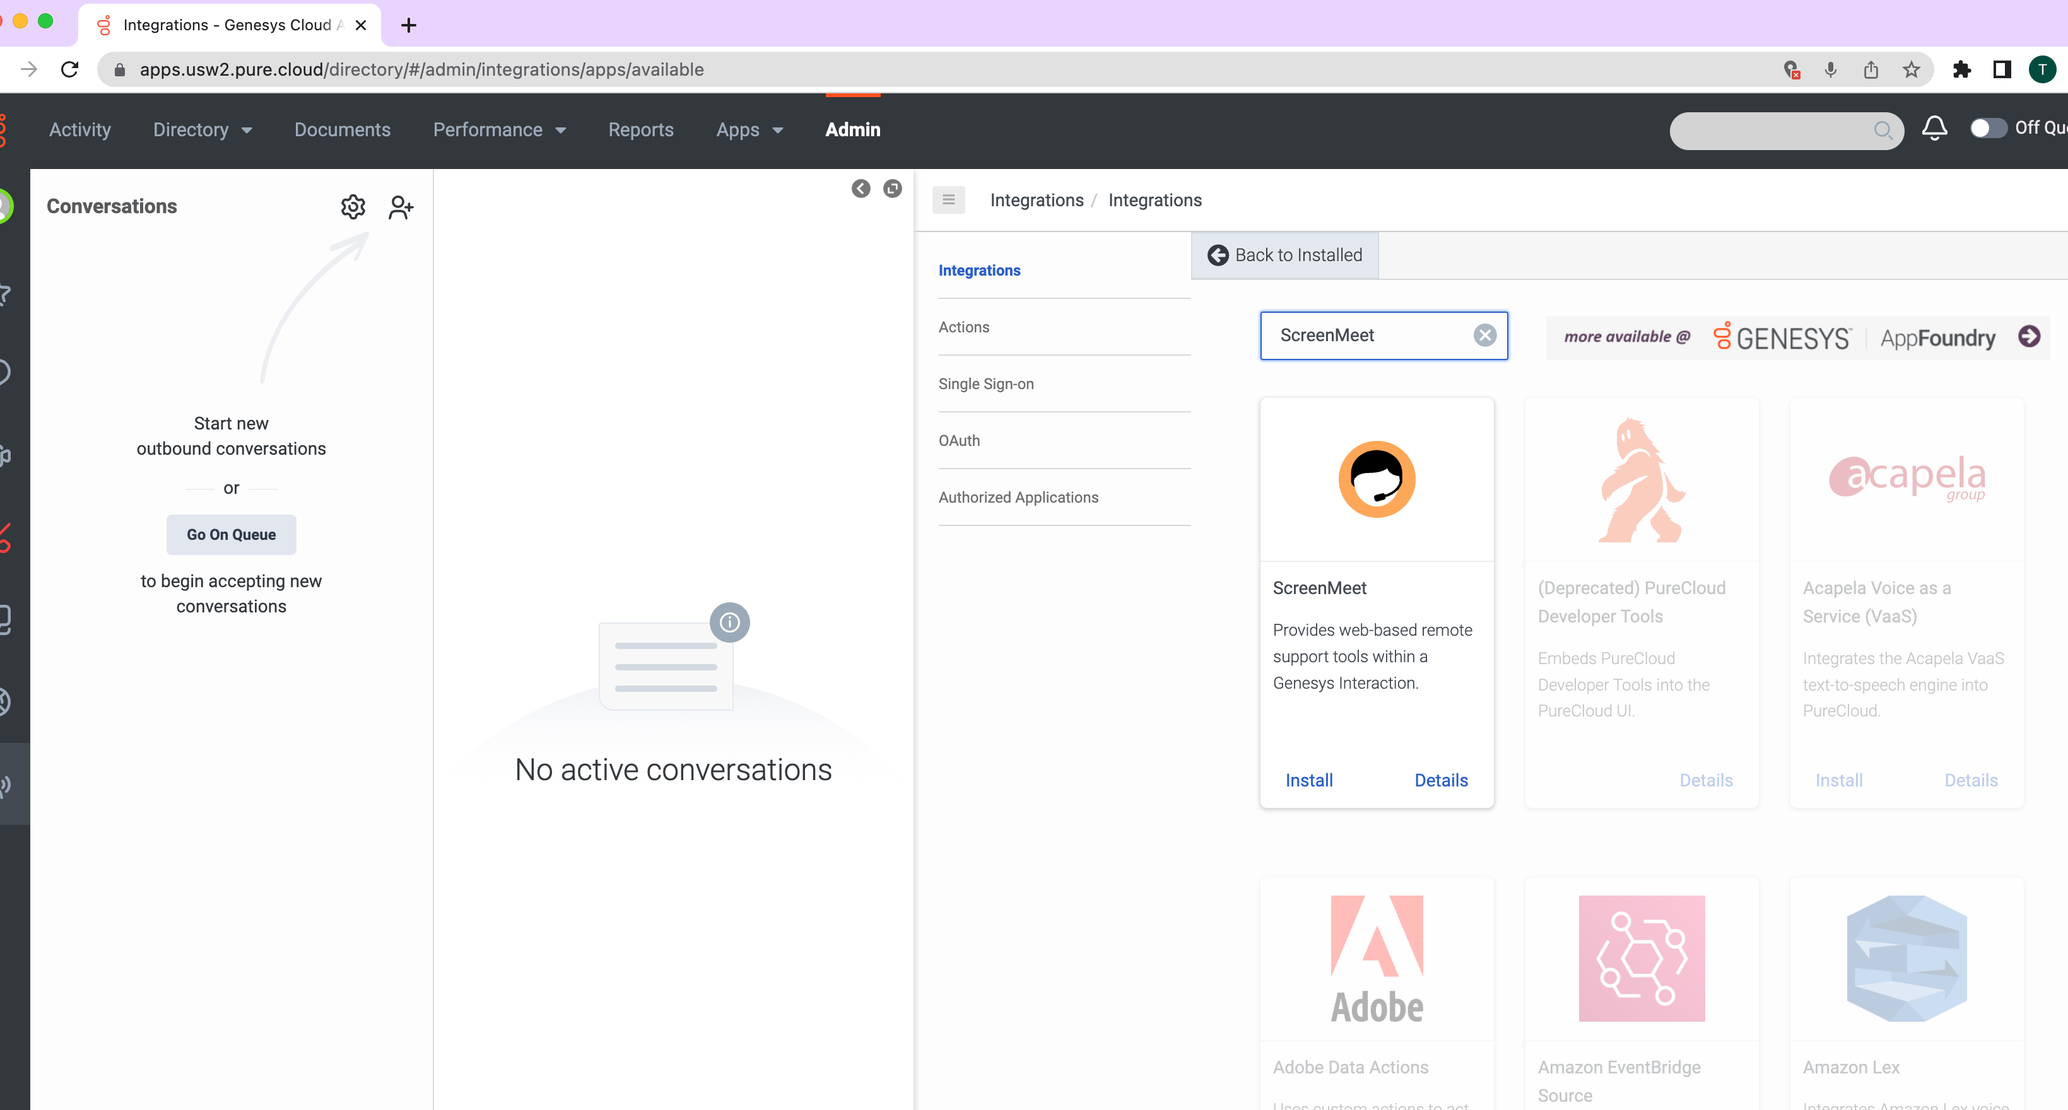
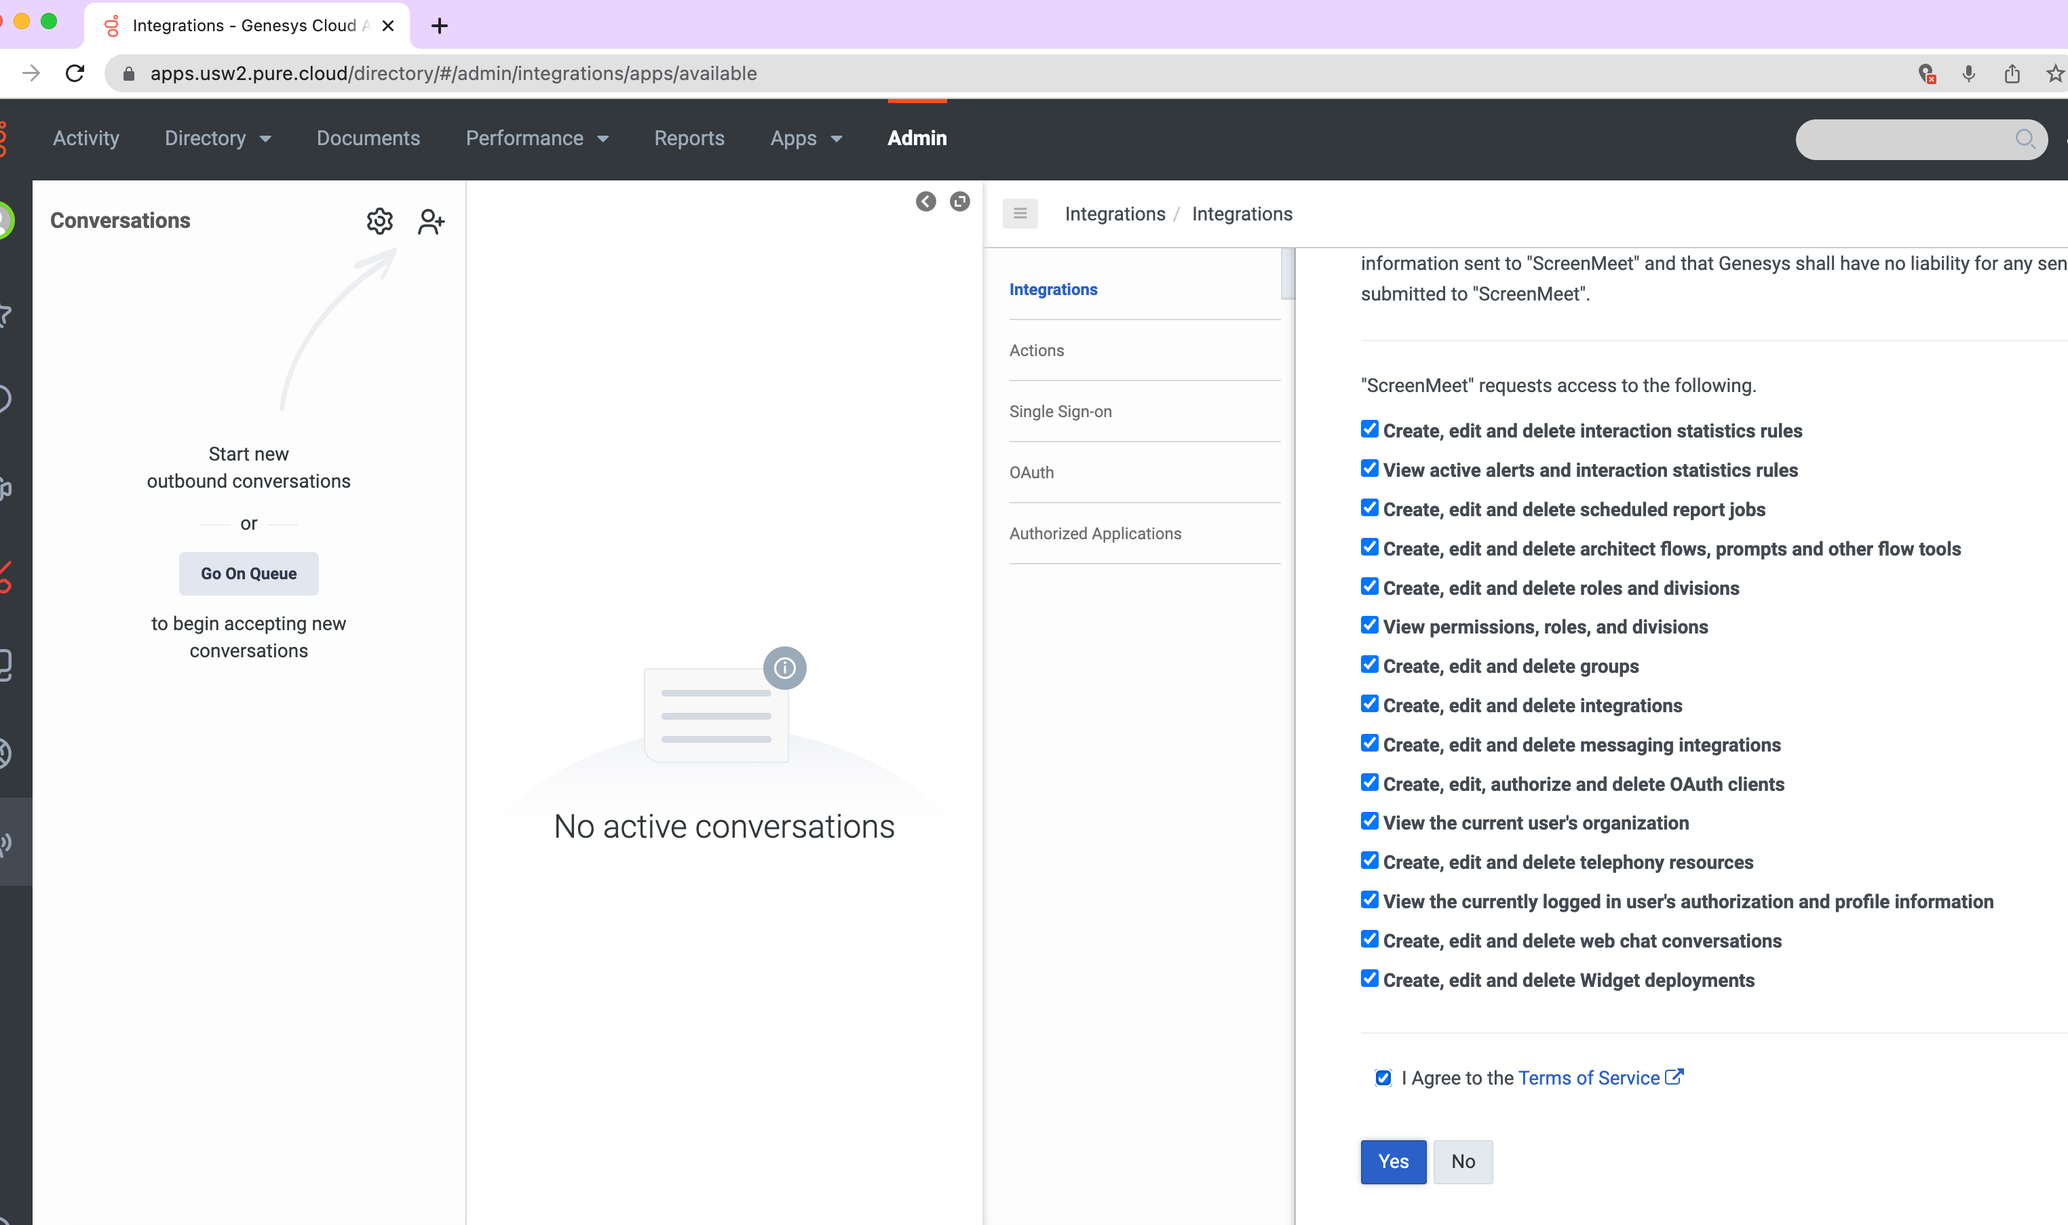
Click “Install” and then agree to all the permissions that the screenmeet app installer will need:
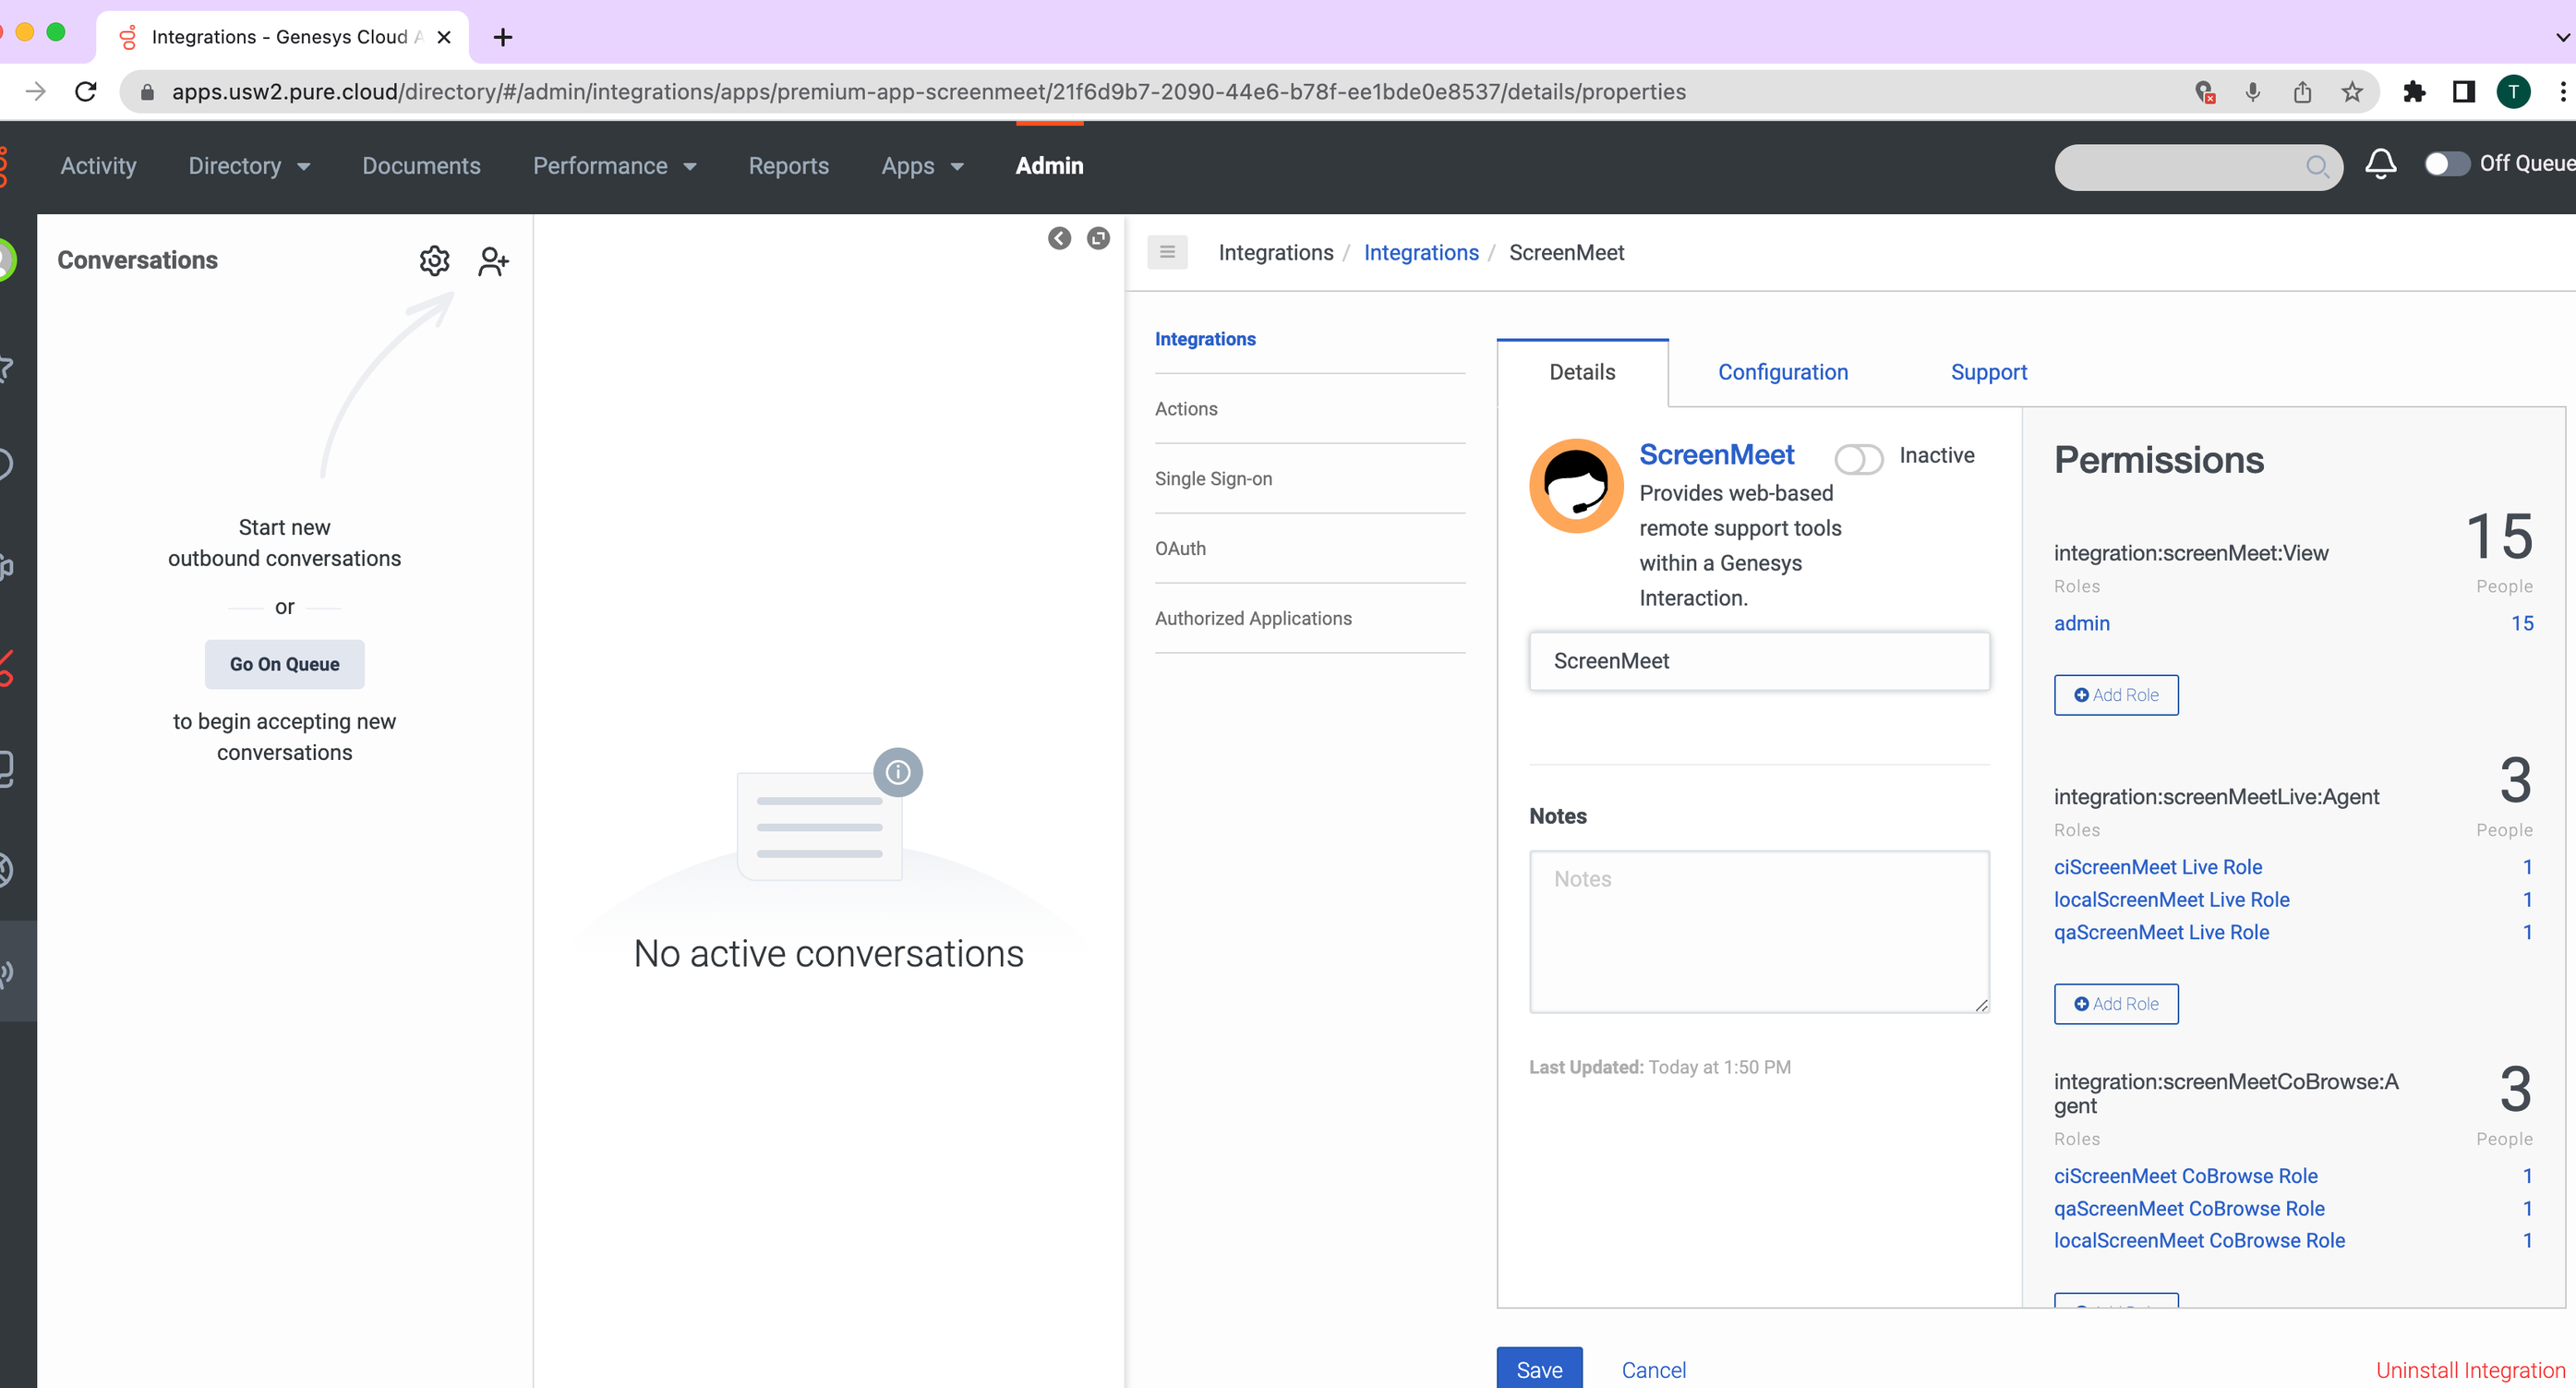
The ScreenMeet integration should now show up in your Admin “integrations” view. Click the “Inactive” toggle to “activate” ScreenMeet, and then save:
Refresh the page, and now click your “Apps” dropdown - ScreenMeet should now show up there:

Click “ScreenMeet” to load the screenmeet installer page:
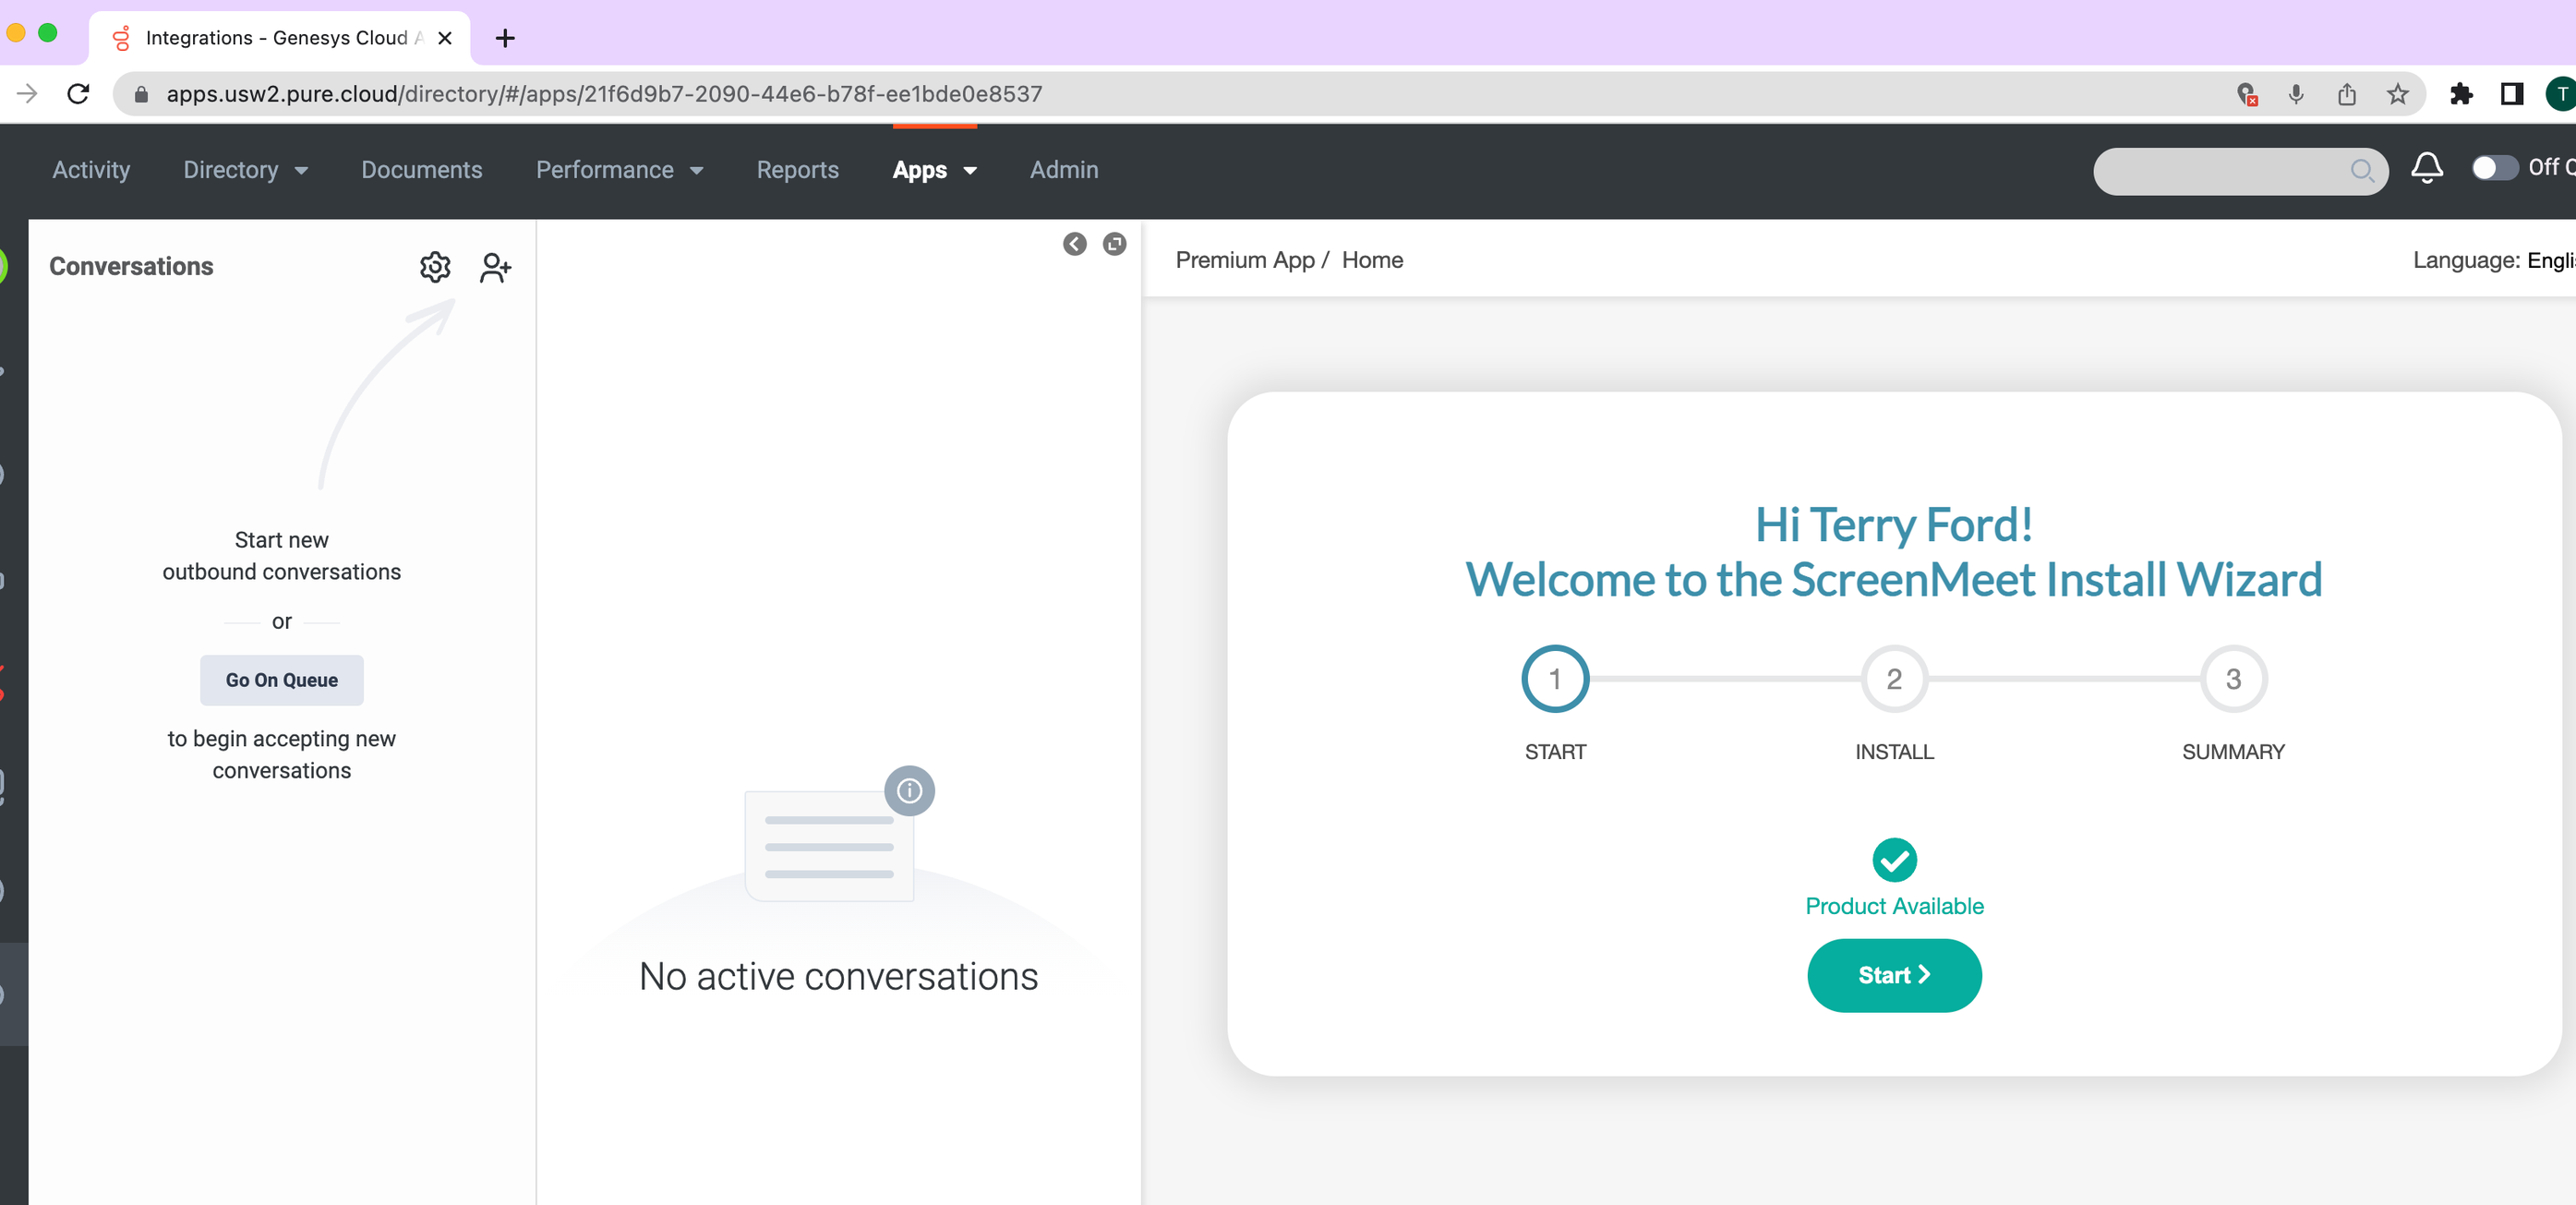
Click “Start” and follow the steps to finish installation. This will create custom roles, permissions, and groups in your instance. It will also create an oauth client that you will need to enter into the screenmeet console. At the end of the installation process, you should see a screen like the following:
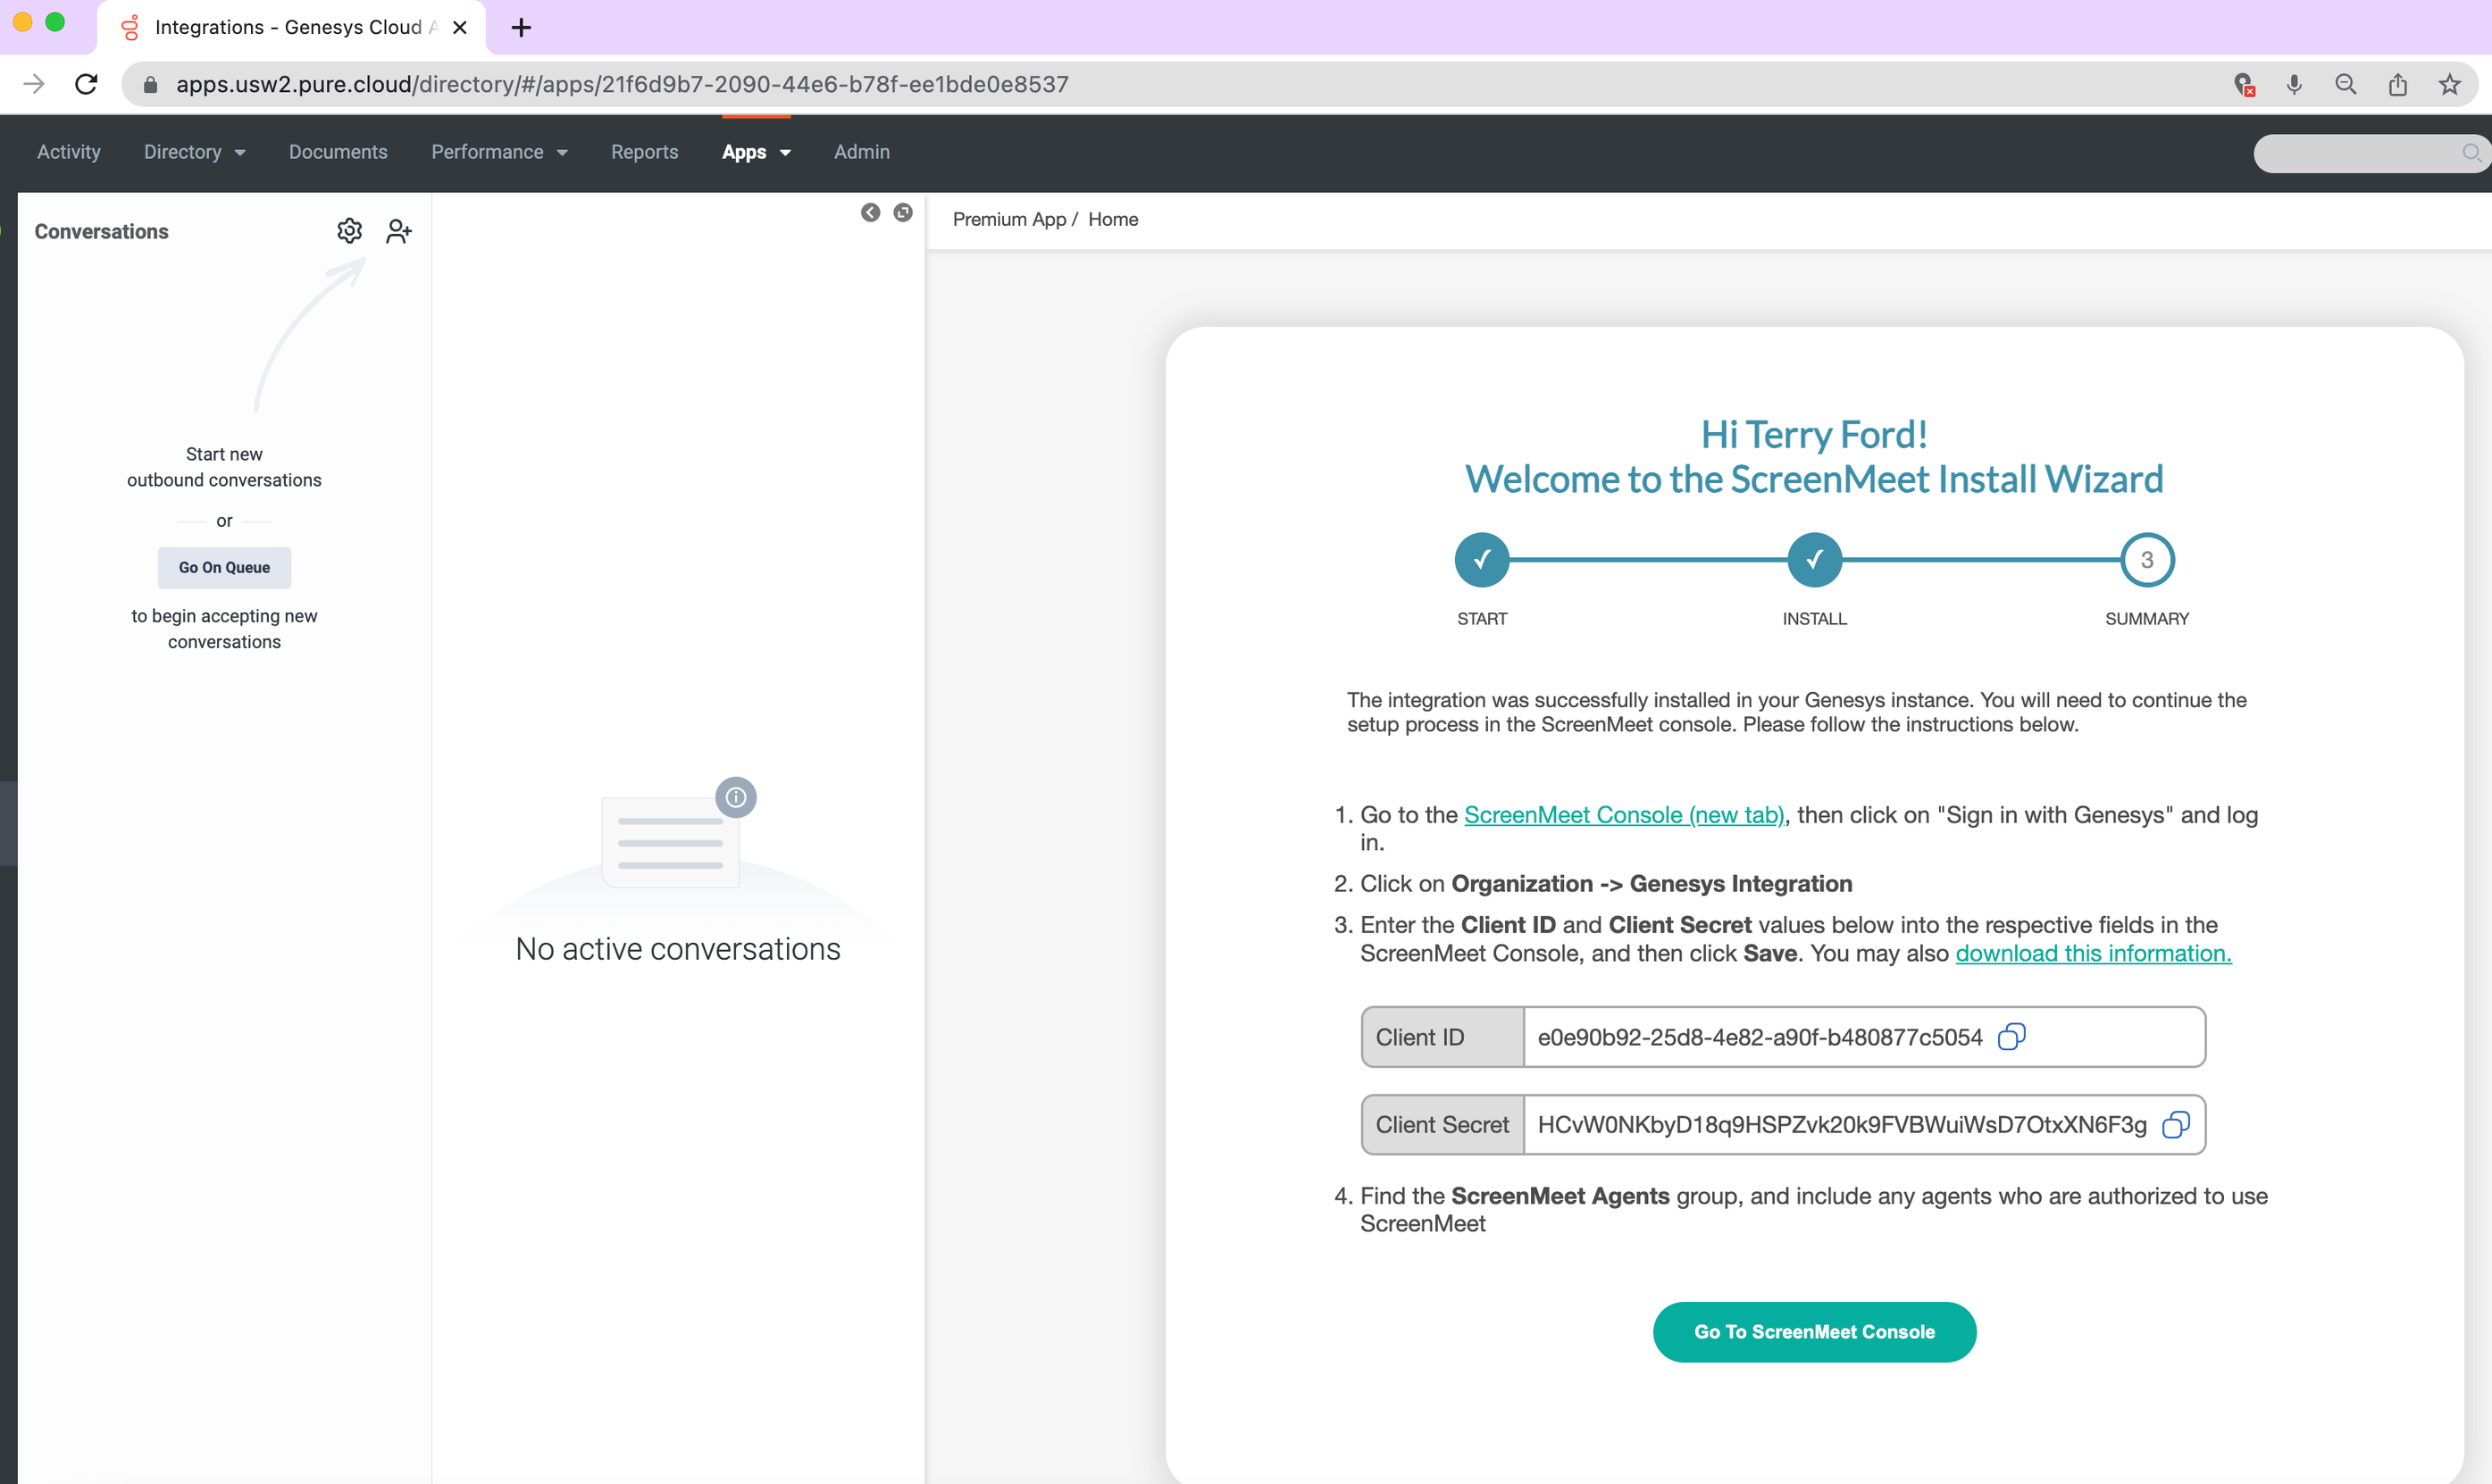
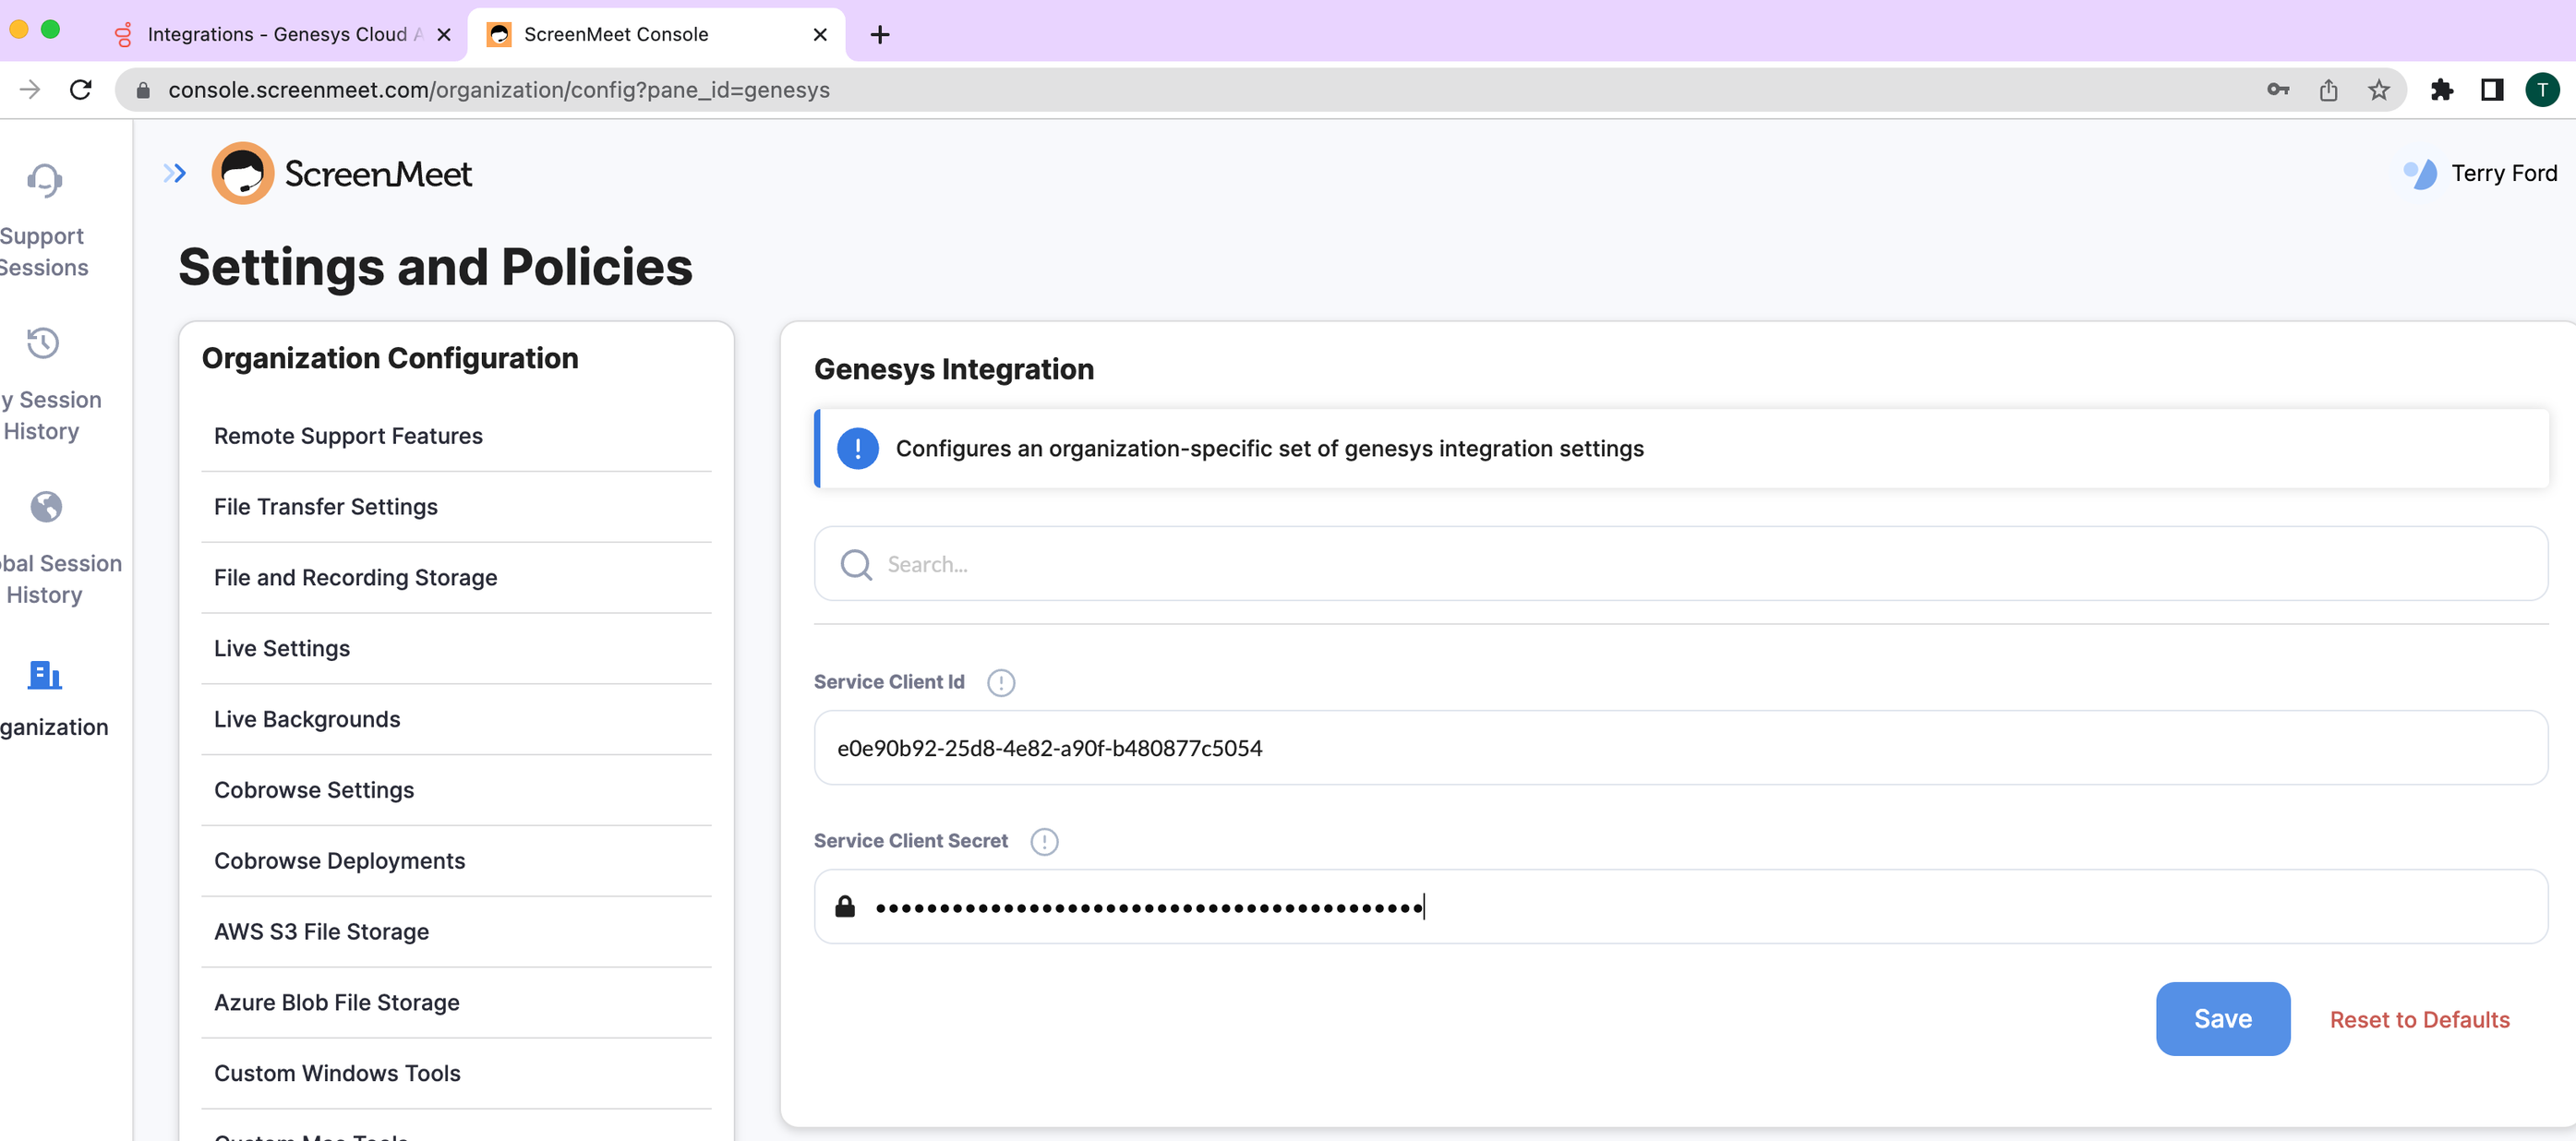
Follow the links and instructions in this summary page, to enter the newly-created client id and secret into the genesys configuration page of the screenmeet console. Then click “Save.”
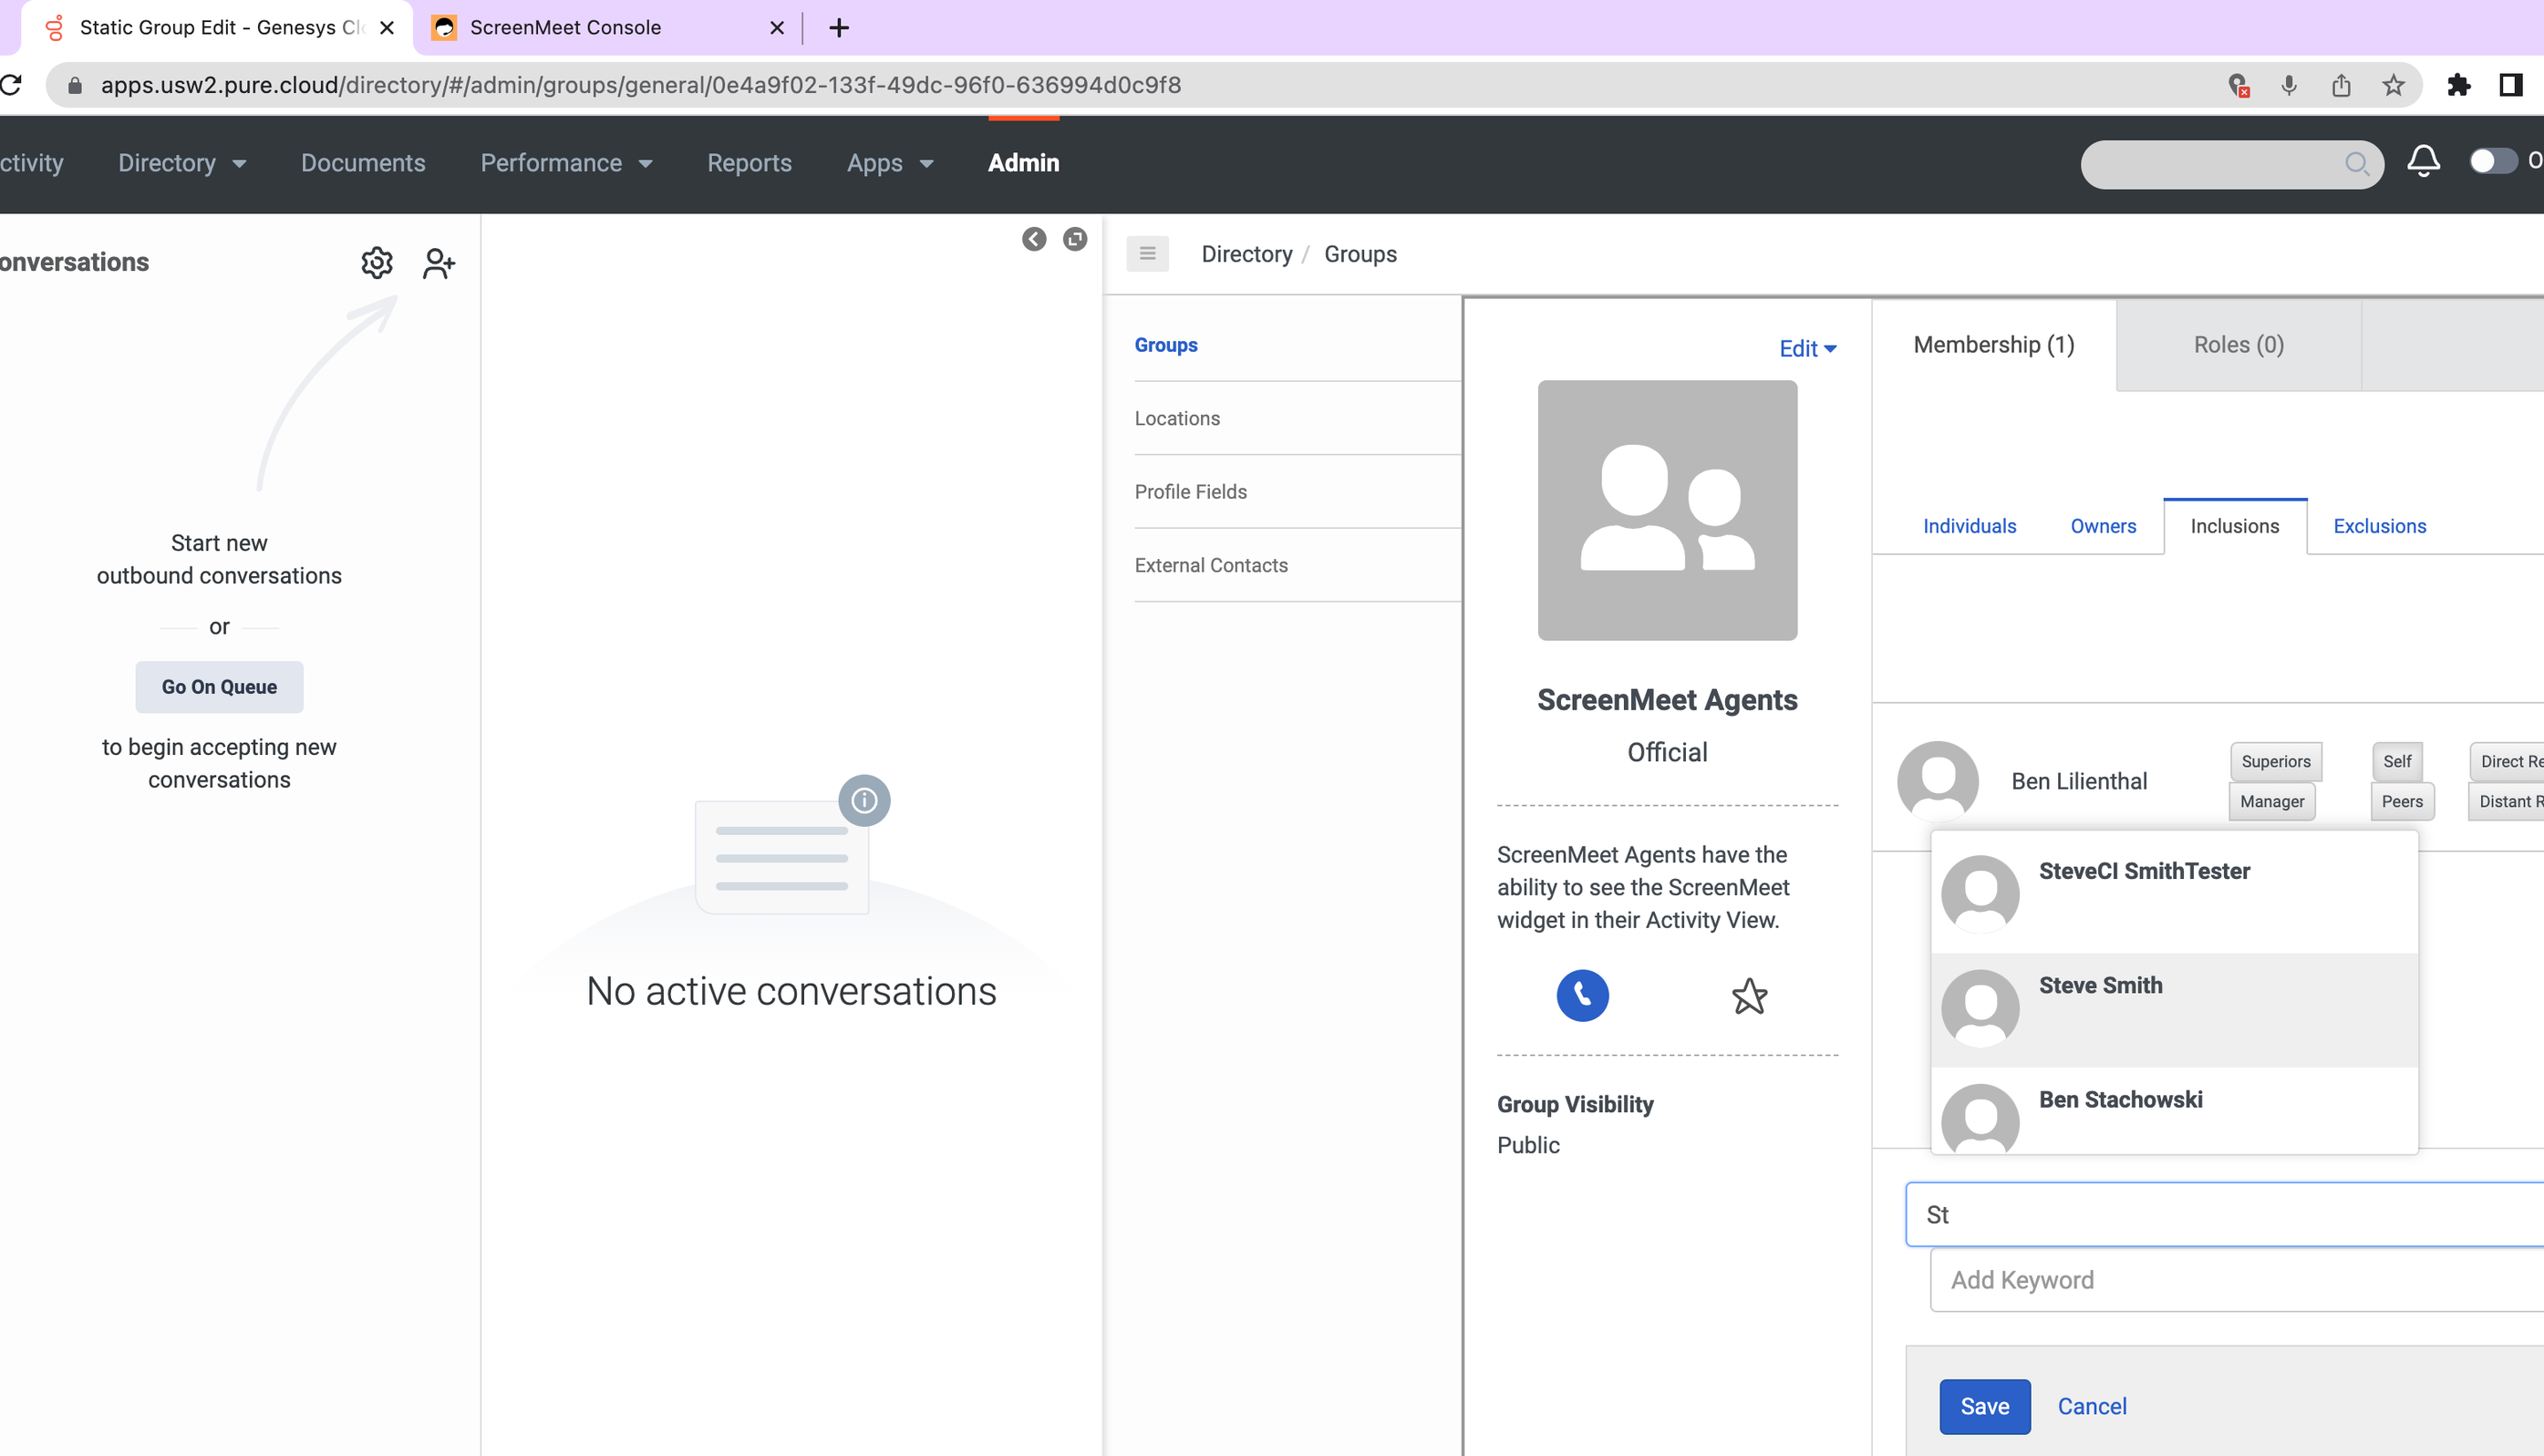
Following step 4 of the installation summary page, you will need to go back to the Genesys admin panel, and find the group called “ScreenMeet Agents.” Then add an “inclusion” to that group for any agents that need to have access to the ScreenMeet widget on their interaction view.
Now you (and any of the agents added above) should see the screenmeet icon in their interaction view:
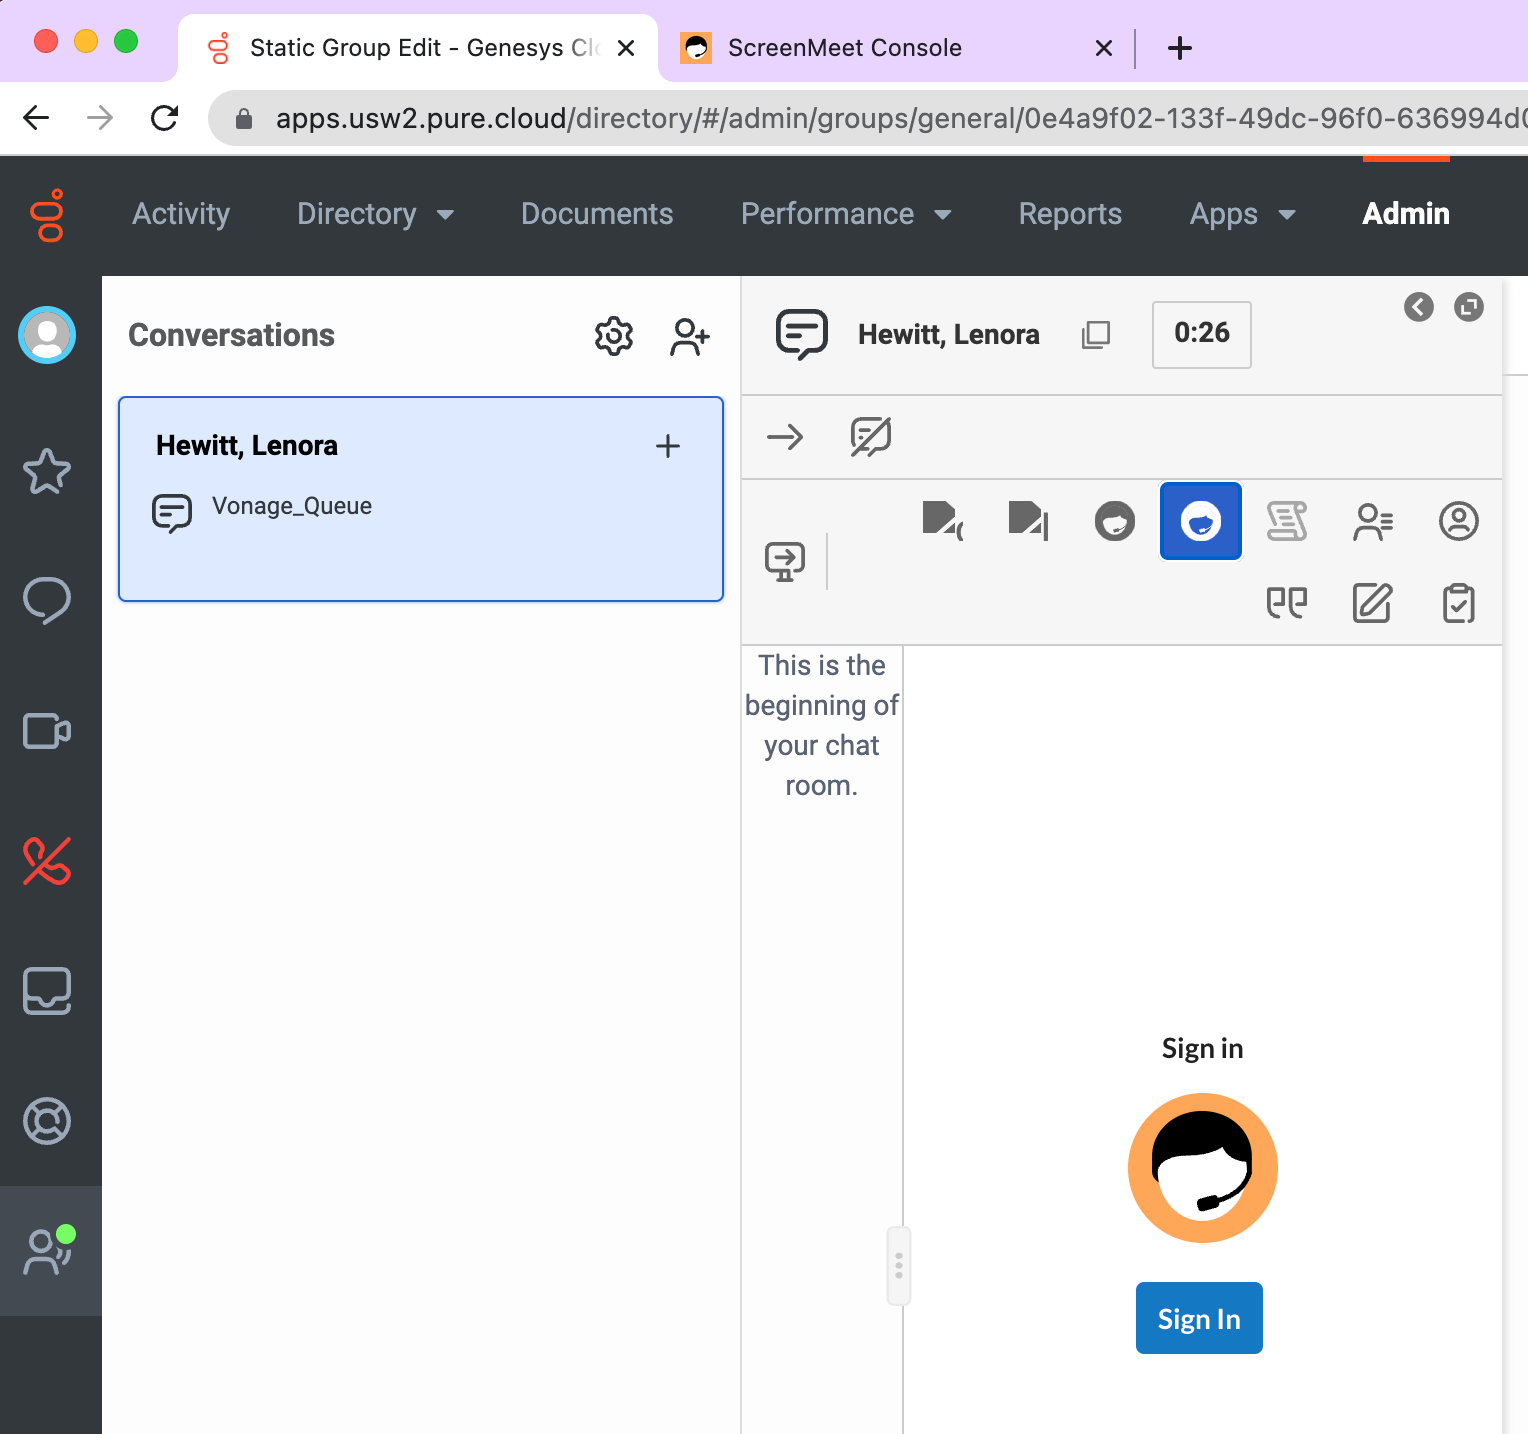
Click “Sign In,” and then you will be able to create ScreenMeet sessions which are associated with that interaction.
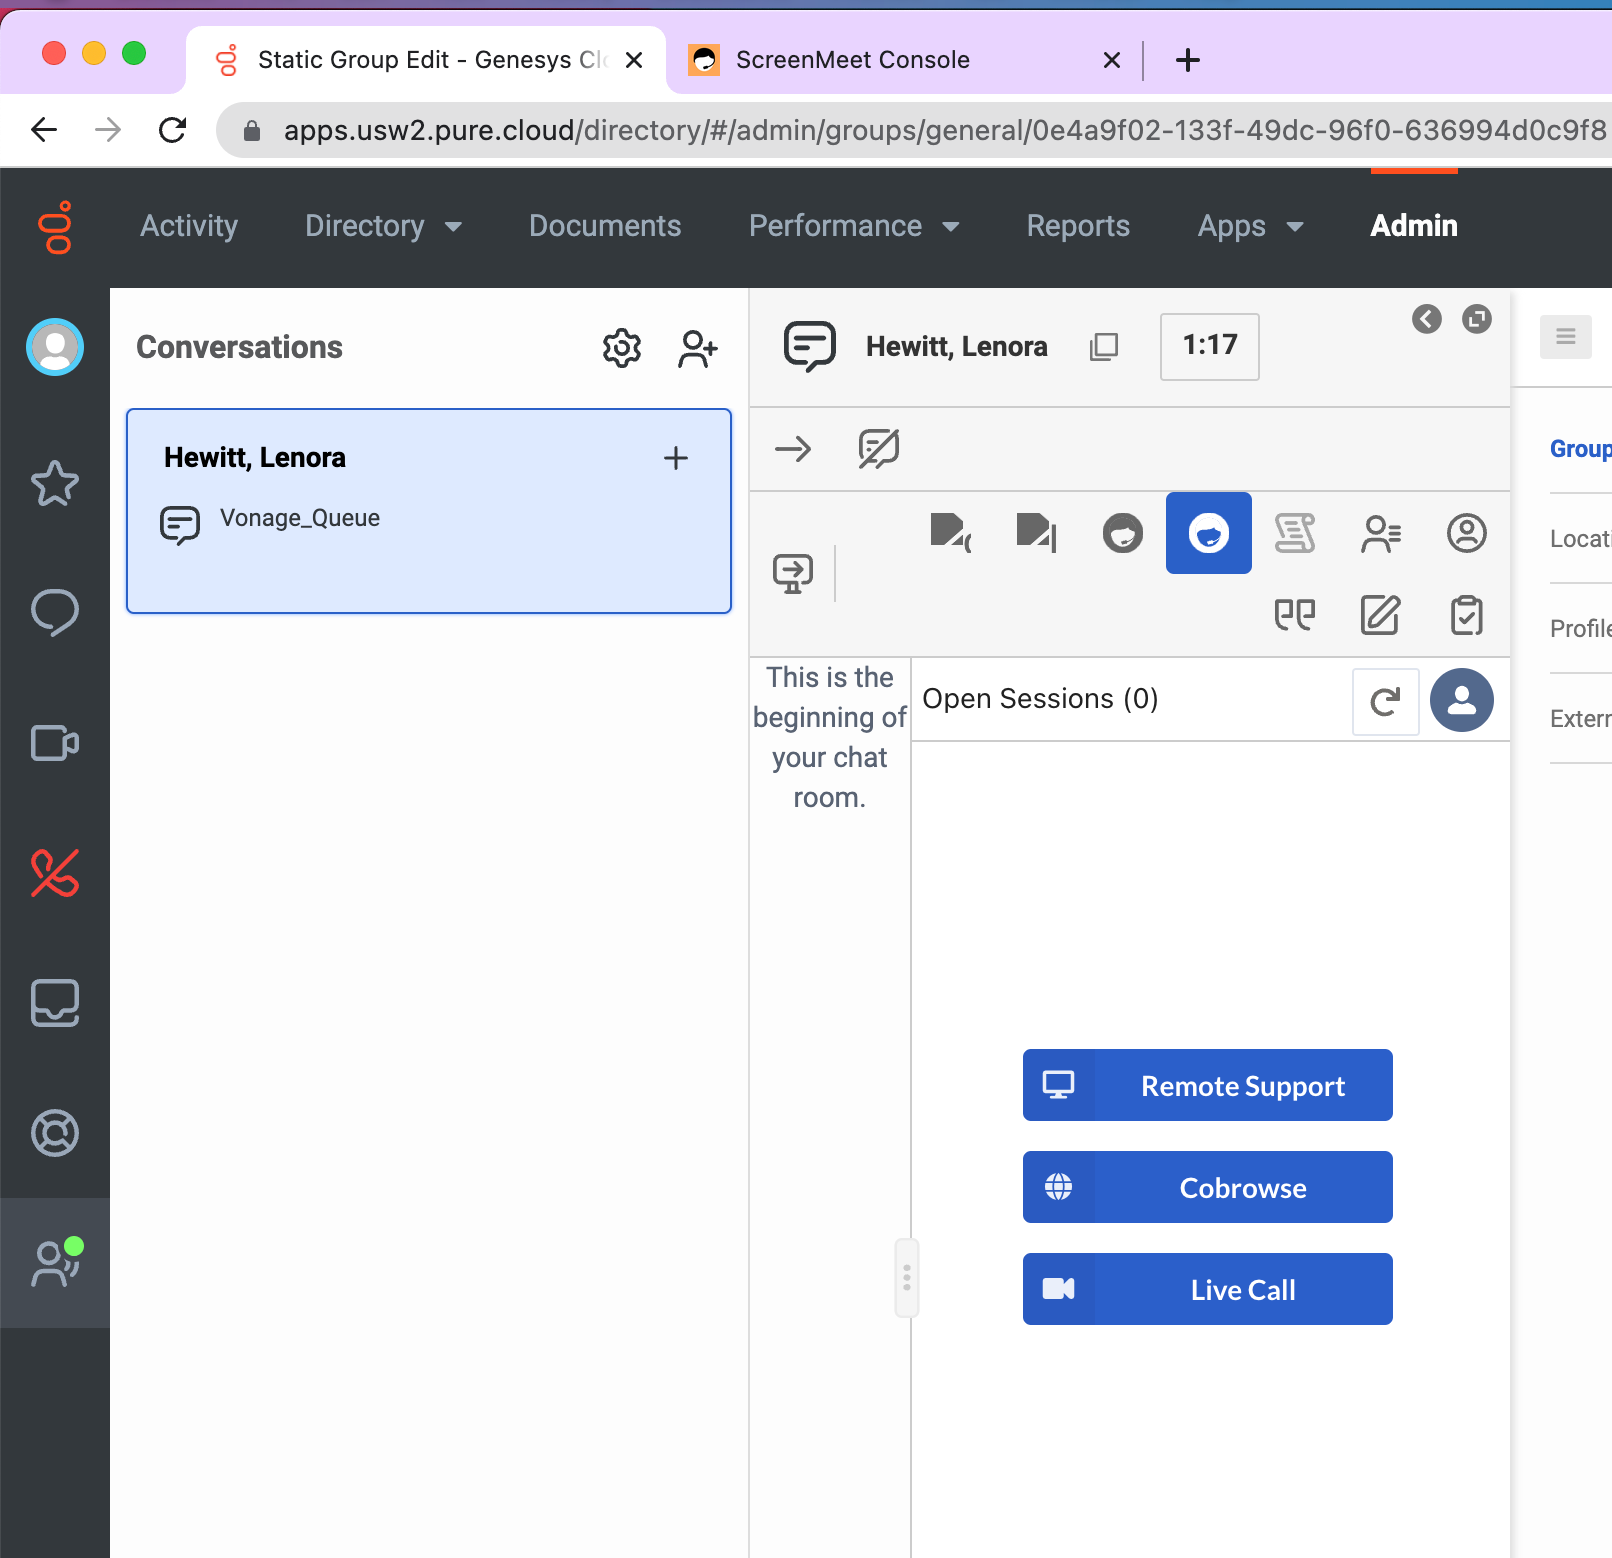
Any logs or recordings generated during the ScreenMeet session will be synced back to the “notes” field of the interaction.
.png)
