- 11 Oct 2022
- 1 読む分
- 印刷する
- 闇光
- PDF
Installing the Windows Beam Client to a Device
- 更新日 11 Oct 2022
- 1 読む分
- 印刷する
- 闇光
- PDF
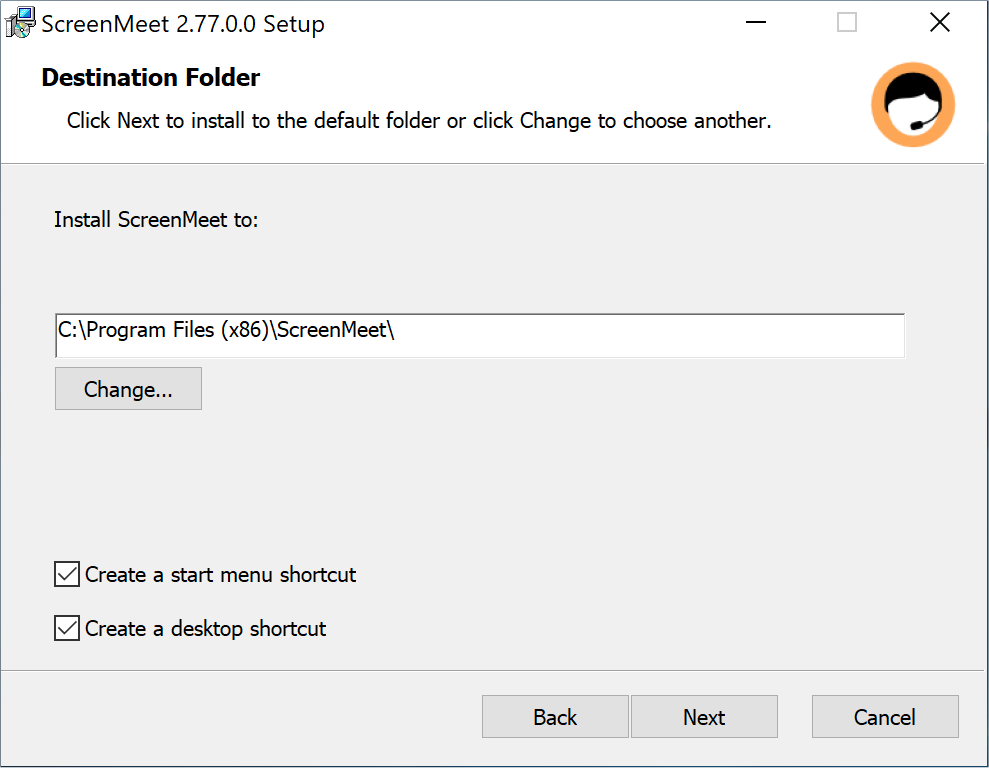
Then click ‘Next’ to get to the next install menu and select the Destination Folder and choose whether you want to create a start menu shortcut and desktop shortcut.

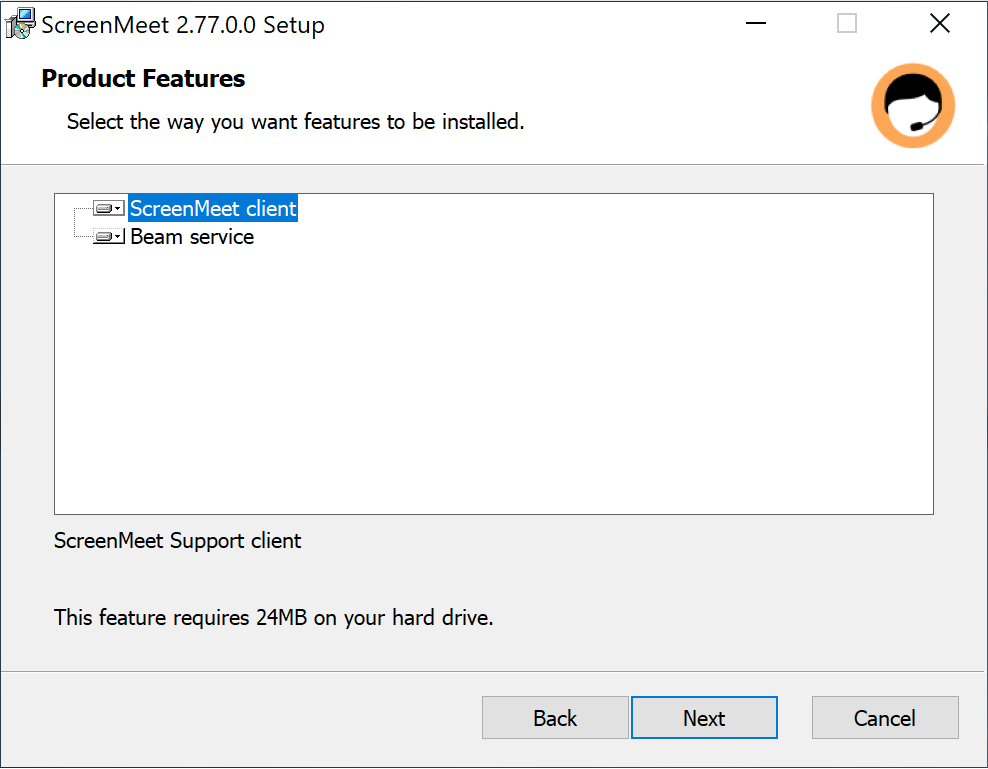
The next menu will ask you to select the features to be installed.

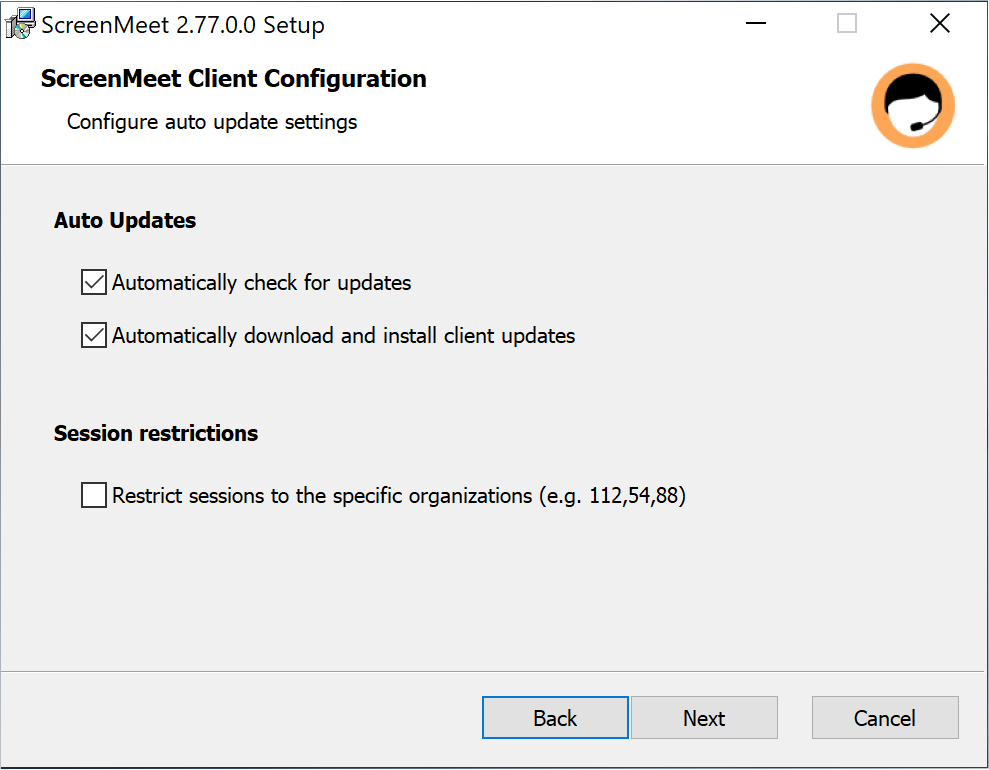
The next menu is to configure auto update settings. You can have the client check for updates and automatically download and install the updates.

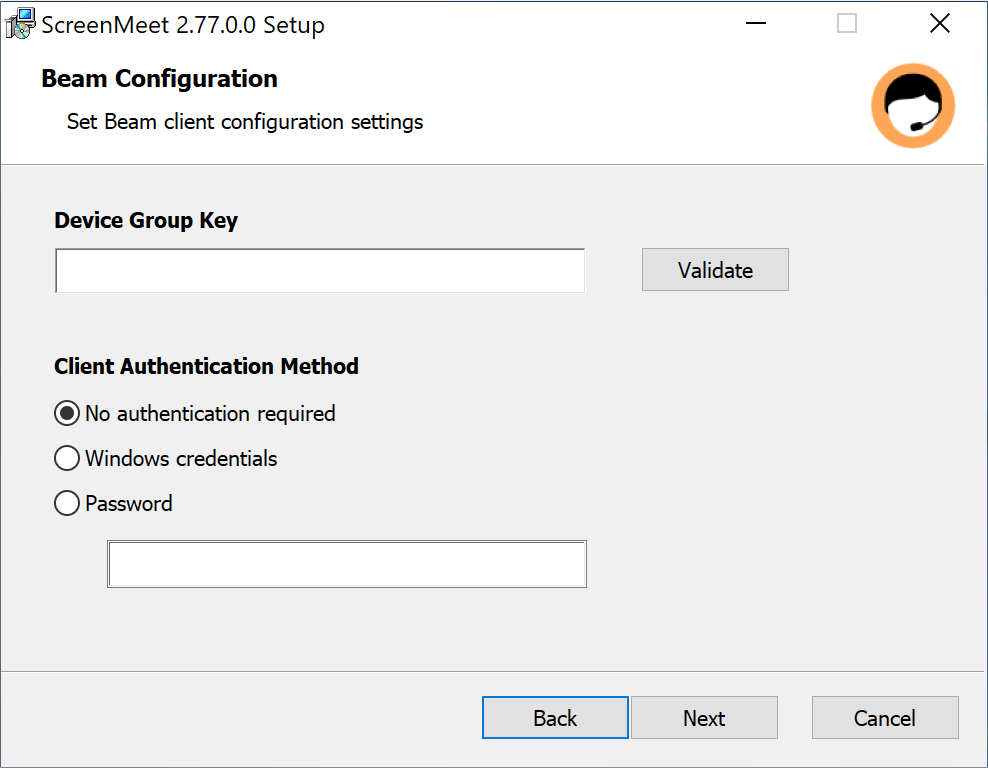
The final two screens are for configuring Beam. When you added the Beam group in ScreenMeet Console, a Device Group Key was created. This value needs to be added to the Device Group Key field and validated. You will also select the authentication method on this screen.

If the ScreenMeet UI should be hidden when a Beam session is active, you can enable it on this screen. You can add a Label to provide a description for the machine. Tags can also be added for searching and organization. Filing logging and uploading can also be enabled / disabled in this screen. These options can be enabled later in the ScreenMeet UI as well.
.png)
Click Install and Finish.
To check your device shows up in the Beam group, log into https://console.screenmeet.com and go to the relevant Beam group.

.png)

.png)