Component settings overview
The ScreenMeet and Salesforce integration contains additional settings within the component itself in Salesforce.
Adjusting component settings
- Navigate to the page layout where you have deployed ScreenMeet in previous steps as a Salesforce administrator.
- Click the settings gear at the top left of the page -> Edit Page
- Navigate to where you have placed the ScreenMeet component and click on the component itself.

Component setting descriptions
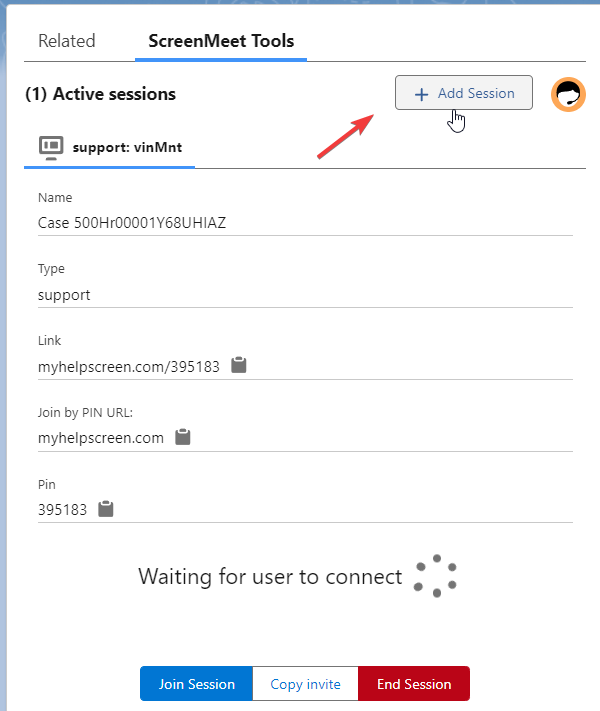
Support Multiple sessions
- Adds the ability for agents to create multiple sessions within a given object in Salesforce.
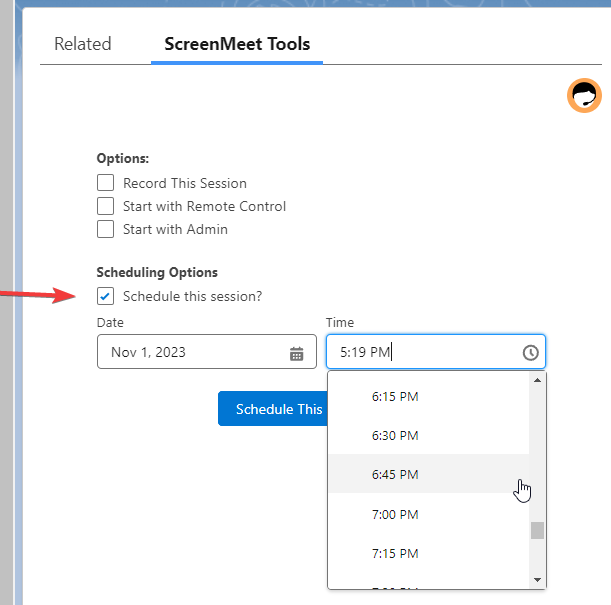
Enable Scheduling
- Allows a session to be scheduled at a future time.
- The session automatically becomes active 15 minutes before the session.
- You may not schedule a session that starts in less than 15 minutes from the time of scheduling.
Allow agents to enter support sessions early.
- Allows the agent to press the "join session" button before the end user joining the Remote support session
- It is only applicable for the remote support product.
- When the agent presses "join session" and the end-user has not yet joined, the session will state, "This session is not active."
- When the end user joins the session, the agent viewer will automatically load the view of the end user's machine within the same tab referenced above where it said "This session is not active."
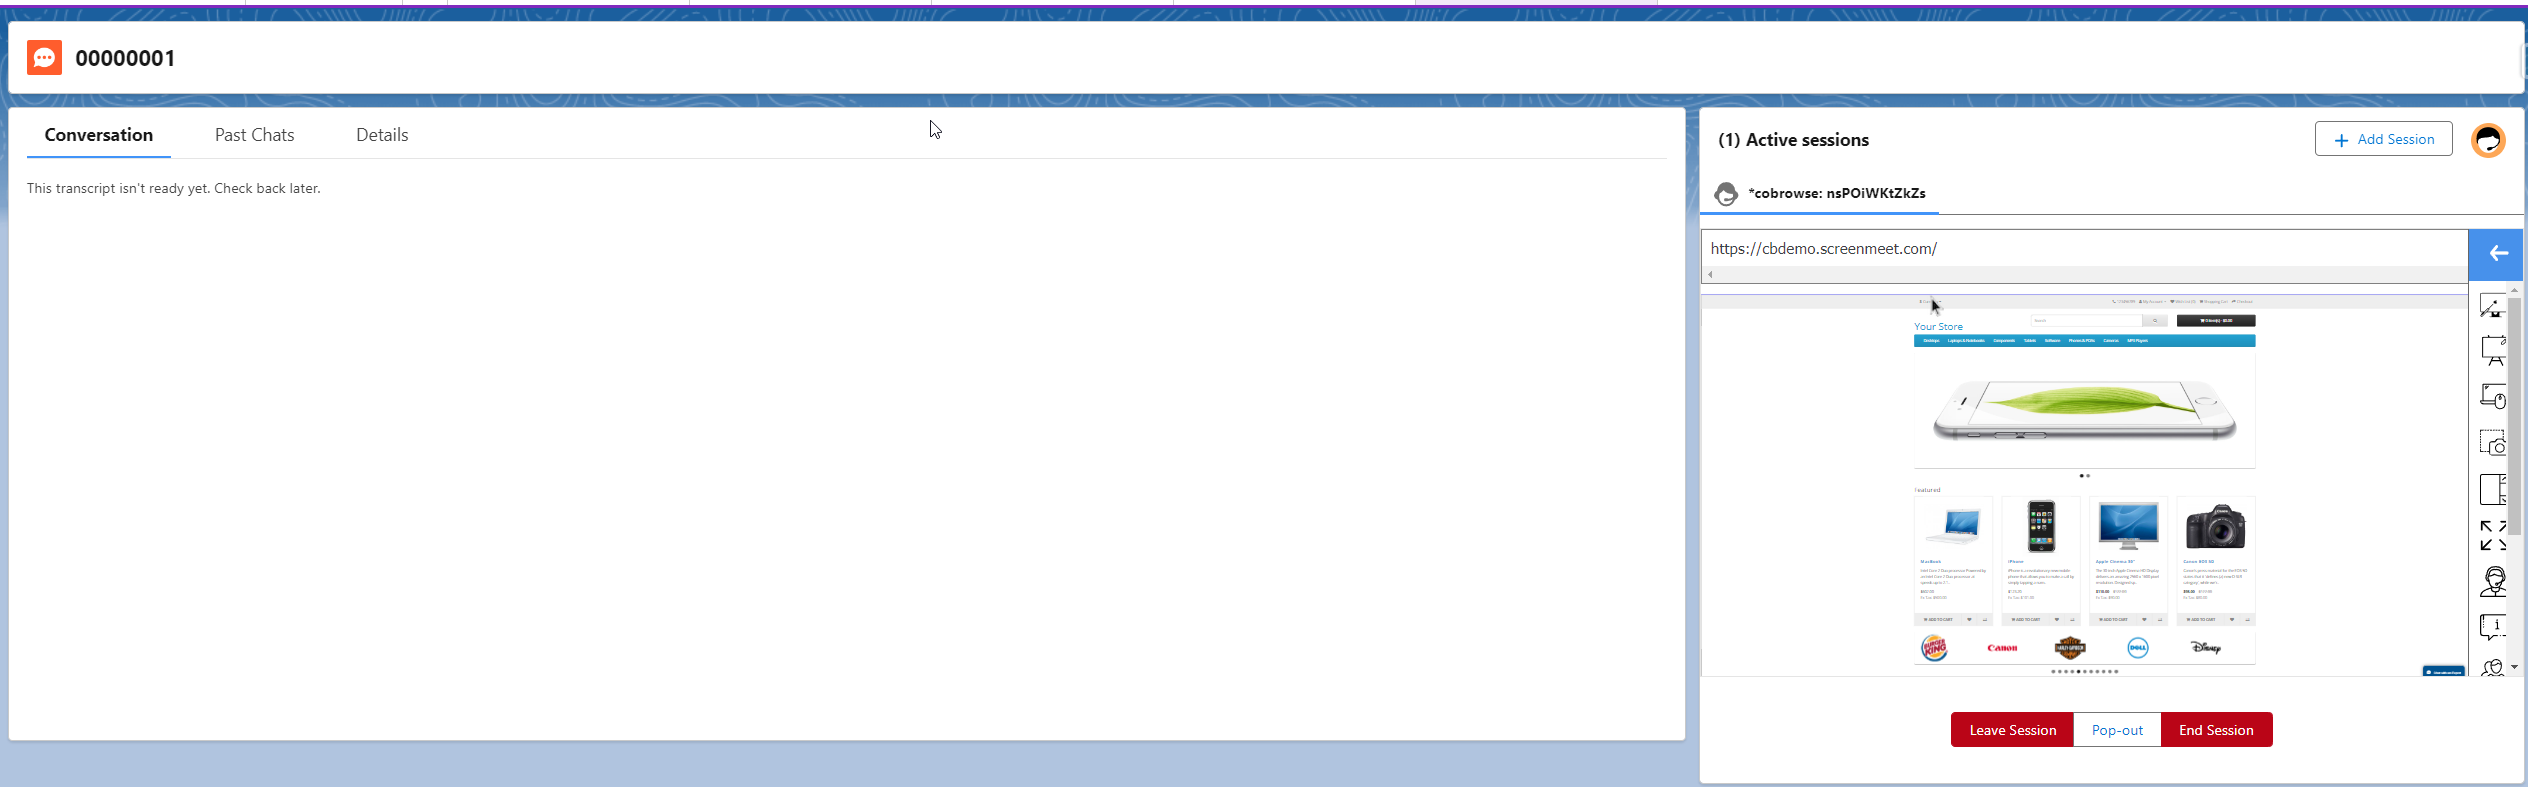
Allow CoBrowse to be started within an embedded view instead of a new tab
- Allows the agent to view the CoBrowsed page within Salesforce itself rather than needing to open the agent viewer in a new tab.
- This can be helpful for agents since they can more closely relate a given CoBrowse session to an ongoing chat transcript or given record type within Salesforce.
- There is also an option to pop out the CoBrowse window if the agent needs more space to view the page content.
- Depending on where the ScreenMeet component is placed on the page layout, it may display more of the CoBrowse content in a larger view.
- in the example shown below, if placed in the left side column with more static space allocated, it allows the component to expand to size, displaying more content to the agent.
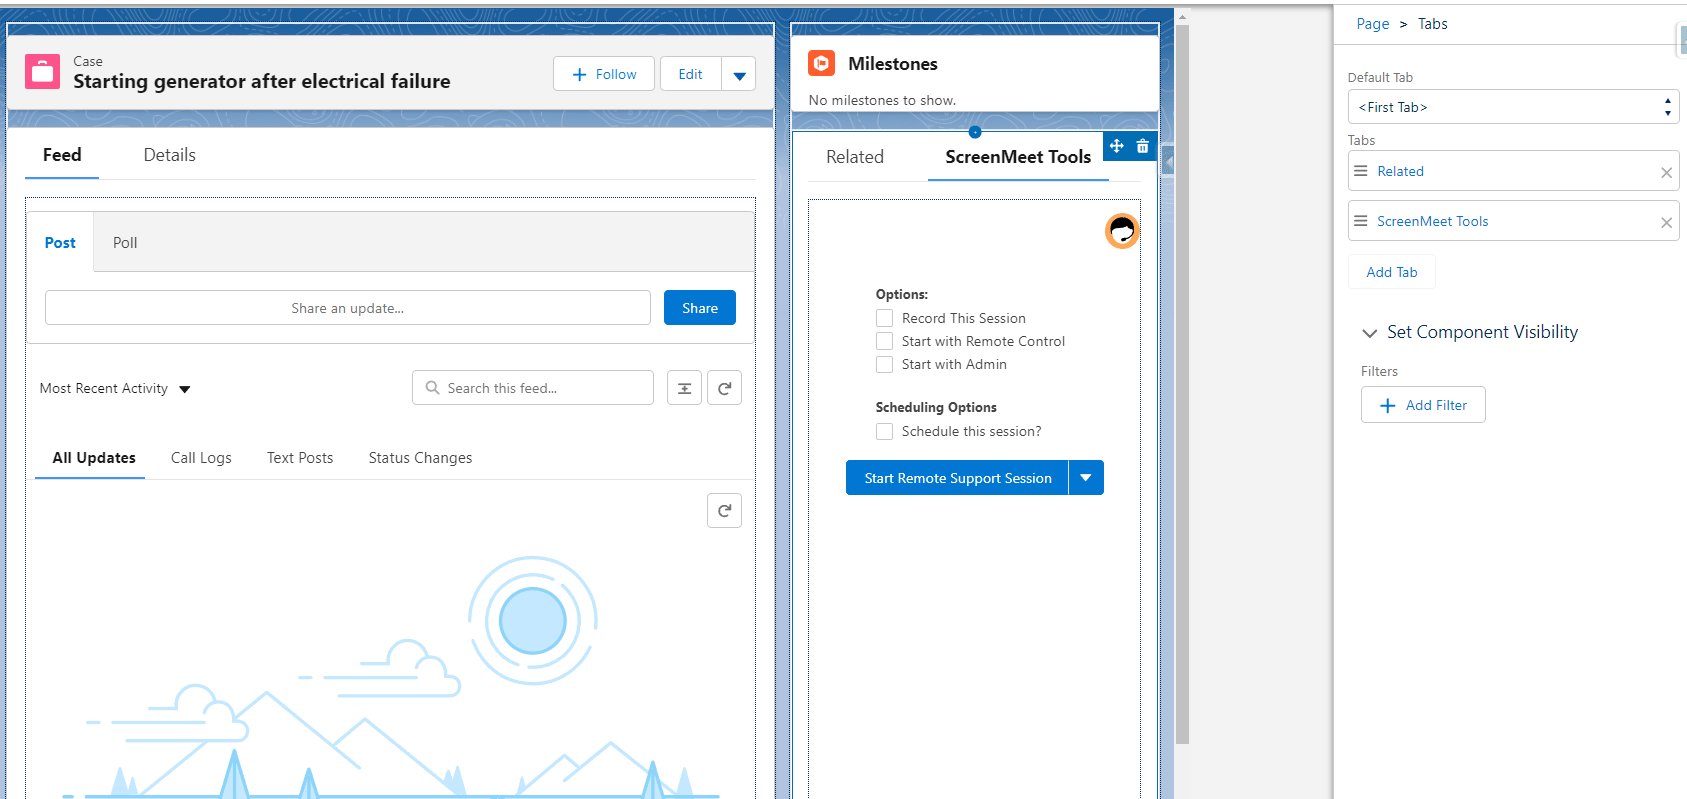
Adjusting component visibility to only those with ScreenMeet permissions
For your organization, only a given subset of your business users likely needs to see the ScreenMeet widget upon loading the case/object that is embedded into.
As a best practice, it is suggested to adjust the component visibility to only show to users who have the ScreenMeet agent/supervisor/admin role.
This will improve page performance and keep the page layout consistent for the users who do not utilize/need ScreenMeet access.
- Open the record that the ScreenMeet widget is embedded on
- Click on the settings gear at the top right of the page and click on "edit page".
- Click on the ScreenMeet widget.
- Click on Filters under Set Component Visibility
- Click Advanced, set the type to permissions -> custom permissions -> screenmeet.ScreenMeet_Agent / administrator/supervisor.
- Save the changes.
Once the above has been done, users without the ScreenMeet agent custom permission(assigned as part of the ScreenMeet agent permission set) will not have to load the widget upon loading the record/object in question.