A service account is required to allow your Salesforce organization to communicate with ScreenMeet's servers. This guide will outline how to set up your service account user in Salesforce.
Create the ScreenMeet Service Account User
Create a new user in your organization that will be dedicated to the service account. We recommend naming this user ScreenMeet Service Account and minimizing access for this user as a security best practice.
Document the new user's username and password — these will be needed later.
Assign the following permission sets to this service account:
ScreenMeet Service (permission set is created automatically during installation)
ScreenMeet Service System Permissions (You will manually create the ScreenMeet Service System Permissions permission in the next step)
NOTE: For security reasons, we recommend using a dedicated user account for the ScreenMeet Service and not an account shared with other third-party integrations.
Create the ScreenMeet Service System Permissions Permission Set
Go to Setup in your Salesforce organization.
Type Permission Sets in the Quick Find, then click on Permission Sets.
Click on New to create a new permission set and enter "ScreenMeet Service System Permissions” for the Label. Enter "ScreenMeet_Service_System_Permissions" for the API Name, then click Save.
Enable System Permissions
Open your ScreenMeet Service Permission Set Overview > System Permissions.
Click on Edit.
Enable the following permissions:
Apex Rest Services
API Enabled

Password Never Expires

Customize Application

Click Save.
Click Save on the confirmation dialog.
Click on Manage Assignments for the Service Account Permission Set and assign it to the ScreenMeet Service Account user you created in the first step.
Enable Set Audit Fields System Permission (Optional)
In some cases, ScreenMeet sessions will be created on behalf of other users by the service account. In those cases, the Created By field will be populated as the Service Account by default. To have the Created By field display the user who requested the session, follow the steps below:
Sign in as a System Administrator, then go to Setup.
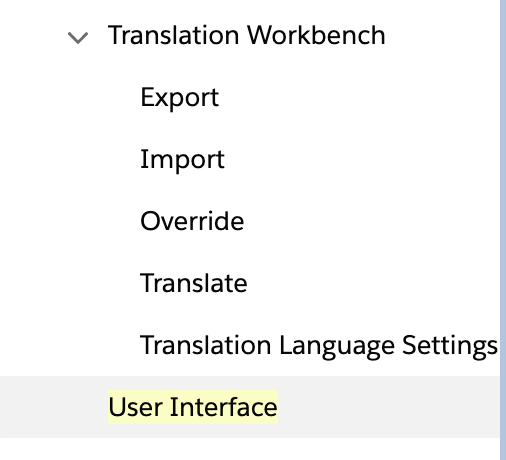
Search for User Interface in the Quick Find box.
Click on User Interface from the search results (it will be at the bottom of the list):

In the Setup section, enable the option labeled Enable "Set Audit Fields upon Record Creation" and "Update Records with Inactive Owners" User Permissions.

Click Save.
From the ScreenMeet Service System Permission Set Overview, open System Permissions.
Click on Edit.
Find the Set Audit Fields upon Record Creation permission and enable it.
.png)
Click Save.
Click Save on the confirmation dialog.
Create Security Token
Sign in to your Salesforce instance as the ScreenMeet Service Account user.
Click on your avatar in the top-right and click Settings.

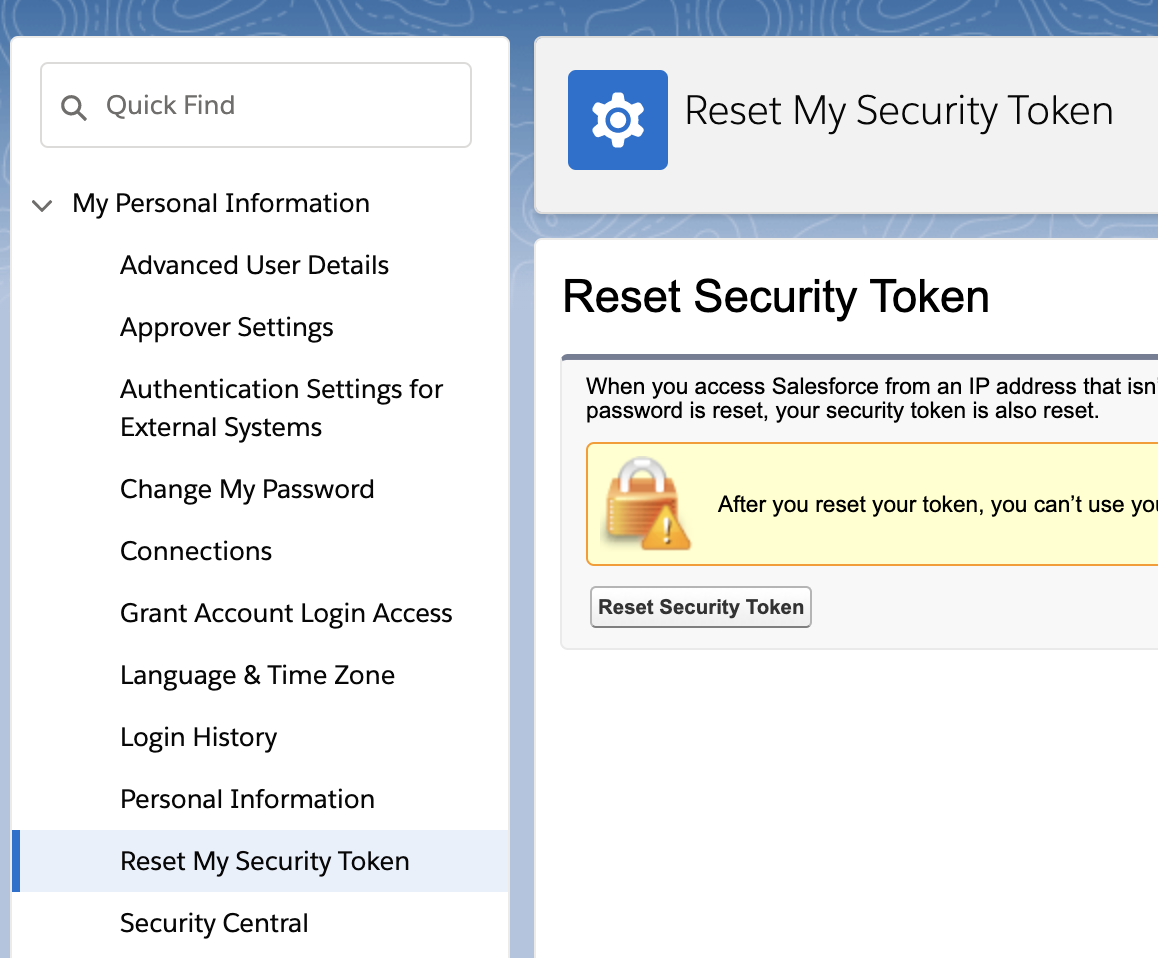
Click Reset my Security Token from the menu on the left under My Personal Information.
Click the Reset Security Token button.

An e-mail will be sent to the email address of the ScreenMeet Service Account user with the security token.
NOTE: If there’s no option to Reset My Security Token, check that Login IP Range is not set for the profile. If the Login IP Range is set, append the following after the Organization URL. This will enable you to reset the security token.
/_ui/system/security/ResetApiTokenEdit?retURL=%2Fui%2Fsetup%2FSetup%3Fsetupid%3DPersonalInfo&setupid=ResetApiToken
For example:
https://yourorg.lightning.force.com/_ui/system/security/ResetApiTokenEdit?retURL=%2Fui%2Fsetup%2FSetup%3Fsetupid%3DPersonalInfo&setupid=ResetApiToken
Enter Service Account configuration into ScreenMeet Console
Click Salesforce if using a production instance, or Salesforce Sandbox if using a sandbox instance.
Sign in with either the ScreenMeet Service Account credentials or a user account with the ScreenMeet Admin permission set.
Click accept on the Permission Entitlement authentication dialog for the ScreenMeet app if it appears.
Click Organization > Settings and Policies.
Click Salesforce Integration at the bottom of the menu.
Enter your ScreenMeet Service Account username, security token, and password into the corresponding fields.
If you enabled Set Audit Fields upon Record Creation, be sure to enable Override CreatedById (Requires Permission).
.png)
Click Save.
(Only for ScreenMeet package v1.12+) After saving the configuration, click the Configure and Validate Salesforce Org button. This will confirm that the ScreenMeetAPI and your Salesforce Org can communicate. This will also update internal encryption keys used to communicate between the platforms.

If Configure and Validate Salesforce Org fails, please check the following:
Verify username, password, and security token are valid by referencing the login history within Salesforce of the ScreenMeet Service Account user.
If no login attempts are shown, check username or check that you enabled the sandbox setting referenced here.
If invalid password responses from our API calls are shown, verify that token and password are entered correctly.
Verify the Service Account user has both the premade + custom service permission set added to its permission sets/groups.