Upgrading from 2.x to 2.5+
- 27 Jan 2022
- 1 Minute to read
- Print
- DarkLight
- PDF
Upgrading from 2.x to 2.5+
- Updated on 27 Jan 2022
- 1 Minute to read
- Print
- DarkLight
- PDF
Article Summary
Share feedback
Thanks for sharing your feedback!
As of version 2.5, ScreenMeet requires a service-account to be set up as part of your instance configuration. In order to reduce downtime during the upgrade process, please follow these steps in the sequence provided:
1. Set up your service account
- Create a new user named "ScreenMeet Service Account" or other desired name
- Choose the password (you will need to enter this later in the ScreenMeet console)
- Check off "Web service access only" to restrict regular logins as this user
- Add the following roles to the user:
- x_prois_sm.remote_support
- x_prois_sm.service_account
- Save the user
- Ensure that the user is configured such that their password never expires to avoid service interruption
2. Enter service account info into ScreenMeet console
Make sure you are signed in with an account which has either the admin or x_prois_sm.remote_support_admin roles.
- Navigate to https://console.screenmeet.com/servicenow
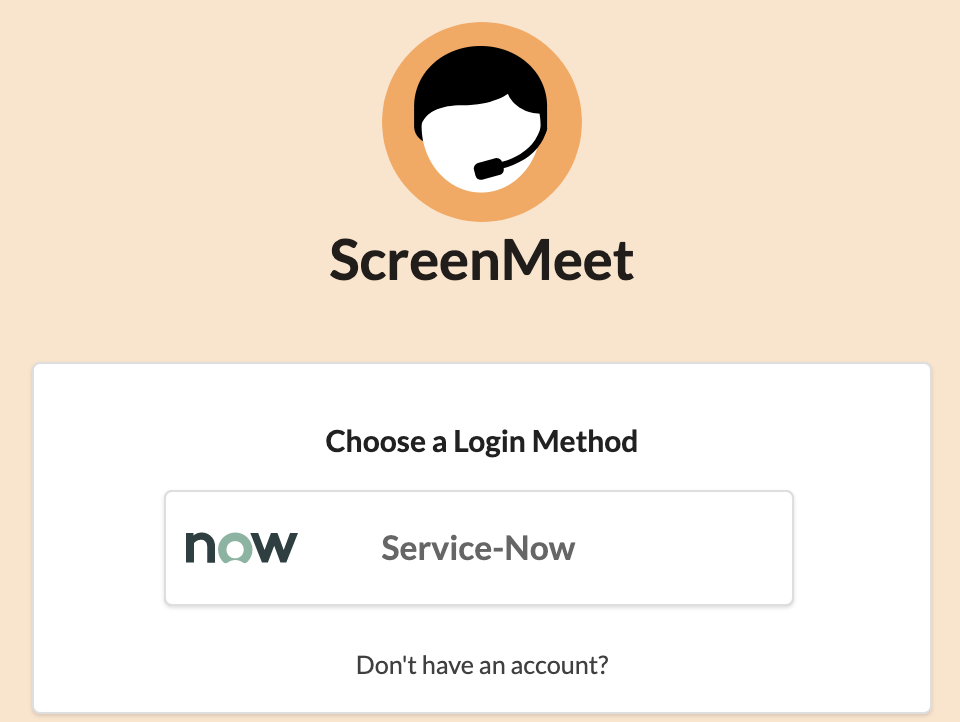
- Click on "Service-Now" as the login method
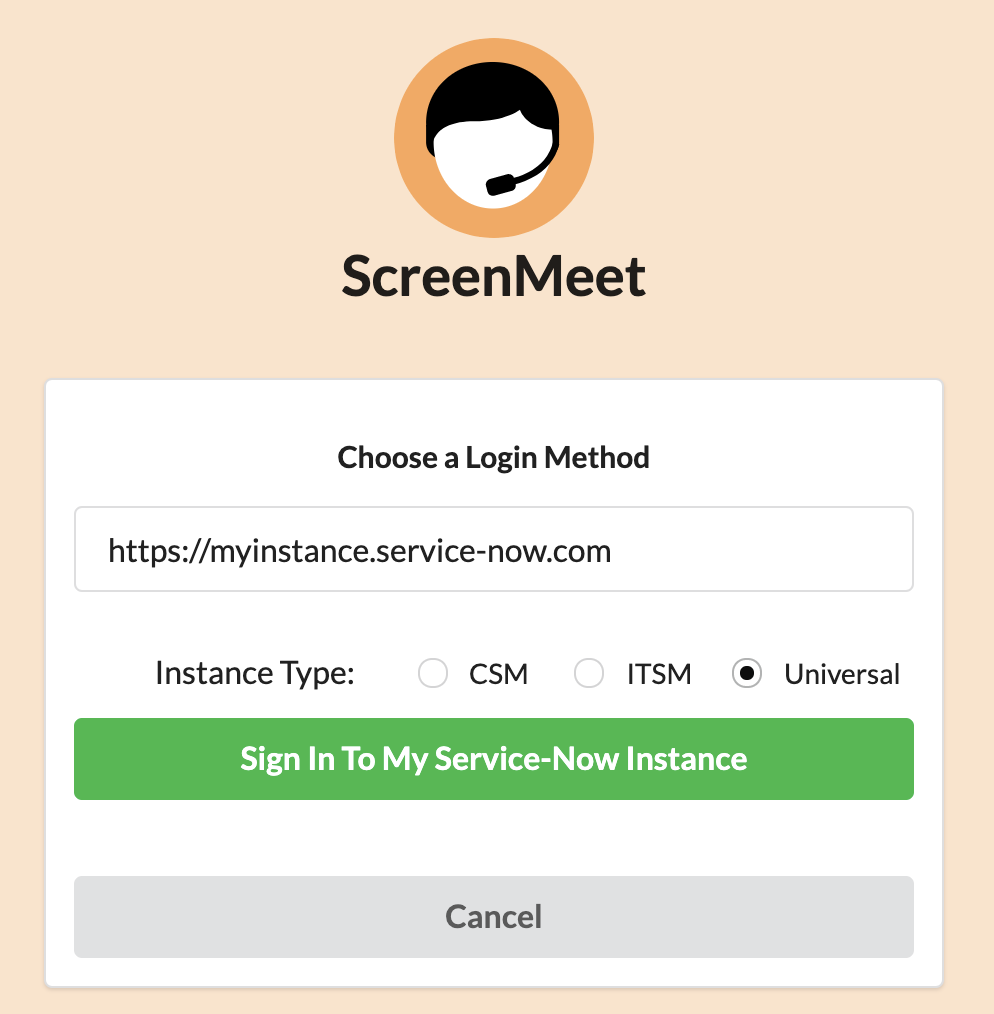
- Enter your instance URL into the text box
- Click on "Universal" as the instance type
- Click on "Sign in to My Service-Now Instance"
- Accept the ScreenMeet Connect permissions dialog
- While logged in as an Administrator, navigate to the ScreenMeet Settings page (https://console.screenmeet.com/organization/config)
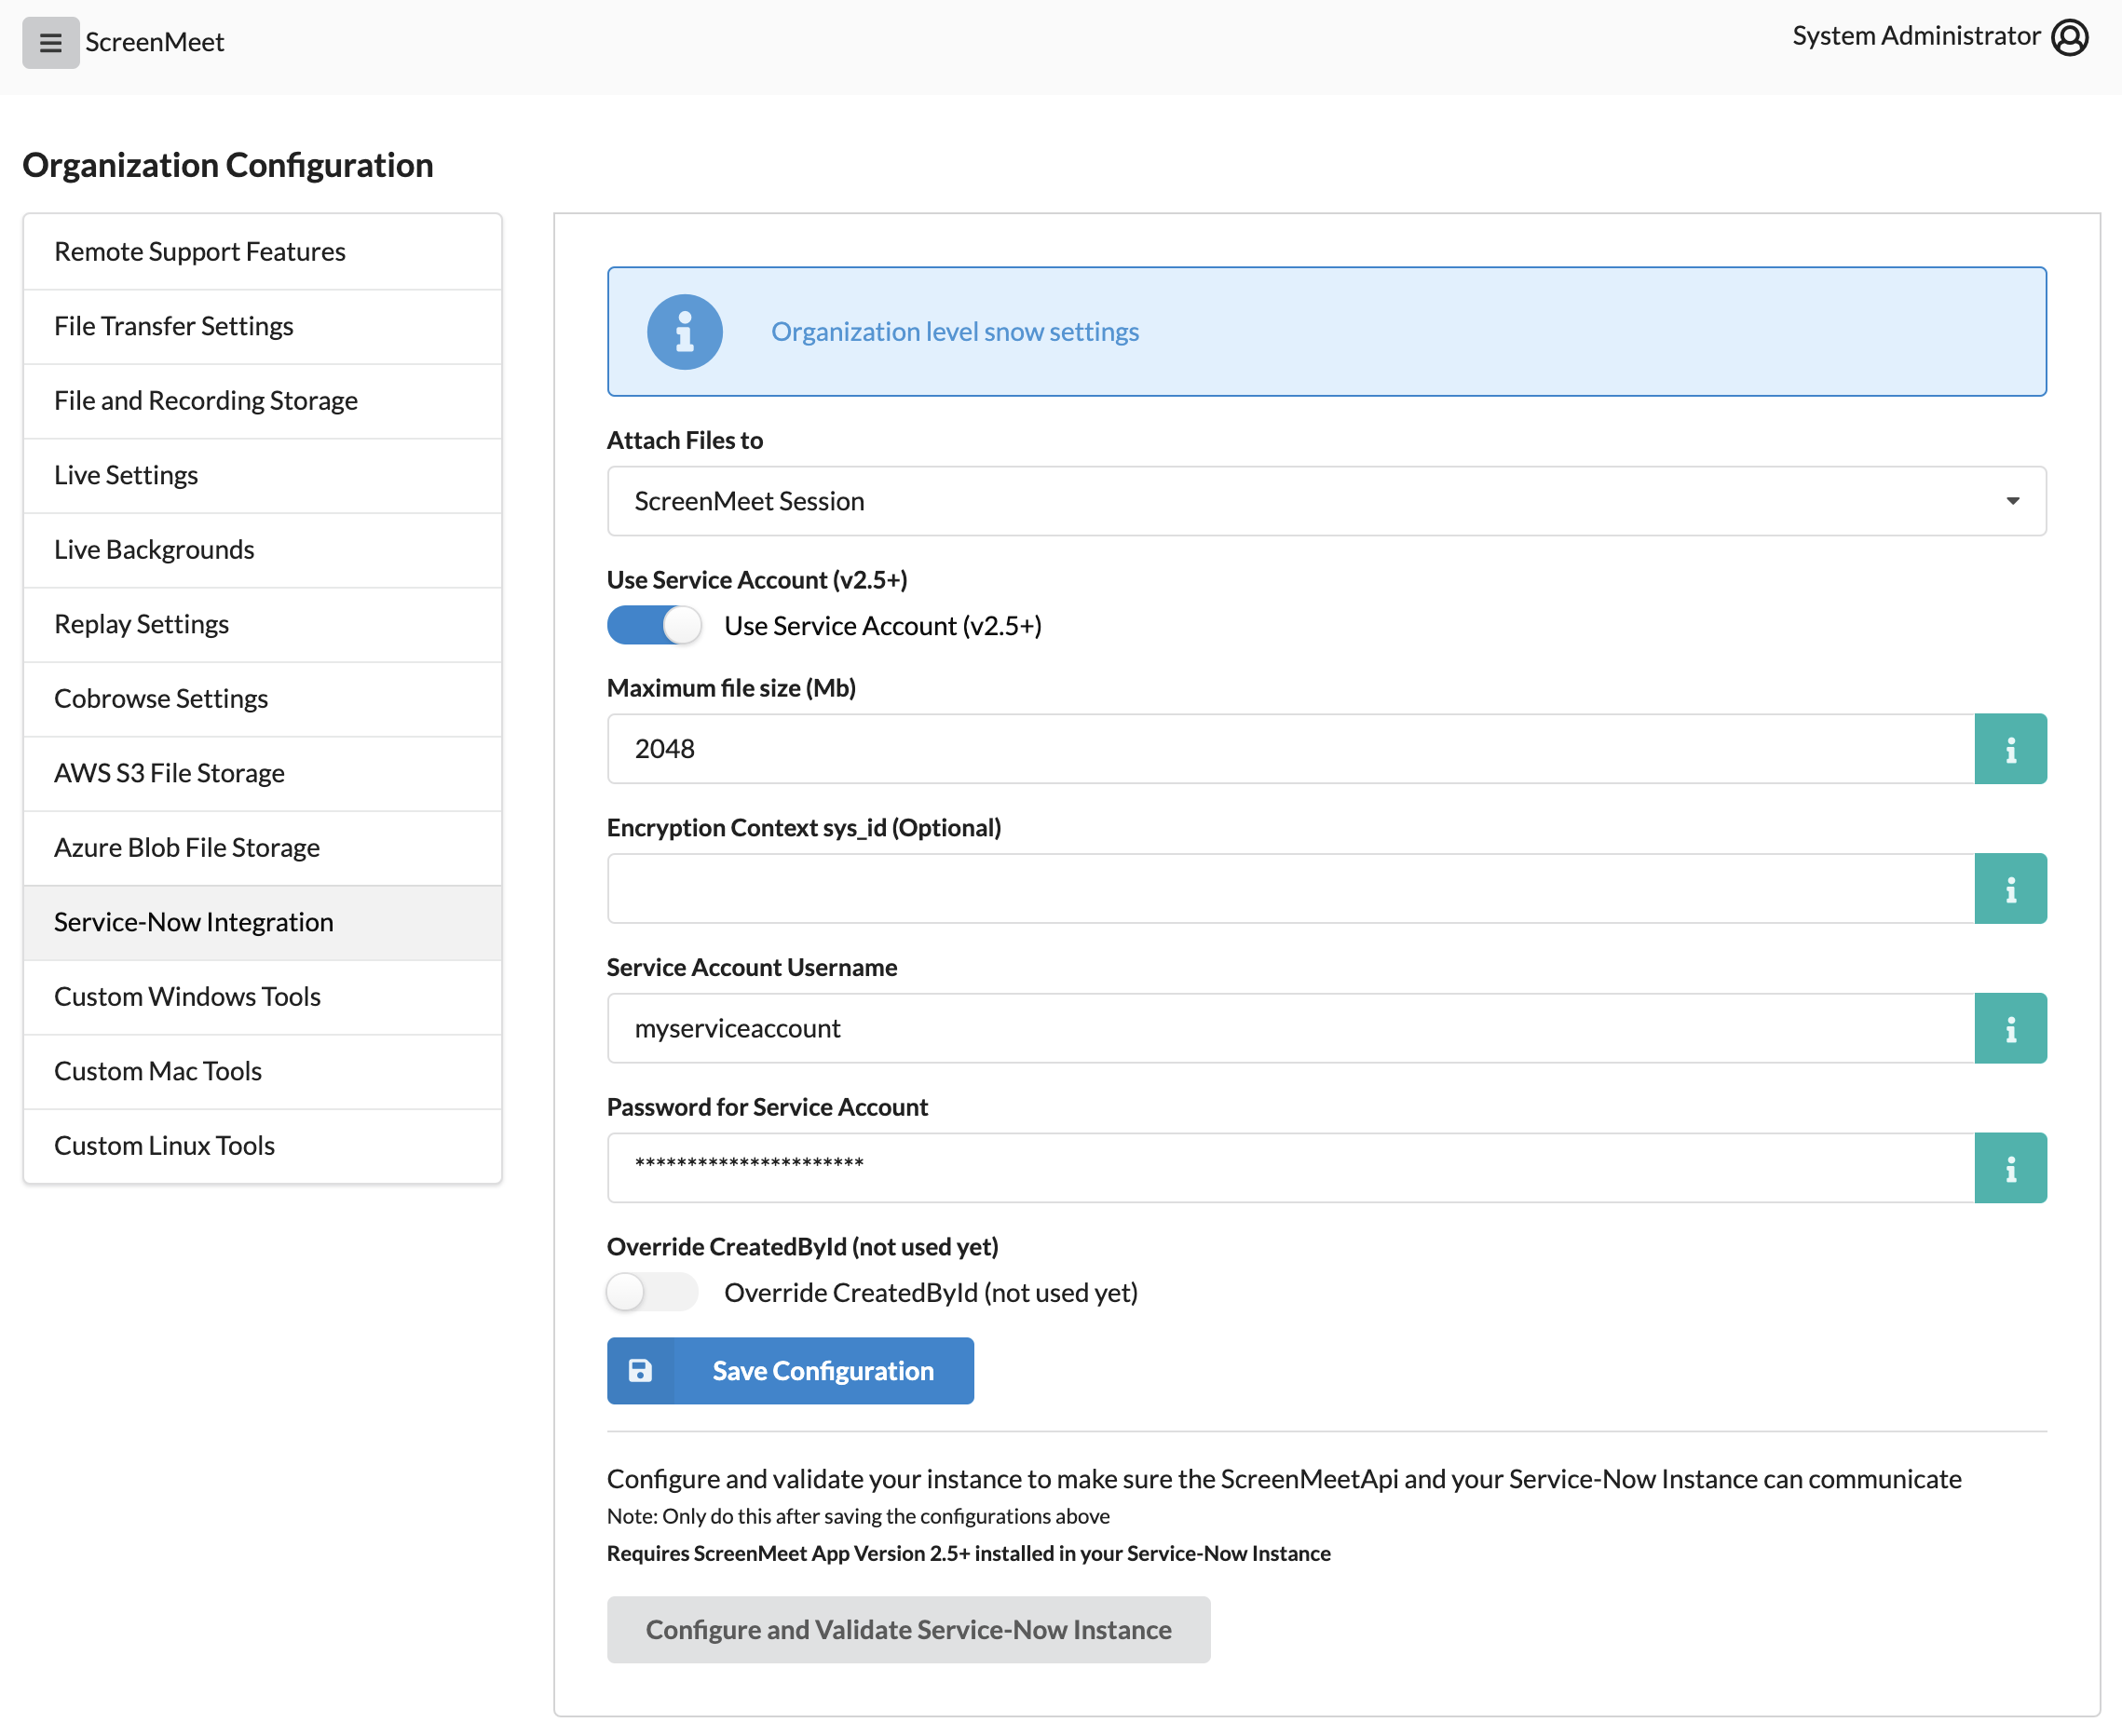
- Click on Service-Now Integration
- Leave the User Service Account toggle in the OFF state for now
- Enter the Service Account Username
- Enter the Password for Service Account
- Click on Save Configuration


3. Install the new app (version 2.5 or later) in your instance
Install the ScreenMeet app via the standard app store process on your instance.
At this point the app integration state will be broken
You must follow the next two steps in order to restore the app functionality
4. Toggle the "Use Service Account" in ScreenMeet Console
- Return to the ScreenMeet console -> ServiceNow integration
- Toggle the User Service Account toggle to the ON state
- Click on Save Configuration
- Click on Configure and Validate Service-Now Instance
- Once you see a green checkbox, everything should be working normally

Was this article helpful?