Description
ScreenMeet session recordings and transferred files can be securely stored in your organization's Azure Blob Container. These files can be accessed via a URL directly from the ScreenMeet session data log in your CRM.
Requirements
To connect ScreenMeet file storage to your Azure Blob Containers, you need the following:
- Azure Storage Account
- Storage Account Access Key
- Container
Note: Access keys are encrypted and securely stored in ScreenMeet. Only your organization’s administrators have access to this information.
Configuration
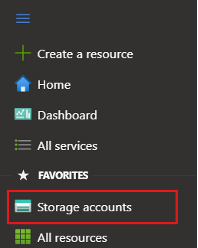
Step 1: Access Your Azure Portal
Log in to your Azure Portal and navigate to your storage account.
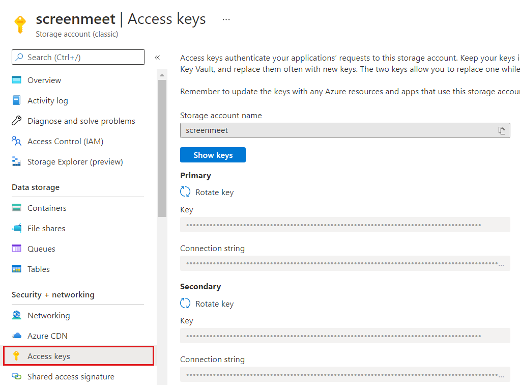
Step 2: Retrieve Storage Account Access Keys
Navigate to the storage account that you want to use for file storage and click on Access Keys. Copy the Storage Account Name and the key you want to use.
Step 3: Create or Use an Azure Container
Navigate to Containers in the Azure Portal.
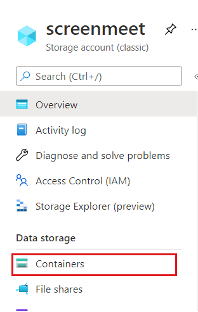
Add a new container with Private Access level. You can also use an existing container if preferred.

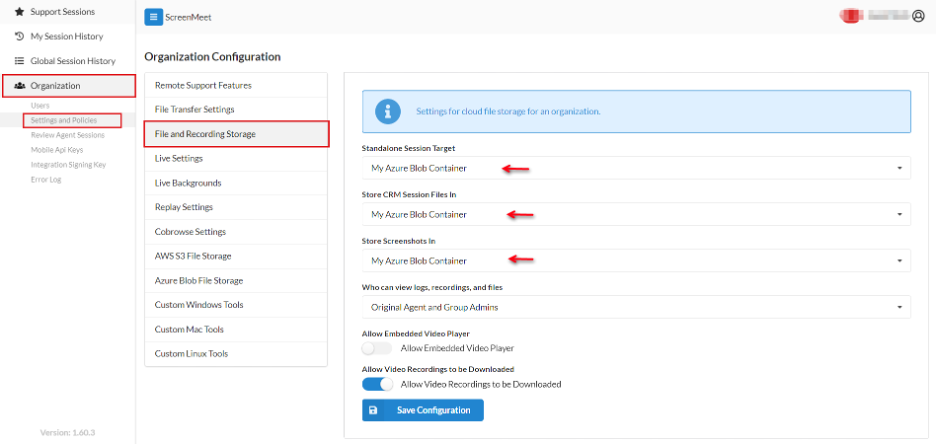
Step 4: Configure File Storage in ScreenMeet
- Log in to the ScreenMeet Console as a user with Administrator role.
- Navigate to Organization > Settings and Policies > File and Recording Storage.
- Select My Azure Blob Containerin all three dropdowns for:
- Standalone Session Target
- Store CRM Session File In
- Store Screenshots In
- Save the configuration.
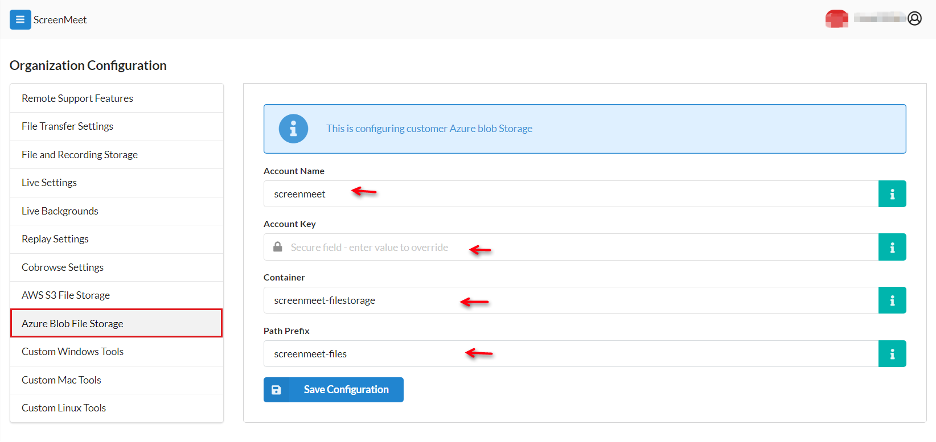
Step 5: Populate Azure Blob Storage Details
- Click on Azure Blob File Storage in the ScreenMeet Console.
- Populate the following fields with the information retrieved earlier:
- Account Name
- Account Key
- Container
- Path Prefix
- Save the configuration.
Step 6: Verify File Storage Configuration
Files will be uploaded to the Azure Storage Container under the path:
<prefix>/<year>/<month>/<day>/<session_id>
A URL will be provided in the ScreenMeet Session Data logs that links to the ScreenMeet Console. There, the file can be viewed or downloaded via an encrypted link to your Azure Blob Container.
