After setting the data relationship between Case and ScreenMeet Live Session, configure how the related lists will appear on the Case Page.
Configuring Page Layout for Cases
- Sign in as a System Administrator.
- Navigate to any Case Page.
- Click on the Gear icon at the top right, then click Edit Object. This will bring you to the Object Manager details for the Case Object.
- Click on Page Layouts on the left.
- Click into the Layout you wish to edit.
- Scroll the Related Lists section into view.
- Click on the Wrench icon on the ScreenMeet Case Sessions related list.

- Add the following columns into the field view:
- ScreenMeet Case Session: Case Session
- ScreenMeet Live Session: Live Session (this will provide the link to the ScreenMeet Session Object)
- ScreenMeet Live Session: Status
- ScreenMeet Live Session: Created Date
- Set the Sort By to ScreenMeet Live Session: Created Date and the Order as Descending to show the most recently created sessions at the top.
- Click OK.
- Click Save on the Page View.
- Now, when new ScreenMeet sessions are created from the Case view, your related list should look like the image displayed here. Clicking on the link from the Live Session column will take you to the ScreenMeetLive Session Details.

Adding Related Objects to the ScreenMeet Live Session Layout
- Open a ScreenMeet Live Session in Lightning.
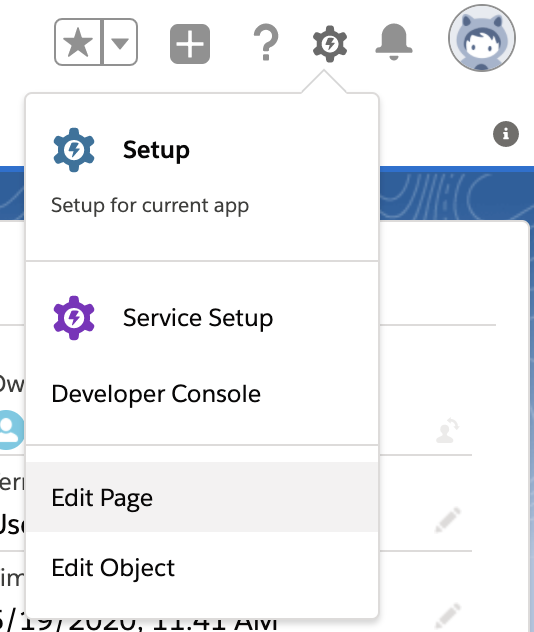
- Click on the Gear in the top right, then click Edit Page.
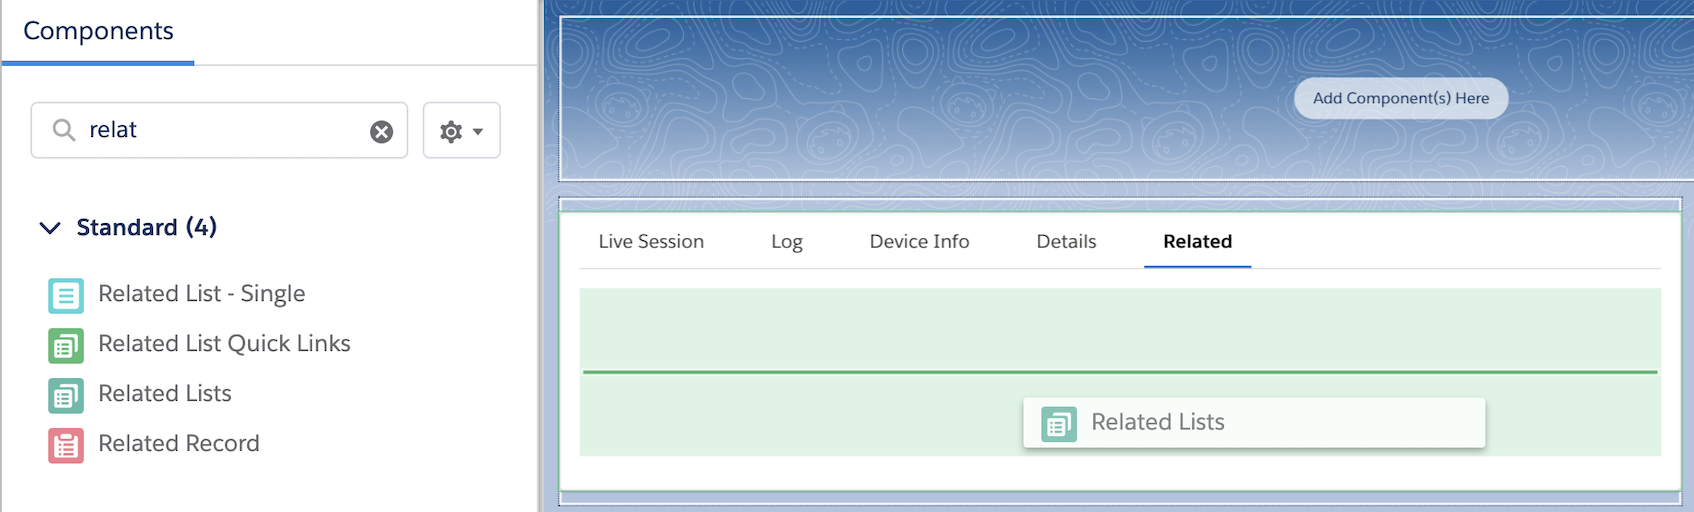
- Add a new Tab or Section called Related.
- Drag the Related Lists component onto your new Section or Tab:
- Click on Save, then select Back.
- You should now see related lists display for ScreenMeet Live Sessions.
- Next, configure the Page Layout to display the desired fields on your ScreenMeet Case Sessions related list. While on the ScreenMeet Live Session page, click the Gear icon from the top right, then click Edit Object.
- Click on Page Layouts, then click on Live Session Layout.
- Scroll the Related Lists section into view.
- Click the Wrench icon on the ScreenMeet Case Sessions related list.

- Choose the following columns:
- ScreenMeet Case Session: Case Session (default)
- Case: Number
- Case: Owner
- ScreenMeet Case Session: Created Date
- Set the Sort By field to the ScreenMeet Case Session: Created Date field and the sort order to Descending to show the newest created relations at the top.
- Click OK.
- Click Save on the page layout.
- Your related list from the ScreenMeet Live Session object should now look like the image displayed here – providing an easy way to navigate to the Case where the session originated:
