- 05 Jun 2020
- 1 Minute zum Lesen
- Drucken
- DunkelLicht
- pdf
File Transfer
- Aktualisiert am 05 Jun 2020
- 1 Minute zum Lesen
- Drucken
- DunkelLicht
- pdf
This feature allows agents to transfer files to the end-user’s computer as well as end-users to send files back to the agent.
Agent to End-User
The Agent selects File Transfer from the Tools Menu.
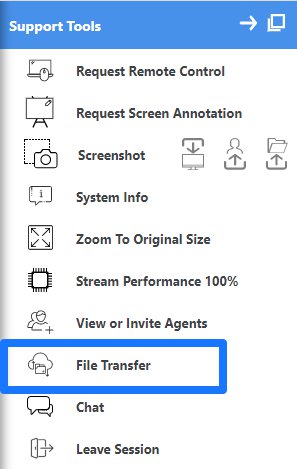
They get a window that allows them to select files from their computer or drag and drop them in.
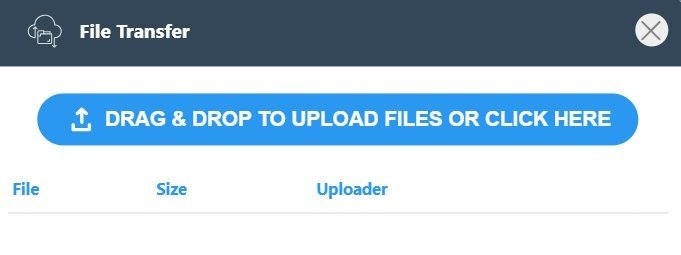
To Drag and Drop, simply select a file and drag it over this box. To select from the file picker, click above and the Agent will be presented with their file system.

From here, they can select a file to send to the end-user.
Once a file has been uploaded to ScreenMeet, the end-user receives the following notification.
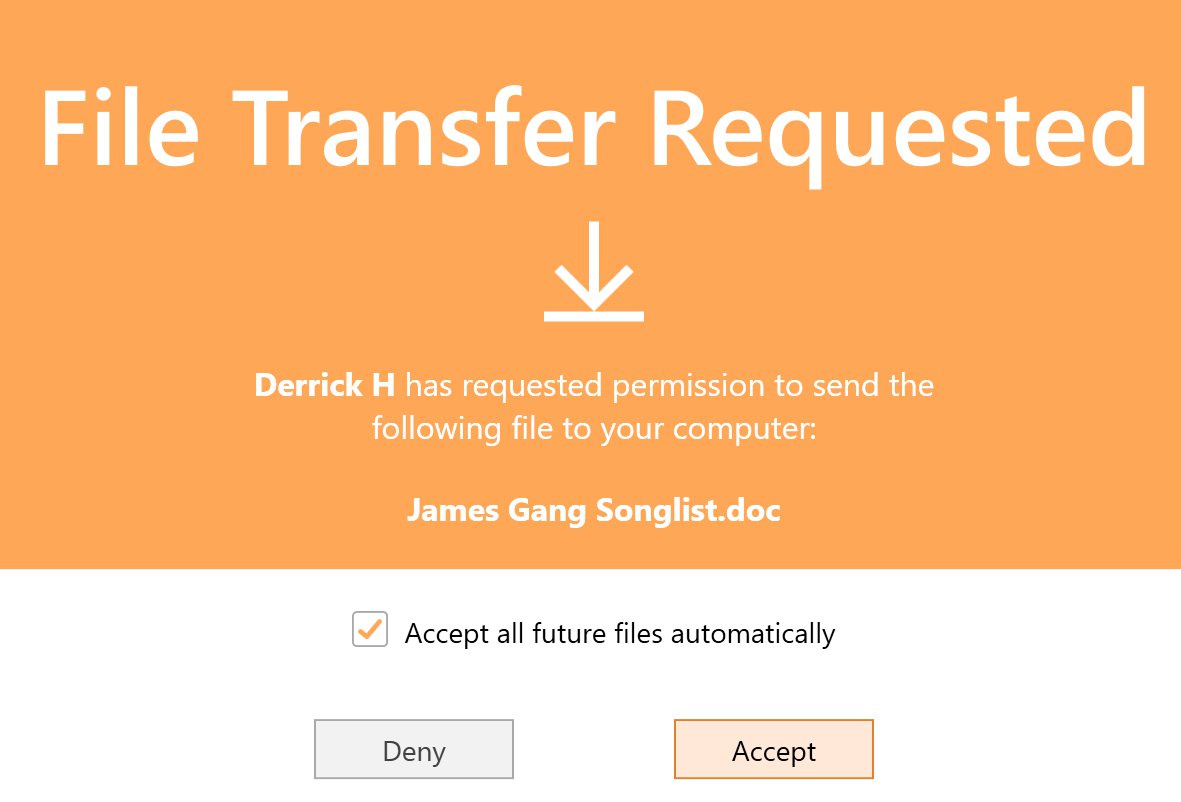
The end-user can Accept the file and Accept all future files automatically.
They can Accept the file and uncheck the box to be prompted to manually Accept all future files.
Or, they can Deny the file transfer.
Access to the files
After accepting the file transfer, the end-user has a notification of files
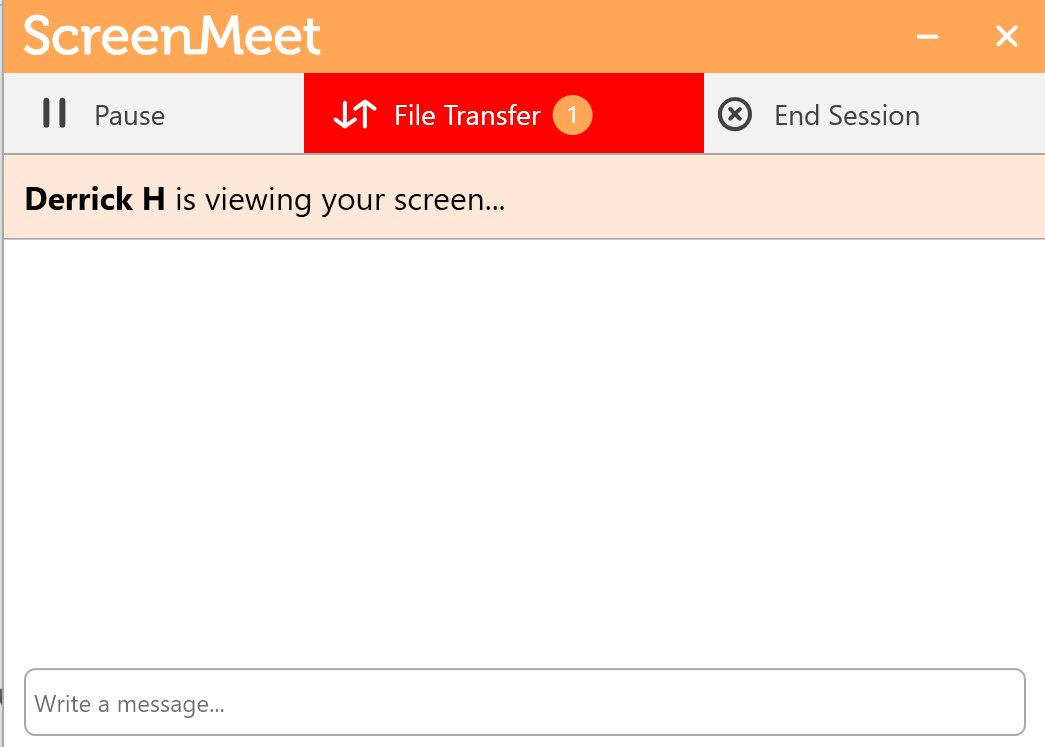
In order to access the file(s), they click on the File Transfer button

The end-user can go to the Folder that the file is stored in
Notice, ScreenMeet creates a Public Downloads folder that corresponds to the specific Support Session.

Or Open the File Directly by clicking on the Play Button.

When the Session ends, the end-user can delete the files from the session or keep them on their computer.

File Transfer - End User to Agent
For the End-User to initiate a File Transfer, they select the File Transfer button in the ScreenMeet App

They now have the option to Drag and drop files to upload to the Agent or Select a File from their File System.


Once a file has been selected, it is uploaded to ScreenMeet

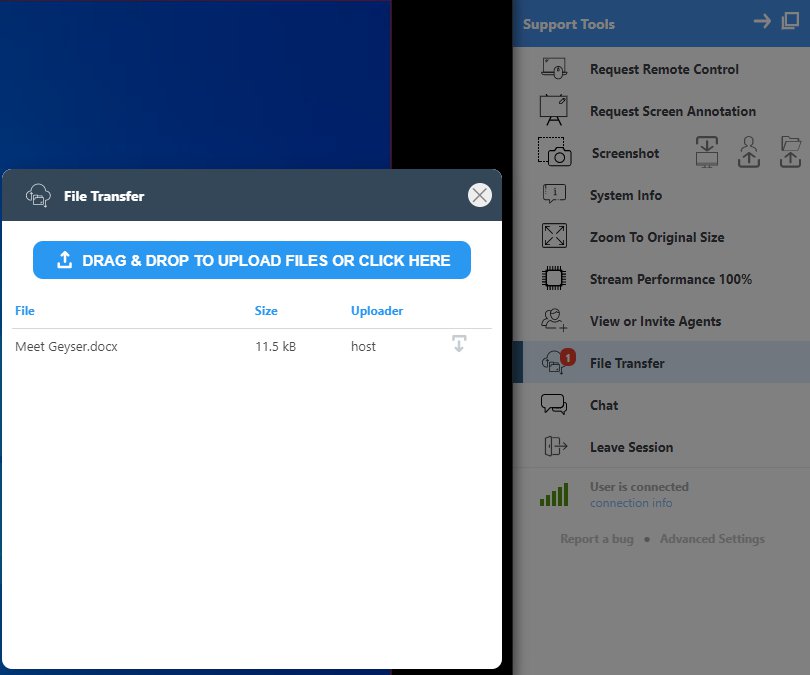
The Agent receives a notification that there is a file available.

By clicking the File Transfer button, they are brought to the File Transfer tool
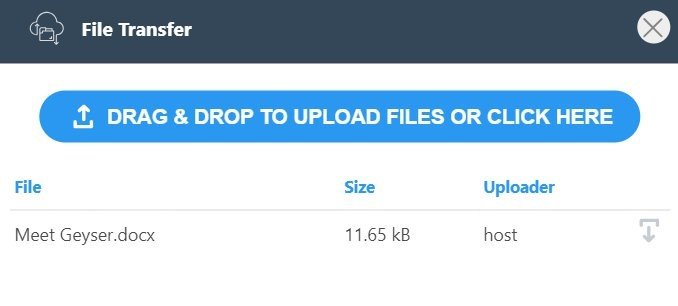
They select the File and it is downloaded to the Agent’s machine.
.png)
